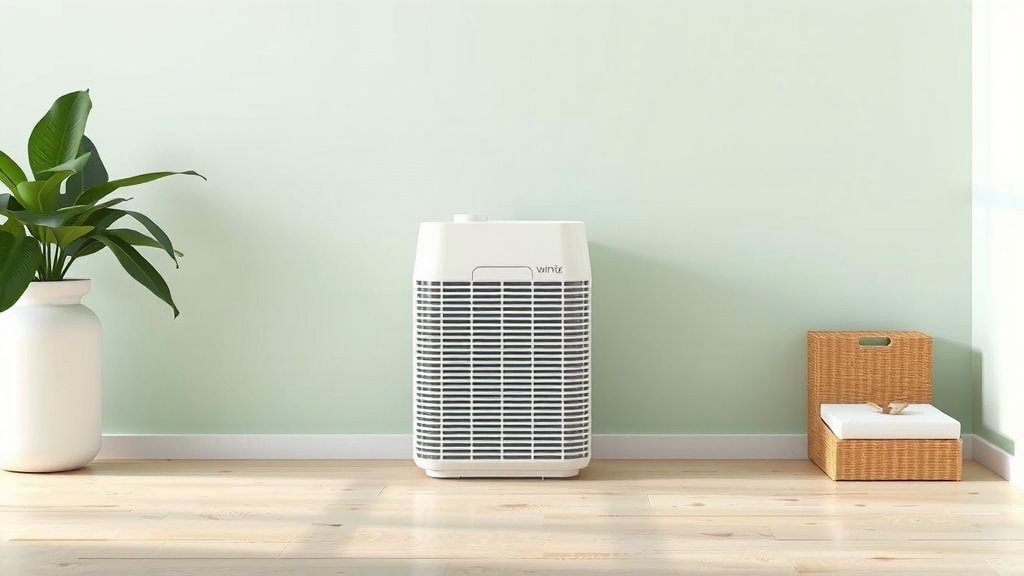
How to Change Your Winix Air Purifier Filter: Easy Steps
Changing the filter on your Winix air purifier is a straightforward process. You’ll want to replace it every 6-12 months, depending on usage, to ensure your Winix is working efficiently. It’s a quick task that keeps your air clean and healthy.
Keeping your air purifier’s filter fresh is key to its performance. A clogged filter means your Winix struggles to pull in air. This reduces its effectiveness and can even put a strain on the unit. It’s a simple maintenance step that makes a big difference.
- Turn off and unplug your Winix.
- Locate the filter compartment.
- Remove the old filter.
- Insert the new filter.
- Plug it back in and turn it on.
Ready to get your hands a little dirty for cleaner air? Let’s walk through exactly how to change your Winix air purifier filter step by step.
Keeping Your Winix Air Purifier Running Smoothly: A Filter Change Guide
Changing the filter on your Winix air purifier is a simple yet vital task. It ensures your unit continues to capture pollutants effectively. You’re looking to keep that fresh air flowing, right?
Why Filter Replacement Matters
Think of your Winix filter like the lungs of your home. Over time, it gets clogged with dust, pollen, pet dander, and other airborne particles. A dirty filter just can’t do its job properly. It struggles to pull air through, making your purifier less effective. Some studies suggest a strained unit might even use more energy (National Renewable Energy Laboratory).
Replacing your filter regularly is the easiest way to maintain optimal air quality. It prevents your Winix from working overtime unnecessarily. Plus, it means you’re breathing cleaner, healthier air. This is especially important if you or someone in your household has allergies or asthma.
When Should You Change Your Winix Filter?
The frequency of filter changes depends on a few factors. Your Winix manual will give you specific recommendations. Generally, you’ll look at replacing the primary filter every 6 to 12 months. The activated carbon pre-filter might need changing more often.
Factors Influencing Filter Lifespan
- Air Quality: If you live in an area with high pollution or have pets, you might need to change filters sooner.
- Usage: Running your purifier 24/7 will naturally shorten filter life compared to occasional use.
- Allergies: For those with severe allergies, more frequent changes can provide greater relief.
Many Winix models have a filter replacement indicator light. This is a handy reminder when it’s time for a change. Don’t ignore it! It’s your Winix telling you it’s ready for a breath of fresh air, too.
Your Step-by-Step Winix Filter Replacement Process
Let’s get down to business! Swapping out the old filter for a new one is typically a quick and easy chore. You won’t need any special tools.
Gathering Your Supplies
Before you start, make sure you have everything ready. This makes the process smoother. You’ll need:
- Your new Winix filter(s): Ensure they are the correct model for your specific Winix air purifier.
- A vacuum cleaner (optional): For a quick clean of the unit itself.
- A soft cloth: For wiping down the exterior if needed.
Having the new filter on hand is key. Trying to do this without the replacement means you’ll have an unusable air purifier until you can get one. We want to get you back to breathing easy as soon as possible!
Safety First: Powering Down
This step is non-negotiable and incredibly important. You must disconnect your air purifier from the power source before you begin. Find the power cord and unplug it from the wall outlet. This prevents any accidental startups or electrical hazards.
Even if you’re just changing a filter, it’s best practice to unplug any electrical appliance. It’s a simple habit that keeps you safe. You wouldn’t want to accidentally shock yourself while trying to improve your air!
Locating and Accessing the Filter Compartment
This is where models can differ slightly. However, most Winix air purifiers have their filters located behind the rear or side panel. You’ll usually see a seam or a small latch to indicate how to open it.
Opening Your Winix Unit
On many models, you’ll need to gently pull on a designated tab or push a release button to open the filter cover. Some units might require you to slide a panel downwards or sideways. Refer to your Winix manual if you’re unsure about your specific model. It’s usually quite intuitive once you spot the opening mechanism.
Once open, you’ll see the main filter. Some units might also have a smaller, separate activated carbon filter. Take note of how the filters are positioned so you can install the new ones correctly.
Removing the Old, Dirty Filter
With the compartment open, carefully slide or lift out the old filter. You might notice it looks quite grim – that’s a good sign it was doing its job! Try to avoid shaking the dust off the filter, as this can release particles back into your room.
If the filter is very dusty, you can carefully place it into a plastic bag before removing it from the unit. This helps contain any loose debris. Dispose of the old filter properly. It has served its purpose and is now ready for retirement.
Installing the New, Fresh Filter
Now for the satisfying part! Take your new, clean Winix filter. Carefully slide it into the compartment, making sure it’s oriented correctly. There are usually arrows or labels indicating the proper direction. It should fit snugly, but don’t force it.
If your Winix has a separate activated carbon filter, install that one as well. Again, ensure it’s placed in the correct position as per your manual. A properly seated filter ensures the best airflow and purification performance. You want that air to be guided through the filter material effectively.
Securing the Filter Compartment
Once the new filter is in place, close the compartment cover. It should click or latch securely. Give it a gentle push to ensure it’s properly sealed. A good seal is important for the purifier’s efficiency. You don’t want air bypassing the filter!
Powering Up and Resetting
With the new filter installed and the cover secured, you can now plug your Winix air purifier back into the wall outlet. Turn it on. The unit should start running normally. Many Winix models have a filter replacement indicator light.
Resetting the Filter Indicator Light
After installing a new filter, you’ll need to reset the filter indicator light. This tells your Winix that maintenance has been performed. The reset process varies by model. Often, you’ll need to press and hold a specific button (like “Filter Reset” or “Sleep Mode”) for a few seconds.
Your Winix manual will provide the exact instructions for your model. Usually, it involves holding the button until the light turns off or changes color. This clears the notification and starts the timer for your next replacement. You’ve officially completed the filter change!
A Quick Checklist for Your Filter Change
To make sure you haven’t missed a step, here’s a handy checklist:
- Turn off and unplug your Winix air purifier.
- Open the filter compartment cover.
- Carefully remove the old filter.
- Insert the new filter(s) in the correct orientation.
- Close and secure the compartment cover.
- Plug in and turn on the purifier.
- Reset the filter indicator light as per your manual.
See? Not so bad, right? You’ve just performed essential maintenance that will keep your air purifier working diligently to provide you with cleaner air for months to come.
Conclusion
You’ve now successfully navigated the process of changing your Winix air purifier filter. Remember, this simple maintenance task is key to keeping your unit running efficiently and ensuring you breathe the cleanest air possible. By regularly swapping out old filters for new ones, you protect your purifier from strain and maintain optimal air quality in your home. Don’t forget to reset that indicator light! Your next step is to schedule your next filter change in your calendar so you don’t forget.
Frequently Asked Questions
How often should I really change my Winix air purifier filter?
Most Winix air purifiers recommend changing the main filter every 6 to 12 months. However, this can vary based on your home’s air quality and how often you run the purifier. If you have pets or live in a polluted area, you might need to change it sooner.
Can I wash and reuse my Winix air purifier filter?
No, you generally cannot wash and reuse your Winix air purifier filters. The HEPA and activated carbon filters are designed for single use and are not washable. Washing them would damage the filter media and render it ineffective.
My Winix filter indicator light isn’t turning off after I replaced the filter. What should I do?
This usually means the filter reset function wasn’t activated correctly. Consult your Winix manual for the exact reset procedure for your model. Typically, it involves pressing and holding a specific button for several seconds until the light turns off.
What happens if I don’t change my Winix air purifier filter often enough?
If you don’t change your filter, it will become clogged with dust and debris. This significantly reduces the purifier’s ability to capture airborne pollutants, leading to poorer air quality. It can also put unnecessary strain on the unit’s motor.
Where can I buy replacement filters for my Winix air purifier?
You can typically purchase official Winix replacement filters directly from the Winix website, major online retailers like Amazon, or from authorized appliance stores. Always ensure you are buying the correct filter model for your specific Winix unit.
![What Is The Best Air Purifier for My Home [In 2026]](https://homeunderstandable.com/wp-content/uploads/2025/05/best-air-purifier-for-my-home.jpg)