How to Change Honeywell Air Purifier Filter
Changing your Honeywell air purifier filter is a straightforward process that keeps your air fresh. You’ll want to replace it every 6 to 12 months, depending on your model and air quality. Always check your specific model’s manual for exact recommendations. It’s an easy DIY task that makes a big difference.
Keeping your Honeywell air purifier running efficiently means clean air for your home. A clogged filter can’t capture pollutants effectively. This means more dust, pollen, and other allergens might stay in your air. Research shows that timely filter changes are key to optimal performance and healthier breathing. Don’t forget, a clean filter also helps your purifier run quieter.
- Turn off and unplug your air purifier.
- Locate and open the filter compartment.
- Remove the old filter.
- Insert the new filter, ensuring a good seal.
- Close the compartment and plug in your unit.
Ready to get your hands a little dusty? Let’s walk through how to change your Honeywell air purifier filter step by step.
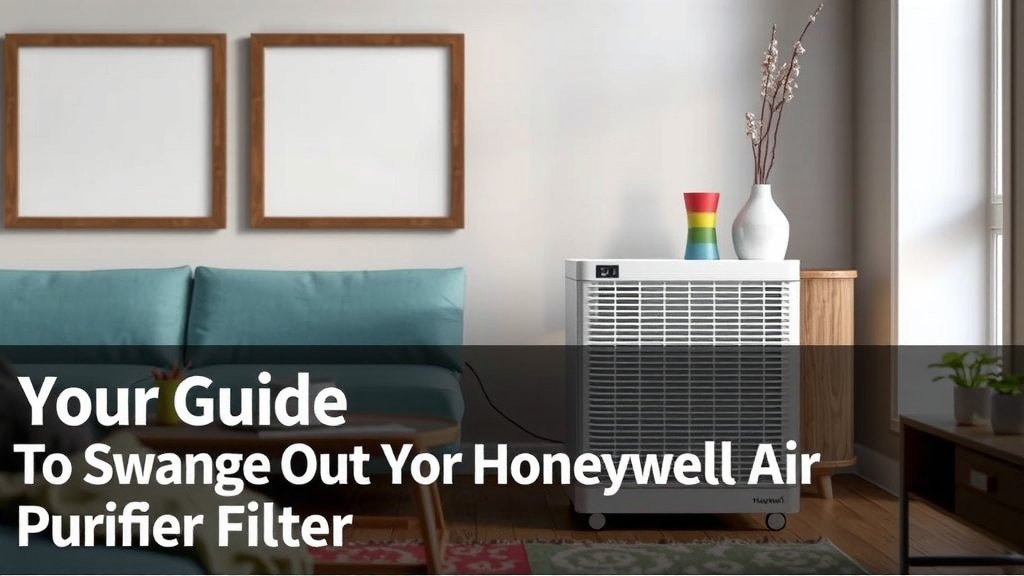
Your Guide to Swapping Out Your Honeywell Air Purifier Filter
Swapping your Honeywell air purifier filter is simpler than you think. You’re just a few easy steps away from breathing cleaner air. This guide breaks down the whole process. We’ll help you get that old, dusty filter out and a fresh one in. Think of it like changing the oil in your car. It keeps the machine running smoothly.
When Should You Replace Your Honeywell Air Purifier Filter?
Knowing when to change your filter is key. Most Honeywell models recommend a replacement every 6 to 12 months. This timeframe can change based on a few things. The air quality in your home plays a big role. If you live in a dusty area or have pets, you might need to swap it out sooner. Running your purifier 24/7 also means it works harder. Your owner’s manual is your best friend here. It will have the most accurate schedule for your specific unit. Checking the filter visually can also give you a clue. If it looks dark and clogged, it’s probably time.
Understanding Filter Lifespans
Many factors influence how long a filter lasts. We found that a high-pollen season can drastically reduce a filter’s effectiveness. Similarly, if someone in your home suffers from allergies, a cleaner filter is always better. Some Honeywell models have indicator lights. These lights will signal when it’s time for a change. This is a helpful reminder. It takes the guesswork out of it. You just need to pay attention to the lights.
Signs Your Filter Needs Changing
Beyond the recommended schedule, your purifier might give you hints. A noticeable drop in air quality is a big sign. Are you seeing more dust settling around your home? Is that stale smell still lingering? These could mean your filter is overwhelmed. Your air purifier might also start making more noise. A clogged filter restricts airflow. This forces the motor to work harder, creating extra sound. It’s like trying to breathe through a stuffy nose. You can feel the strain.
Getting Prepared for the Filter Change
Before you dive in, gather your supplies. You’ll need your new, compatible Honeywell filter. Make sure it’s the correct model number for your purifier. Trying to force the wrong filter can damage your unit. You might also want a damp cloth or paper towels. This will be handy for wiping down the inside of the filter compartment. Some people like to wear gloves to keep their hands clean. It’s a quick and tidy job with the right preparation.
Choosing the Right Replacement Filter
Honeywell makes various air purifiers. Each one uses a specific type of filter. It’s essential to buy the exact replacement filter. You can usually find the filter number on your existing filter. It’s often printed on the side. You can also check your air purifier’s manual or Honeywell’s website. Using an uncertified filter might not work as well. It could even void your warranty. Always stick to authentic Honeywell filters for the best performance.
Safety First: Powering Down
This step is non-negotiable. Always turn off and unplug your air purifier before you begin. This prevents any accidental starts. It also protects you from electric shock. Make sure the unit is completely powered down. Leave it unplugged for a minute or two. This ensures all internal components have stopped. Safety should always be your top priority. We want this to be a positive experience for you and your purifier.
The Step-by-Step Filter Replacement Process
Now for the main event! This is where you’ll actually swap out the filter. It’s designed to be a straightforward task. You don’t need any special tools for most models. Just a little patience and care. We’ll walk you through each part of the process. You’ll be enjoying fresher air in no time. Think of it as giving your purifier a breath of fresh air itself.
Locating and Opening the Filter Compartment
Your air purifier will have a designated spot for its filter. This is usually on the back or side of the unit. Look for seams or clips that indicate the compartment cover. Some models have a simple latch. Others might require you to gently pull or slide a panel off. Consult your manual if you’re having trouble finding it. Once you locate it, open it up carefully. Don’t force anything. The panel should move smoothly if it’s meant to be opened.
Removing the Old, Dirty Filter
With the compartment open, you’ll see your old filter. It might look quite grim. This is normal! It means it has been doing its job. Carefully slide or lift the old filter out. Be mindful of any loose dust or debris. You might want to place it directly into a trash bag. This keeps your workspace clean. Some people find it helpful to have the new filter ready to go. This way, you can swap them out quickly.
Inserting the New Honeywell Filter
Take your new, clean filter. Note any directional arrows on the filter. These indicate the proper airflow direction. Align the new filter with the compartment. Gently slide it into place. Ensure it fits snugly. A good seal is important. It prevents air from bypassing the filter. You want all the air to pass *through* the filter material. You should feel it click or seat firmly into position. This confirms it’s in correctly.
Closing the Compartment and Restarting
Once the new filter is in place, close the compartment cover. Make sure it’s securely latched or closed. You should hear a click if there’s a latch mechanism. Double-check that it’s fully closed before proceeding. Now, you can plug your air purifier back in. Turn it on and listen. It should sound like it did before, or even quieter. You’ve successfully changed your air purifier filter!
Checklist for a Smooth Filter Change
Here’s a quick checklist to keep you on track:
- Confirm you have the correct replacement filter for your model.
- Make sure your air purifier is unplugged and turned off.
- Locate and carefully open the filter compartment.
- Gently remove the old filter and dispose of it properly.
- Insert the new filter, noting any airflow direction arrows.
- Securely close the filter compartment.
- Plug the unit back in and turn it on.
Troubleshooting Common Filter Issues
Sometimes, things don’t go exactly as planned. Don’t worry, most issues are easy to fix. If the compartment won’t open, check your manual again. You might be trying the wrong spot. If the new filter doesn’t seem to fit, confirm you have the right model number. If your purifier still sounds noisy after the change, double-check that the filter is seated correctly and the compartment is fully closed. A loose seal can cause air leaks and noise.
Conclusion
You’ve now learned how simple it is to keep your Honeywell air purifier running at its best. Regular filter changes are the most effective way to ensure you’re breathing the cleanest air possible. Remember, checking your specific model’s manual for replacement schedules is key. By following these steps, you’re not just maintaining your appliance; you’re actively contributing to a healthier home environment. So, take that small step today. Schedule your next filter change and enjoy the peace of mind that comes with fresh, purified air.
Frequently Asked Questions
How do I know which Honeywell filter model I need?
Finding the right filter is crucial. Most Honeywell air purifiers have the filter model number printed directly on the unit itself, often near the filter compartment. You can also find this information in your air purifier’s user manual or by searching on the Honeywell website with your purifier’s model name.
Can I use a generic or third-party filter instead of a Honeywell brand filter?
While generic filters might seem like a cost-saving option, we generally advise sticking to authentic Honeywell filters. Non-certified filters may not fit correctly, could reduce the purifier’s efficiency, and might even void your product warranty. Genuine filters are designed to work best with your specific Honeywell model.
What should I do with the old, dusty filter?
Once you’ve removed the old filter, it’s best to seal it in a plastic bag before disposing of it. This prevents any trapped dust and allergens from spreading back into your home environment during disposal. Simply place the bagged filter in your regular household trash.
My air purifier still smells musty after changing the filter. What could be wrong?
A lingering musty smell after a filter change could indicate a few things. Ensure the new filter is properly seated and creating a good seal within the compartment. Check if your model has a pre-filter that also needs cleaning or replacing. Sometimes, the interior of the purifier might need a gentle wipe-down with a damp cloth to remove any settled dust.
How often should I really change my Honeywell air purifier filter?
The typical recommendation for most Honeywell air purifiers is every 6 to 12 months. However, this can vary based on your home’s air quality. If you have pets, live in a dusty area, or have allergies, you might need to change it more frequently. Always refer to your unit’s manual and watch for signs like reduced airflow or increased noise.