How to Clean Your Hunter Air Purifier Effectively
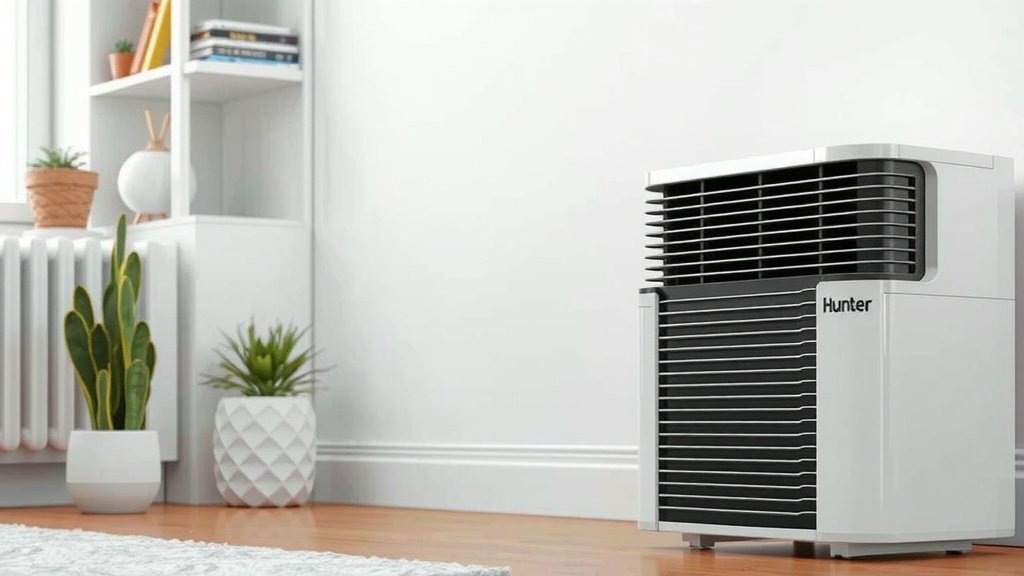
The easiest way to clean your Hunter air purifier is to unplug it and then gently wipe down the exterior with a damp cloth. For the filter, most models recommend either a simple vacuuming or a quick rinse under cool water, depending on the filter type. Keeping your air purifier clean ensures it runs efficiently and delivers the freshest air possible.
Regular cleaning of your Hunter air purifier is key to its performance. We found that a clean unit can drastically improve air quality. It’s not just about making it look good; it’s about ensuring the HEPA filter and pre-filter do their job effectively. Neglecting this can lead to reduced airflow and less effective purification.
- Unplug your Hunter air purifier before cleaning.
- Wipe the exterior with a damp cloth.
- Vacuum or rinse the filter as recommended.
- Allow parts to dry completely before reassembly.
- Clean your unit regularly for best results.
Let’s walk through exactly how to get your Hunter air purifier sparkling clean, step by step.
Keeping Your Hunter Air Purifier Fresh and Functional
You’ve invested in a Hunter air purifier to help make your home’s air cleaner. That’s fantastic! But like any helpful appliance, it needs a little love to keep it working its best. We found that a little regular maintenance can go a long way. Think of it like giving your air purifier a spa day. It’ll thank you by continuing to quietly do its important job.
So, how do you actually go about cleaning it? It’s simpler than you might think. We’ve put together a clear guide to help you. Let’s get your unit looking and smelling fresh, and most importantly, breathing cleanly again.
Gathering Your Cleaning Supplies
Before you start, let’s make sure you have everything you need. This will make the process smooth and easy. We found that having supplies ready prevents interruptions.
- A soft, damp cloth (microfiber works great).
- A vacuum cleaner with a brush attachment.
- A mild soap (like dish soap), if needed for tougher grime.
- A dry cloth for wiping and drying.
- Possibly a cotton swab for small crevices.
Step-by-Step Cleaning Process
Now that you’re prepped, let’s dive into the actual cleaning. Remember to always unplug your unit first. Safety first, always!
Cleaning the Exterior
The outside of your air purifier is the most visible part. Keeping it clean is easy and makes a big difference in how your unit looks.
Wiping Down the Casing
Start with the outer shell. You’ll want to use a soft, damp cloth. Lightly dampen it with water. Then, gently wipe down all the exterior surfaces. This will remove dust and any other surface marks. For any stubborn spots, a tiny bit of mild dish soap on the damp cloth can help. Just be sure to wipe over it again with a clean, damp cloth afterward to remove any soap residue. We found that avoiding harsh chemicals is best to protect the finish.
Cleaning Vents and Grilles
Don’t forget the vents where the air goes in and out. Dust can build up here quickly. Use the soft brush attachment on your vacuum cleaner. Gently go over the vents and grilles to suck away loose dust. A cotton swab can be helpful for reaching into tighter spots within the grilles if needed.
Maintaining the Filters: The Heart of Your Purifier
The filters are where the magic happens. They trap all those unwanted particles. Keeping them clean ensures they can do their job effectively. Many experts say filter maintenance is the most critical part of keeping your air purifier running well (CDC).
Identifying Your Filter Type
Hunter offers various models, and they often have different filter types. The two most common are a permanent, washable pre-filter and a HEPA filter. Some models might have activated carbon filters as well. Your owner’s manual is the best place to confirm what type of filters your specific model uses. This is important because cleaning methods vary.
Cleaning Washable Pre-Filters
Many Hunter models include a pre-filter that you can wash. This filter catches larger particles like pet hair and dust bunnies. This is great because it helps protect the main HEPA filter and extends its life.
To clean it, gently remove the pre-filter from your air purifier. You can usually do this by opening the front or back panel. Once removed, you can either:
- Vacuum it: Use your vacuum cleaner’s brush attachment on a low setting. Go over both sides of the filter.
- Rinse it: Under cool, running water, rinse the pre-filter. Gently agitate it to dislodge dust.
After rinsing, we found it’s best to let the filter air dry completely. Never put a damp filter back into your air purifier. Moisture can lead to mold or damage the unit.
Caring for HEPA and Carbon Filters
HEPA filters are designed to trap very fine particles. Carbon filters help with odors. These filters are usually not washable. We found that attempting to wash them can damage the delicate filter media.
For these types of filters, the recommended cleaning method is typically:
- Vacuuming: Use your vacuum cleaner’s brush attachment. Gently vacuum the surface of the filter. This helps remove accumulated dust.
It’s important to note that even with regular vacuuming, HEPA filters have a lifespan. After a certain period (check your manual, often 6-12 months), they will need to be replaced. A dirty HEPA filter can’t capture pollutants effectively. Many guidelines suggest replacing them annually for optimal performance (Environmental Protection Agency).
Reassembly and Final Touches
Once all parts are clean and dry, it’s time to put your air purifier back together.
Ensuring Parts Are Dry
This is a critical step we can’t stress enough. Before reassembling, ensure every component, especially any washed filters, is completely dry. Even a little dampness can cause issues. We found that air drying overnight is often the safest bet for washed parts.
Putting It All Back Together
Carefully place the dry filters back into their designated slots. Make sure they are seated correctly according to your owner’s manual. Close and secure any panels or grilles you opened. You’re almost there!
A Quick Exterior Wipe-Down
Give the exterior one last gentle wipe with a dry cloth. This will remove any dust that may have settled during the cleaning process. It leaves your unit looking pristine.
How Often Should You Clean?
Consistency is key to keeping your Hunter air purifier working efficiently. When should you schedule these cleaning sessions?
We found that a good routine is to tackle the exterior and vacuum the filters at least once a month. If you have pets or live in a dusty environment, you might need to do this more often. For washable pre-filters, a monthly rinse is usually sufficient. HEPA and carbon filters should be vacuumed monthly and replaced as recommended by the manufacturer, typically every 6-12 months.
Here’s a quick checklist to help you remember:
- Unplug your air purifier.
- Wipe down the exterior casing.
- Vacuum the pre-filter and HEPA filter.
- Rinse washable pre-filters (if applicable).
- Ensure all parts are completely dry.
- Reassemble your unit and plug it back in.
By following these steps, you’ll ensure your Hunter air purifier continues to provide you with cleaner, fresher air for a long time to come. It’s a simple process that yields significant benefits for your home’s air quality!
Conclusion
You’ve now got a clear path to keeping your Hunter air purifier in top shape. We found that a little regular attention makes a big difference. Cleaning the exterior is simple, and maintaining your filters – whether vacuuming your HEPA or washing your pre-filter – ensures it keeps breathing clean air into your home. Don’t let dust bunnies win! Schedule your next cleaning session now and enjoy the fresher air you deserve.
Frequently Asked Questions
Can I use cleaning sprays on my Hunter air purifier?
We recommend avoiding harsh chemical cleaning sprays. Stick to a damp cloth with water or a very mild soap for the exterior. Strong chemicals can damage the plastic and finishes on your unit. Always check your owner’s manual for specific cleaning product recommendations.
How do I know if my Hunter air purifier filter needs replacing versus just cleaning?
Your HEPA and carbon filters are generally not washable and will eventually need replacement, typically every 6-12 months. If you notice a persistent musty smell even after cleaning, or if the filter looks visibly damaged or clogged beyond vacuuming, it’s likely time for a new one. Washable pre-filters can be cleaned repeatedly.
What happens if I put a slightly damp filter back into my air purifier?
Putting a damp filter back into your Hunter air purifier can lead to mold or mildew growth. Moisture can also damage the electronic components of the unit. We found that it’s essential to ensure all washed parts are thoroughly air-dried before reassembly to prevent these issues.
Can I vacuum my HEPA filter more than once a month?
Yes, you can vacuum your HEPA filter more frequently than once a month if needed. If you notice a lot of dust buildup, especially in homes with pets or during allergy seasons, giving it an extra gentle vacuuming can help maintain airflow. Just be sure to use a soft brush attachment and a low suction setting.
My Hunter air purifier seems louder than usual after cleaning. What should I check?
If your unit is suddenly louder, double-check that all filters are properly seated in their correct positions. An improperly installed filter can sometimes cause airflow disturbances and noise. Ensure the exterior panels are also securely closed. If the noise persists, consult your owner’s manual or Hunter support.