How to Clean Your Air Purifier Pre-Filter
The easiest way to clean a pre filter for your air purifier is by gently vacuuming it with an upholstery attachment or rinsing it under cool running water. This simple process can significantly improve your air purifier’s performance and lifespan. A clean pre filter means cleaner air flowing through the main filters, so you get the most out of your device.
Keeping your air purifier’s pre filter free of dust and debris is essential for maintaining optimal air quality in your home. Many users overlook this step, but research shows that a clogged pre filter can make your air purifier work harder and less effectively. It’s a small maintenance task that makes a big difference in how well your purifier cleans your air.
- Vacuum or rinse your pre filter regularly.
- This helps your air purifier work better.
- It also makes your main filters last longer.
- Clean filters mean cleaner air for you.
Ready to get your air purifier running like new? Let’s walk through the simple steps to clean that pre filter and breathe a little easier.
How to Properly Clean Your Air Purifier’s Pre Filter
Your air purifier’s pre filter is the first line of defense against airborne particles. Keeping it clean ensures the rest of your system works efficiently. We’ll guide you through the simple steps to get it spotless.
Why Cleaning Your Pre Filter Matters So Much
Think of the pre filter as your air purifier’s welcome mat. It catches the big stuff like pet hair, lint, and larger dust bunnies. If this mat gets too dirty, it blocks the way for smaller particles to reach the main filters. This means your purifier has to work much harder.
Impact on Air Quality
A clogged pre filter can lead to reduced airflow. This directly impacts how much air your purifier can actually process. Less air cleaned means more dust and allergens circulating in your home. You might notice your purifier running constantly but not making much of a difference in air freshness.
Extending Filter Lifespan
Your main HEPA and carbon filters are the stars of the show. They capture microscopic particles and odors. But they can get clogged faster if the pre filter isn’t doing its job. A clean pre filter protects these more expensive filters. This saves you money in the long run.
Energy Efficiency Gains
When your air purifier struggles to pull air through a dirty pre filter, its motor works overtime. This can lead to increased energy consumption. Keeping the pre filter clean means your device can operate at its intended efficiency, potentially lowering your electricity bill a bit.
Step-by-Step Guide to Cleaning Your Pre Filter
Cleaning the pre filter is usually quite straightforward. Most pre filters are designed for easy removal and cleaning. Always check your air purifier’s manual first, as designs can vary slightly.
1. Preparation is Key
Before you start, unplug your air purifier. This is a critical safety step. You don’t want any accidental power-ups while your hands are near moving parts or water. Clear the area around your purifier so you have plenty of space to work.
2. Locating and Removing the Pre Filter
Your pre filter is typically the outermost layer of the filter system. It’s often a mesh screen attached to the front or side panel of the unit. Many models have clips or latches that allow you to easily open the housing. Gently slide or lift the pre filter out.
3. The Gentle Vacuum Method
For dry dust and debris, vacuuming is an excellent first step. Use the upholstery brush attachment on your vacuum cleaner. This attachment is designed to lift debris without damaging fabric or screens. Slowly and carefully vacuum the entire surface of the pre filter. Pay attention to both sides if possible.
Tips for Vacuuming
Work in a well-ventilated area, perhaps near an open window or outside. This prevents you from just redistributing the dust you’re removing. Go over the filter a couple of times to ensure you get as much loose debris as possible. Research suggests regular vacuuming can keep pre filters functioning well for longer.
4. The Water Rinse Method
If vacuuming isn’t enough, or if your pre filter has collected finer particles, rinsing with water is the next step. You can do this in a sink or bathtub. Use cool or lukewarm running water. Avoid hot water, as it can sometimes warp or damage certain materials.
How to Rinse Effectively
Hold the pre filter under the running water. Gently agitate it with your hands to help loosen stubborn dust. You might want to rinse from both sides. Don’t use any soaps or harsh cleaning chemicals unless your air purifier’s manual specifically allows it. Many experts advise against detergents, as residues can affect air quality.
5. Drying is Crucial
This is one of the most important steps. The pre filter must be completely dry before you put it back into the air purifier. Even a little moisture can lead to mold or mildew growth. It can also damage the internal components of your air purifier. This is a common mistake that many users make (Cleveland Clinic).
Drying Techniques
The best way to dry your pre filter is to let it air dry. Place it on a clean towel in a well-ventilated area. You can also use a fan to speed up the process. Avoid using direct heat sources like hair dryers on high settings, as this can cause damage. Ensure there are no damp spots, especially in corners.
6. Reassembly
Once you are absolutely sure the pre filter is dry, you can carefully slide it back into place. Make sure it sits securely. Close up the housing and ensure all clips or latches are fastened. Then, plug your air purifier back in and turn it on.
| Step | Action | Notes |
|---|---|---|
| 1 | Unplug Purifier | Safety first! |
| 2 | Remove Pre Filter | Consult manual if unsure. |
| 3 | Vacuum Gently | Use upholstery attachment. |
| 4 | Rinse (if needed) | Cool water, no soap. |
| 5 | Dry Completely | Air dry is best. |
| 6 | Reassemble | Ensure secure fit. |
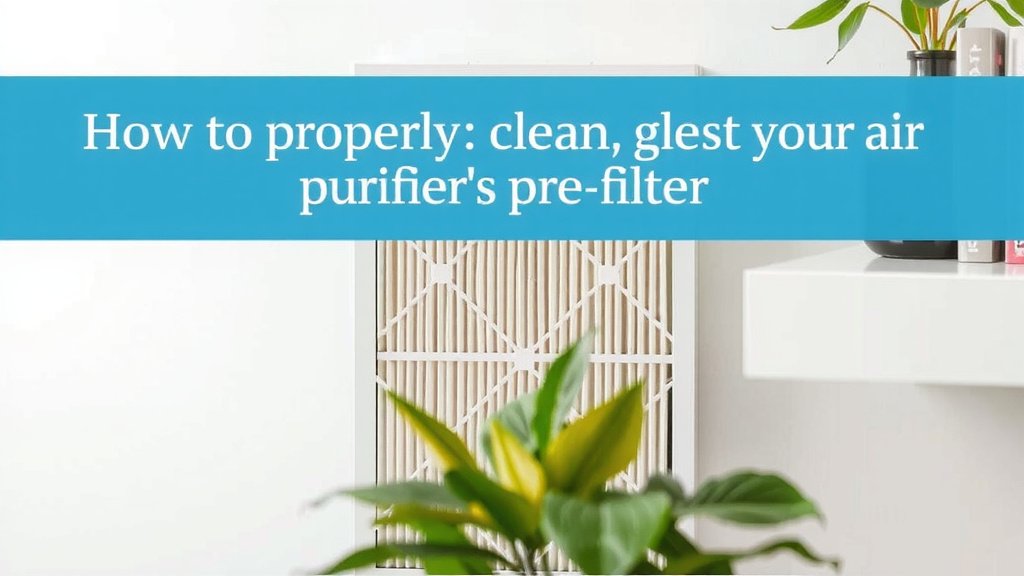
How Often Should You Clean Your Pre Filter?
The frequency depends on your environment. Homes with pets or heavy foot traffic will need more frequent cleaning. If you notice a visible layer of dust or if your air purifier seems less effective, it’s likely time.
General Recommendations
Most manufacturers recommend cleaning the pre filter every 2-4 weeks. For specific advice, always refer to your air purifier’s user manual. If you live in an area with high pollution or have allergies, you might need to clean it even more often. We found that regular checks help maintain optimal performance (CDC).
Signs It’s Time for a Clean
Besides visible dust, listen to your purifier. If it’s suddenly louder or seems to be running constantly on a higher setting to maintain air quality, the pre filter might be the culprit. Reduced airflow from the vents is another clear sign.
Conclusion
You’ve learned how simple it is to clean your air purifier’s pre filter. By regularly vacuuming or rinsing this first line of defense, you ensure your air purifier runs efficiently. This not only improves the air quality in your home but also extends the life of your main filters and saves energy. Don’t let a clogged pre filter hinder your device’s performance. Make cleaning it a regular part of your home maintenance routine.
Your next step: Check your air purifier’s manual and schedule your first pre filter cleaning within the next two weeks!
Frequently Asked Questions
How do I know if my air purifier’s pre filter is dirty?
Look for a visible layer of dust, lint, or pet hair on the pre filter. If your air purifier seems louder than usual or if you notice reduced airflow from the vents, it’s likely time for a cleaning. Research suggests these are clear indicators of a clogged filter.
Can I use soap or detergent to clean the pre filter?
Generally, it’s best to avoid soaps and detergents unless your air purifier’s manual specifically allows it. Residue from cleaning agents can sometimes affect air quality or damage the filter material. Cool running water is usually sufficient.
How long does it take for the pre filter to dry?
Drying time can vary depending on humidity and air circulation. It typically takes anywhere from a few hours to a full day. Ensure the pre filter is completely dry before reinserting it to prevent mold or damage to your unit.
Is it okay to put a damp pre filter back into the air purifier?
No, absolutely not. A damp pre filter can lead to mold and mildew growth inside your air purifier, which can then be dispersed into your home’s air. It can also damage internal electronic components. Always wait until it’s bone dry.
Can I wash my HEPA filter like the pre filter?
No, you cannot wash your HEPA filter. HEPA filters are designed to capture very fine particles and are typically not washable. Washing them would damage their delicate structure. Only the pre filter is meant for washing or vacuuming.