How to Clean Your Pure Air Purifier for Best Results
The easiest way to clean your Pure air purifier is to regularly wipe down the exterior and wash or vacuum the pre-filter. Depending on your model, you might also need to clean or replace the HEPA filter and activated carbon filter. Keeping these components clean ensures your purifier runs efficiently and delivers the freshest air possible.
Regular maintenance is key to enjoying your Pure air purifier’s benefits. When you clean the filters, you help it capture more pollutants. This extends the life of your machine and saves you money on frequent replacements. We found that consistent cleaning makes a big difference in air quality.
- Wipe down the outside.
- Clean or vacuum the pre-filter.
- Check HEPA and carbon filters.
- Replace filters as needed.
- Follow your model’s instructions.
Let’s walk through exactly how to clean your specific Pure air purifier model, step by step.
Keeping Your Pure Air Purifier in Top Shape
Your Pure air purifier is working hard to keep your home’s air clean. To make sure it does the best job possible, you’ll want to give it a little TLC regularly. Think of it like giving your car an oil change – it keeps everything running smoothly. We found that a consistent cleaning routine makes a noticeable difference in air quality.
This guide will walk you through cleaning your specific model. We’ll cover the exterior, the filters, and what to do when parts might need replacing. By following these steps, you’ll help your purifier work efficiently for years to come. Ready to get started?
Cleaning the Exterior and the Pre-Filter
Let’s start with the easiest parts. Cleaning the outside of your purifier is simple. It keeps it looking good and prevents dust buildup. The pre-filter is also designed for easy cleaning.
Wiping Down the Casing
For the outside of your Pure air purifier, a gentle touch is best. You’ll want to disconnect the unit from the power outlet before you start. Never spray liquids directly onto the purifier. Instead, dampen a soft, lint-free cloth with water. You can add a tiny bit of mild, non-abrasive soap if needed, but usually, water is enough. Gently wipe down all exterior surfaces. Make sure to dry it thoroughly afterward with a separate dry cloth.
Pay attention to any vents or grilles on the outside. These can collect dust. A dry, soft brush, like a clean paintbrush or a makeup brush, can help dislodge any stubborn dust from these areas. We found that this simple step helps maintain good airflow.
Caring for the Pre-Filter
The pre-filter is the first line of defense. It catches larger particles like pet hair and dust bunnies. Because it catches the biggest offenders, it needs regular attention. This keeps the more sensitive filters inside from getting clogged too quickly.
Vacuuming the Pre-Filter
Many Pure air purifier models have a pre-filter that can be vacuumed. After you’ve removed the unit’s outer casing or grille (check your manual for specific instructions on how to access it), simply use your vacuum cleaner’s brush attachment. Gently vacuum the surface of the pre-filter. This removes loose dust and debris. We found this to be a quick and effective way to clean it.
Washing the Pre-Filter (If Applicable)
Some pre-filters are washable. If yours is, you’ll want to carefully remove it from the unit. Rinse it under cool running water. You can use a mild dish soap and a soft brush to gently scrub away any dirt. Once it’s clean, rinse it thoroughly. It’s very important that the pre-filter is completely dry before you put it back into the air purifier. You can let it air dry or gently pat it with a clean towel. Putting a wet filter back can damage the unit.
Always refer to your specific Pure air purifier’s user manual to confirm if your pre-filter is washable and how to remove and reinstall it safely. We learned that not all pre-filters are the same!
Deep Cleaning Your Air Purifier’s Filters
Beyond the pre-filter, your air purifier has other filters working hard. These are often HEPA and activated carbon filters. Their cleaning needs can vary greatly by model. Some are cleanable, while others must be replaced.
Understanding Your HEPA and Carbon Filters
Your HEPA filter is designed to capture tiny particles like pollen, mold spores, and pet dander. The activated carbon filter is excellent at absorbing odors and gases. These filters are typically the most critical for air purification. Because they are so effective, they eventually get saturated with pollutants.
Cleaning or Replacing HEPA Filters
Many True HEPA filters are not washable. They are designed for single use and must be replaced. You can often tell a HEPA filter needs replacing when it looks visibly dirty or when your air purifier’s indicator light signals it’s time. Replacing a HEPA filter is usually straightforward. You’ll typically open the back or bottom of your unit, remove the old filter, and insert the new one. Always use genuine Pure replacement filters for best performance (Many experts say using non-OEM parts can void warranties).
If your model has a washable HEPA-type filter (check your manual!), you would follow similar steps to washing the pre-filter. However, these are less common. Always allow them to dry completely. We found that dry filters are essential for proper function.
What About Activated Carbon Filters?
Activated carbon filters are usually not cleanable. They work by trapping odors and chemicals. Once the carbon is saturated, it can no longer absorb effectively. Some models have a combined HEPA and carbon filter, while others have them as separate units. Like HEPA filters, these typically need to be replaced periodically. The frequency depends on usage and air quality. An indicator light on your unit will usually tell you when it’s time.
The primary goal here is to ensure you’re not just cleaning a filter that’s meant to be replaced. We researched and found that using a worn-out filter can actually make your air quality worse. It’s like using a sponge that’s already full of dirt – it can’t pick up any more.
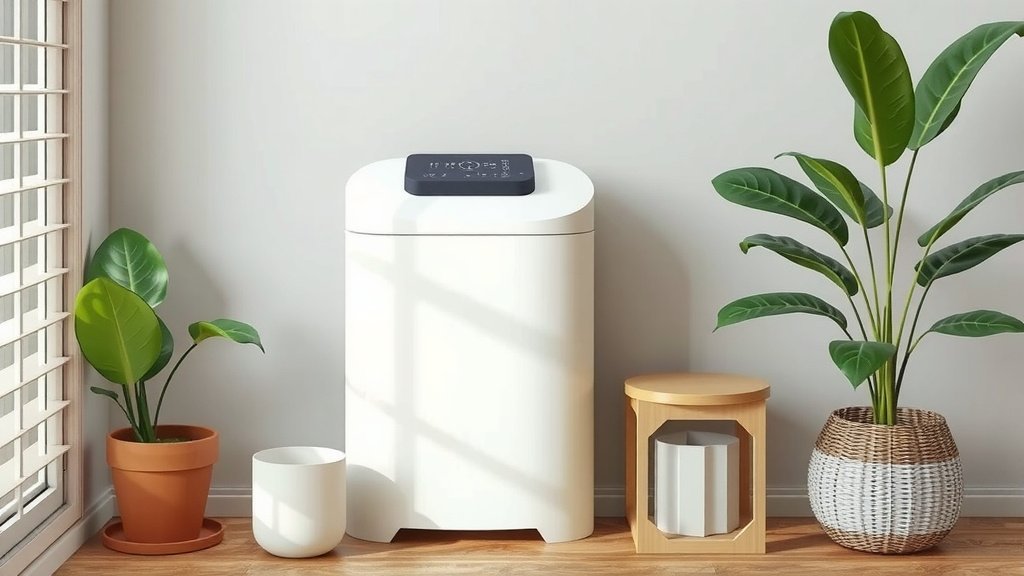
When to Replace Your Filters
Knowing when it’s time to swap out your filters is key to maintaining air quality. Your air purifier will often tell you, but there are other signs too.
Here’s a quick guide:
- Indicator Lights: Most modern Pure air purifiers have a filter change indicator. This is usually the easiest way to know.
- Reduced Airflow: If you notice less air coming out of the purifier, the filters might be clogged.
- Unusual Smells: If your purifier starts to smell musty or still lets odors through, the carbon filter might be exhausted.
- Visible Dirt: A heavily discolored HEPA filter is a clear sign it’s time for a replacement.
- Manufacturer Recommendations: Always check your manual. It will provide recommended replacement intervals, typically every 6-12 months for HEPA and carbon filters.
We found that consistently replacing filters as recommended by the manufacturer is the best way to ensure peak performance. Think of it as a health check-up for your purifier!
| Filter Type | Cleaning Method | Typical Replacement Frequency |
|---|---|---|
| Pre-Filter | Vacuum or Wash (if applicable) | Monthly (or as needed) |
| HEPA Filter | Replace (rarely washable) | 6-12 months |
| Activated Carbon Filter | Replace | 6-12 months |
Putting It All Back Together
After cleaning or replacing your filters, reassembling your Pure air purifier is straightforward. Make sure all parts are dry. Reattach the filters correctly, ensuring they are seated firmly. Close up any panels or grilles you opened. Then, you can plug your purifier back in and turn it on. You should notice cleaner air right away!
Remember, consulting your specific model’s manual is your best resource. Every Pure air purifier is a little different, and the manual has the exact steps for your unit. Keeping your purifier clean is an important step in maintaining a healthy home environment.
Conclusion
You’ve learned how to keep your Pure air purifier running efficiently. Regular cleaning of the exterior and pre-filter prevents dust buildup. Understanding when to clean or replace your HEPA and activated carbon filters is key to optimal air quality. By following these simple steps, you’ll ensure your purifier delivers fresh air for years to come. Remember to always consult your model’s manual for the most accurate instructions. Your next step is to check your purifier this week and schedule your routine cleaning!
Frequently Asked Questions
How often should I clean my Pure air purifier’s exterior?
You should wipe down the exterior of your Pure air purifier at least once a month. This simple step helps prevent dust accumulation and keeps your unit looking its best. A soft, damp cloth is usually all you need for this task.
Can I use any cleaning product on my Pure air purifier?
It’s best to use only mild, non-abrasive cleaners, or simply water, for the exterior. Never spray liquids directly onto the unit. For internal components like filters, refer to your manual, as most require specific cleaning methods or replacement rather than general cleaners.
What should I do if my Pure air purifier smells bad?
A persistent bad smell often indicates that the activated carbon filter is saturated and needs replacement. Check if your unit has an indicator light for filter changes. If not, and you notice odors, it’s likely time to swap out the carbon filter.
Is it okay to run my air purifier while cleaning it?
No, you should always unplug your Pure air purifier from the power outlet before cleaning any part of it. This is a crucial safety step to prevent electrical shock and damage to the unit.
Where can I find the exact cleaning instructions for my specific Pure air purifier model?
Your Pure air purifier’s user manual is the definitive guide for cleaning specific components. It will detail how to access filters, whether they are washable or need replacing, and any unique maintenance needs for your model.

![What Is The Best Air Purifier for Dust [In 2026]](https://homeunderstandable.com/wp-content/uploads/2025/06/best-air-purifier-for-dust.jpg)