How to Clean Your Veva Air Purifier for Better Air
The easiest way to clean your Veva air purifier is to regularly wipe down the exterior and clean or replace the filters as recommended. Keeping your Veva clean ensures it runs efficiently and continues to provide fresh air for your home. You’ll want to do this about once a month, or more if you have pets or allergies.
A clean air purifier means cleaner air for you and your family. Over time, dust and debris can build up, making your purifier work harder. This can reduce its effectiveness and even lead to unwanted odors. Properly maintaining your Veva unit is key to its longevity and performance. Many experts agree that consistent cleaning is a simple yet effective habit.
TL;DR:
- Unplug your Veva air purifier first.
- Wipe down the outside with a damp cloth.
- Clean or replace filters monthly.
- Check your Veva manual for specifics.
- Regular cleaning means better air quality.
Let’s walk through exactly how to get your Veva air purifier sparkling clean, step by step.
Keeping Your Veva Air Purifier in Top Shape
Regular cleaning of your Veva air purifier is essential for ensuring you get the freshest air possible. Think of it like giving your purifier a spa day! It helps it run efficiently and prevents dust bunnies from staging a takeover. We’ll guide you through a simple cleaning routine to keep your Veva working its best.
A Quick Guide to Veva Air Purifier Maintenance
Maintaining your Veva air purifier doesn’t require a PhD in engineering. It’s mostly about a few straightforward tasks done regularly. We found that a monthly check-in is generally recommended by most manufacturers and air quality experts.
Safety First: Always Unplug!
Before you even think about touching your Veva, the **most important first step** is to unplug it from the wall. This protects you from any electrical mishaps. It’s like turning off the water before fixing a leaky faucet. We don’t want any surprises, right?
Wiping Down the Exterior
Your Veva’s outer shell can gather dust and grime, just like any other piece of furniture. To clean it, grab a **soft, damp cloth**. Avoid using harsh chemicals or abrasive cleaners, as these can damage the plastic. Gently wipe down all the surfaces, including the control panel. Make sure the cloth is only damp, not wet, to prevent water from getting inside the unit. Some light smudges might be stubborn, but a little gentle pressure should do the trick.
Cleaning the Pre-Filter
Many Veva models include a pre-filter. This is often the first line of defense against larger particles like pet hair and dust. It’s usually a washable screen.
Checking and Cleaning Your Pre-Filter
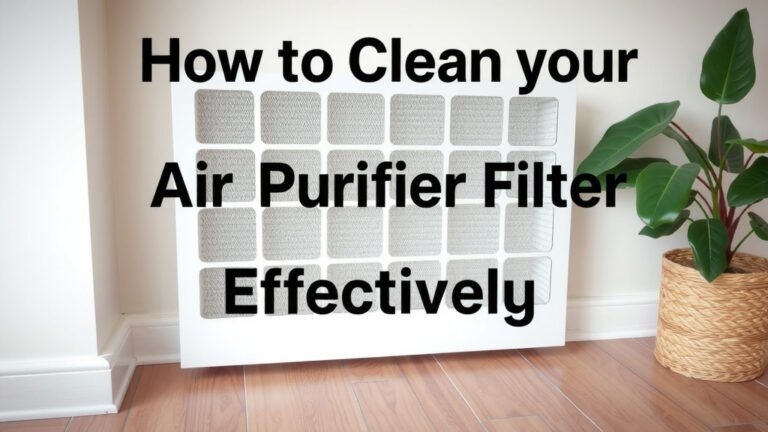
Locate your Veva’s pre-filter. You might need to open the front panel. Once you have it out, take it to a sink. You can usually **rinse it under cool running water**. For stubborn dust or grime, a mild dish soap can be used. Gently scrub it with your hands or a soft brush. After rinsing, **let it air dry completely** before putting it back. Never put a damp pre-filter back into the unit; moisture can lead to mold growth, and nobody wants that.
Caring for Your Veva’s HEPA and Activated Carbon Filters
The heart of your Veva air purifier lies in its HEPA and activated carbon filters. These are designed to capture tiny particles and odors. These filters are typically **not washable**. Attempting to wash them can damage their delicate structure and reduce their effectiveness.
When to Replace Your Filters
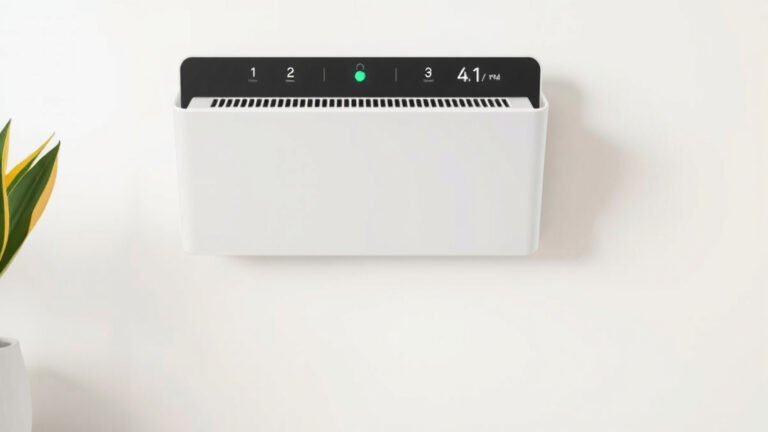
HEPA and activated carbon filters have a lifespan. They get clogged with pollutants over time. You’ll usually find a filter indicator light on your Veva that will alert you when it’s time for a change. If you don’t have an indicator light, consult your Veva owner’s manual. Many sources suggest replacing these filters every 6 to 12 months, depending on usage and air quality. For example, if you live in a highly polluted area or have multiple pets, you might need to replace them sooner. We found that the CDC recommends maintaining air filtration systems to improve indoor air quality.
How to Replace the Filters
Replacing the filters is usually quite simple. First, ensure your Veva is **unplugged and powered off**. Open the air purifier to access the old filters. Note the orientation of the filters before removing them, as some have a specific way they need to be installed. Dispose of the old filters properly. Then, insert the new, genuine Veva replacement filters, making sure they fit snugly. Close up the unit securely. After replacing, you may need to reset the filter indicator light, which is usually done by pressing and holding a specific button. Your Veva manual will have the exact instructions for your model.
Cleaning the Vents and Internal Fan
Dust can also sneak into the vents and onto the fan blades. This can affect airflow and reduce efficiency.
Gently Cleaning Vents
Use a vacuum cleaner with a brush attachment to gently clean the air intake and outlet vents. This is a great way to suck out trapped dust. Be careful not to push the dust further into the unit. For areas the vacuum can’t reach, a soft brush or a can of compressed air can be very helpful. A quick blast of air can dislodge stubborn dust particles from the vents.
Accessing the Fan (If Necessary)
In some cases, you might need to access the fan for a more thorough cleaning. This is less frequent but important for optimal performance. Again, check your Veva manual for specific instructions on how to safely access and clean the fan blades. Often, a slightly damp cloth or a vacuum brush can be used to wipe down the blades. **Ensure the unit is completely dry** before reassembling and plugging it back in.
When to Refer to Your Veva Manual
Every Veva model might have slightly different cleaning requirements. Your owner’s manual is your **best resource** for model-specific information. It will detail how to access filters, reset indicators, and any unique cleaning tips for your particular unit. We found that manufacturers usually provide clear diagrams and instructions to make maintenance easy.
Your Veva Cleaning Checklist
Here’s a quick rundown to keep your Veva purring:
- Unplug the unit.
- Wipe down the exterior.
- Clean or replace the pre-filter.
- Replace HEPA and carbon filters as needed.
- Dust the vents and fan.
- Check your manual for specific guidance.
A Table for Quick Filter Reference
Here’s a general idea of filter lifespans. Always refer to your Veva manual for the most accurate information.
| Filter Type | Approximate Lifespan | Cleaning Recommendation |
|---|---|---|
| Pre-Filter | Washable; depends on dust levels | Rinse monthly or as needed |
| HEPA Filter | 6-12 months | Do not wash; replace |
| Activated Carbon Filter | 6-12 months | Do not wash; replace |
Remember, a clean air purifier is a happy air purifier. It works harder for you when you give it a little attention. These simple steps will help ensure your Veva continues to deliver clean, fresh air to your home for a long time.
Conclusion
You’ve learned how simple it is to keep your Veva air purifier running smoothly. Regular cleaning, especially of the pre-filter and exterior, makes a big difference. Remember to always unplug your unit before starting and check your manual for model-specific guidance. Replacing the HEPA and activated carbon filters at the recommended intervals is key to maintaining air quality. By following these steps, you ensure your Veva continues to provide the clean, fresh air you deserve. Your next step? Schedule a quick monthly check-in to keep your purifier in top condition.
Frequently Asked Questions
How often should I really clean my Veva air purifier?
For most homes, a monthly cleaning routine is ideal. This includes wiping down the exterior and cleaning the pre-filter. If you have pets, allergies, or live in a dusty area, you might find yourself cleaning it more often to maintain optimal performance.
Can I wash the HEPA filter in my Veva?
No, you should never wash the HEPA filter. Its delicate structure is designed to trap tiny particles. Washing it can damage the filter and make it less effective. Always replace HEPA filters as recommended by your Veva manual.
What if my Veva doesn’t have a filter indicator light?
If your model lacks an indicator light, your Veva owner’s manual is your best friend. It will provide specific guidance on filter replacement intervals, often suggesting 6 to 12 months for HEPA and carbon filters based on typical usage.
Are generic replacement filters as good as genuine Veva filters?
While generic filters might seem cheaper, genuine Veva filters are designed to fit and perform optimally with your specific unit. We found that using non-genuine filters can sometimes lead to reduced efficiency or even damage to your purifier.
How can I tell if my Veva air purifier needs cleaning beyond routine maintenance?
Listen for unusual noises like rattling or buzzing, or notice a decrease in the airflow coming from the unit. If you start to detect faint odors that weren’t there before, these are also signs that your purifier might need a more thorough cleaning or filter replacement.