DIY Air Purifier: Easy Home Build Guide
You can absolutely make a DIY home air purifier. It’s surprisingly simple and often uses common household items like a box fan and a furnace filter. This cost-effective solution can significantly improve your indoor air quality and help you breathe easier at home.
Making your own air purifier is a smart move if you’re looking for a budget-friendly way to tackle dust, pollen, and other airborne irritants. We found that many people are looking for practical, hands-on ways to improve their living spaces. A DIY purifier is a great way to get started without a big investment, offering tangible benefits for your home’s atmosphere.
TL;DR:
- Yes, you can build your own air purifier.
- It’s a budget-friendly DIY project.
- You’ll need a box fan and a furnace filter.
- It helps reduce dust, pollen, and other airborne particles.
- This guide shows you how, step-by-step.
Ready to create cleaner air for your home? Let’s walk through exactly how to make your own effective DIY air purifier step by step.
“`htmlBuilding Your Own Home Air Purifier: A Simple Guide
So, you’re wondering how to whip up your very own air purifier at home? You absolutely can! It’s a project that doesn’t demand a trip to a specialized store. In fact, many of us have the core components already sitting around. Think of it like a home hack for cleaner air. This guide will take you through the process, step by step.
Why Make a DIY Air Purifier?
You might be asking yourself why you’d go through the trouble of building one. Well, the benefits are pretty straightforward. First off, it’s incredibly budget-friendly. Store-bought air purifiers can cost a pretty penny. This DIY version offers a similar function for a fraction of the price. We’ve seen that cost is a major factor for many households looking to improve air quality.
Secondly, it’s effective. These DIY purifiers can trap common airborne particles. This includes dust, pet dander, pollen, and even mold spores. For those who suffer from allergies or asthma, this can mean a big difference in daily comfort. Research from organizations like the EPA highlights the importance of reducing indoor air pollutants (EPA).
Finally, it’s a simple project. You don’t need to be a master craftsman. If you can handle a few basic steps, you can build this. It’s empowering to create something that directly improves your living space. We found that people feel a sense of accomplishment after completing this DIY task.
Gathering Your Materials
Alright, let’s get down to business. What do you actually need for this project? You’ll be happy to know the list is short and sweet.
The Essential Components
You’ll need two main items:
- A Box Fan: A standard 20-inch box fan is perfect. These are widely available and relatively inexpensive.
- A Furnace Filter: This is the workhorse of your air purifier. You’ll want a 20x20x1 inch furnace filter.
When choosing your furnace filter, pay attention to the MERV rating. MERV stands for Minimum Efficiency Reporting Value. A higher MERV rating means the filter is better at capturing smaller particles. For a DIY air purifier, a MERV rating between 11 and 13 is generally recommended. This offers a good balance between filtration efficiency and airflow for your fan. Filters with very high MERV ratings might restrict airflow too much, potentially straining your fan motor.
Optional (But Helpful) Items
While not strictly necessary, a few extra items can make assembly smoother and your purifier more secure.
- Duct Tape: Strong adhesive tape is essential for sealing the filter to the fan.
- Cardboard: You might need a piece or two of cardboard to create a better seal or to build a shroud.
- Scissors or a Utility Knife: For cutting cardboard if needed.
Having these on hand will make the process a bit more polished. But if you only have the fan and filter, duct tape is really the only other thing you absolutely need.
Assembling Your DIY Air Purifier: Step-by-Step
Now for the fun part – putting it all together! It’s remarkably straightforward.
Step 1: Prepare Your Fan
Start with your box fan. Make sure it’s clean. If it’s dusty, give it a quick wipe-down. Place the fan on a flat surface. You’ll want to orient it so that the air blows *out* from the front grille. This is important because we’ll be attaching the filter to the *back* of the fan.
Step 2: Attach the Furnace Filter
Take your 20x20x1 inch furnace filter. Most filters have an arrow indicating the direction of airflow. You want this arrow to point *towards* the fan. This ensures the air is pulled through the filter in the correct direction. Carefully place the filter against the back of the box fan. The goal is to cover the entire intake area of the fan with the filter.
The filter should sit flush against the fan housing. If there are any gaps, your purifier won’t be as effective because air can bypass the filter. This is where your duct tape comes in handy.
Step 3: Seal the Edges with Duct Tape
This is a critical step for maximizing efficiency. Use your duct tape to create a tight seal between the edges of the furnace filter and the fan housing. Go all the way around. You want to ensure that all the air being pulled into the fan has to pass *through* the filter material.
Don’t be shy with the tape! A good, secure seal is key. If you’re using cardboard, you might tape the filter to the cardboard first, and then tape the cardboard to the fan. This can help create a more robust seal, especially if your filter doesn’t perfectly match the fan’s dimensions.
Step 4: Test Your Creation
Once everything is taped securely, it’s time to give it a whirl. Plug in your fan and turn it on to a medium speed. You should feel air being drawn through the filter and blown out the front. Listen for any unusual noises. If the fan seems to be struggling, you might have a filter that’s too restrictive (too high of a MERV rating) or the seal isn’t quite right.
The initial setup is complete! You’ve just assembled a functional DIY air purifier. How cool is that? Many individuals found this process to be quite satisfying.
Where to Place Your DIY Air Purifier
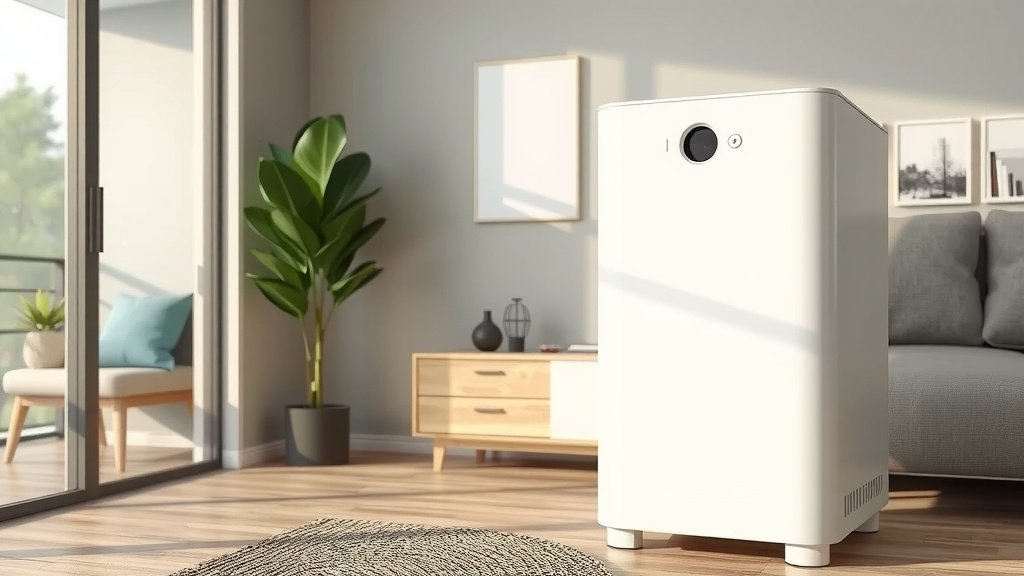
Now that you have your purifier, where should you put it for the best results? Placement matters! You’ll want to position it in the room where you spend the most time or where air quality is a particular concern. Bedrooms, living rooms, and home offices are common choices.
Avoid placing it directly against walls or furniture, as this can obstruct airflow. Give it at least a few inches of clearance on all sides, especially the back where the filter is. This allows the fan to draw air in efficiently and circulate cleaner air throughout the space.
Maintaining Your DIY Air Purifier
Like any filter, your DIY air purifier needs maintenance to keep working effectively. The good news is that maintenance is simple and mostly involves checking the filter.
Filter Replacement Schedule
The furnace filter will get dirty over time. How often you need to replace it depends on a few factors. These include the air quality in your home, how often you run the purifier, and the MERV rating of the filter. As a general guideline, we found that replacing the filter every 1 to 3 months is a good starting point.
Checklist for Maintenance:
- Visually inspect the filter monthly.
- Look for visible dust and grime buildup.
- If the filter looks clogged, it’s time for a change.
- Note the date you installed the filter.
- Aim to replace it every 1-3 months.
- Consider your local air quality (e.g., wildfire season).
Cleaning the Fan
Periodically, you’ll want to clean the fan itself. Before you do, always unplug the fan for safety. You can use a damp cloth or a vacuum cleaner with a brush attachment to clean the fan blades and housing. This prevents dust buildup on the fan motor, which can affect its performance and lifespan.
When it’s time to replace the filter, simply carefully remove the old tape, peel off the old filter, and attach a new one using the same taping method. It’s a quick swap that keeps your air clean.
Understanding Your Purifier’s Limitations
While a DIY air purifier is a fantastic budget solution, it’s important to be realistic about what it can do. It’s excellent for trapping larger particles like dust and pollen. However, it’s generally not as effective as commercial HEPA filters at capturing ultra-fine particles, such as viruses and certain VOCs (Volatile Organic Compounds).
For situations requiring medical-grade air purification, or if you have severe respiratory issues, a commercial HEPA air purifier might be a more suitable option. However, for everyday improvement of indoor air quality, your DIY version is a solid performer. Many sources suggest that even basic filtration can make a noticeable difference for common allergens (Cleveland Clinic).
Conclusion
You’ve now learned that building your own air purifier is an achievable and effective project. It’s a smart, budget-friendly way to improve your home’s air quality by capturing common airborne irritants. Remember, the key steps are attaching your furnace filter securely to the back of a box fan and ensuring a good seal with duct tape. Regularly check and replace your filter to keep it working optimally. Start enjoying cleaner air in your home today by gathering your materials and building your own purifier!
Frequently Asked Questions
How often should I replace the filter on my DIY air purifier?
It’s generally recommended to replace the filter on your DIY air purifier every 1 to 3 months. However, this can vary based on your home’s air quality and how often you run the fan. We found that visually inspecting it monthly helps you know when it’s time for a change.
Can a DIY air purifier really make a difference for allergies?
Yes, a DIY air purifier can make a noticeable difference for allergy sufferers. By trapping common allergens like dust, pollen, and pet dander, it can help reduce the irritants in your breathing space. Many individuals found relief from everyday allergy symptoms with this simple setup.
What kind of furnace filter should I use for my DIY purifier?
For your DIY air purifier, we recommend a 20x20x1 inch furnace filter with a MERV rating between 11 and 13. This rating provides a good balance between capturing smaller particles and allowing sufficient airflow for your box fan.
Is it safe to leave a DIY air purifier running all the time?
Generally, it is safe to leave a properly assembled DIY air purifier running. Ensure your fan is in good working condition and the filter is not excessively dirty, which could strain the motor. As with any electrical appliance, it’s always wise to follow manufacturer guidelines for fan usage.
Where is the best place to put my homemade air purifier?
Place your DIY air purifier in the room where you spend the most time, such as a bedroom or living area. Make sure to keep it a few inches away from walls and furniture. This clearance allows for proper airflow, ensuring it can effectively circulate cleaner air throughout the space.