How to Change Your Air Purifier Filter: A Simple Guide
Changing your air purifier filter is a simple but essential maintenance task. You can typically swap out an air purifier filter in under 15 minutes. It’s a straightforward process that keeps your air clean and your purifier running efficiently. Just remember to unplug your unit first for safety.
Regularly replacing your air purifier’s filter is key to maximizing its effectiveness. A clogged filter can’t capture pollutants as well, and may even reduce airflow. Many experts suggest changing filters every 6 to 12 months, depending on your model and air quality. This simple step ensures you’re always breathing the cleanest possible air.
- Unplug your air purifier before starting.
- Locate the filter cover and open it.
- Remove the old filter and dispose of it.
- Insert the new filter, ensuring it’s correctly aligned.
- Close the cover and plug the unit back in.
Ready to get started? Let’s walk through exactly how to change your air purifier filter, step by step, to get your system back in top shape.
Performing Your Air Purifier Filter Change
Swapping out your air purifier’s filter is a routine task. It ensures your home continues to breathe easy. You’ll likely spend less than 15 minutes on this. It’s a straightforward process that keeps your air clean. It also helps your purifier run at its best efficiency. Always remember to unplug your unit first for safety.
This process might seem a bit daunting at first. But really, it’s quite simple. Think of it like changing the filter on your vacuum cleaner. You’re just making sure the machine can do its job well. A clean filter means better airflow and more pollutant capture. Many experts suggest changing filters every 6 to 12 months. This timeline can vary based on your specific model and how much dust or allergens are in your air. This simple step guarantees you’re always breathing the cleanest air possible.
Gathering Your Supplies Before You Begin
Before you dive in, it’s smart to have everything ready. This prevents you from stopping halfway through. You’ll need your new replacement filter. Make sure it’s the correct model for your air purifier. Check your purifier’s manual if you’re unsure. You might also want a damp cloth or paper towel. This is for wiping down the inside of the filter compartment. A small trash bag is handy for the old filter.
Choosing the Right Replacement Filter
Finding the correct filter is the most important first step. Using the wrong one can harm your purifier. It might also lead to less effective air cleaning. Most manufacturers have a specific filter number or model name. You can usually find this on the side of the old filter or in your purifier’s manual. Online retailers and the manufacturer’s website are good places to look. Always buy filters from reputable sources to avoid counterfeits.
Understanding Filter Lifespan and Indicators
How often you need to change your filter depends on a few things. The usage of your air purifier plays a big role. So does the air quality in your home. If you live in a busy city, you might need to change it more often. Pets, allergies, and smoking can also shorten filter life. Many modern air purifiers have a filter change indicator light. This light will turn on when it’s time for a swap. If yours doesn’t, consult your manual for recommended replacement intervals. We found that many users who replace their filters more frequently report noticeably cleaner air.
Step-by-Step Guide to Changing Your Air Purifier Filter
Now, let’s get to the actual process. It’s quite straightforward, so don’t worry. Just follow these steps carefully.
Step 1: Safety First – Unplug Your Unit
This is non-negotiable! Always, always unplug your air purifier from the wall outlet before doing anything else. It’s a simple step but incredibly important for your safety. You don’t want any electrical accidents while you’re working. Make sure the power cord is fully removed from the socket.
Step 2: Locate and Open the Filter Compartment
The filter is usually located at the back or the bottom of your air purifier. You’ll often see a panel or a cover that you need to open. Some units have latches, clips, or screws. Others might just have a cover that lifts off. Refer to your owner’s manual if you’re having trouble finding it. Some designs are trickier than others, but most pop open with a little pressure or a gentle nudge.
Identifying the Filter Cover
Look for seams or lines on the unit that suggest a panel. Often, there’s an arrow indicating which way to push or slide the cover. Manufacturers design these to be accessible but sometimes a bit hidden. If you see no obvious clips or latches, try gently wiggling the suspected panel. It might just slide or lift right off.
Step 3: Remove the Old Filter and Dispose of It
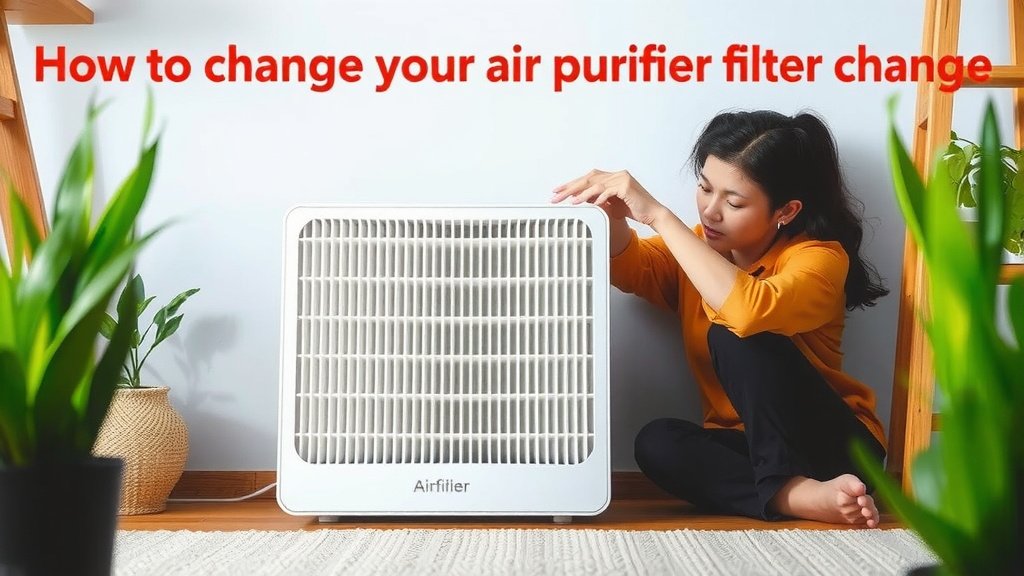
Once the compartment is open, you’ll see the old filter. It might look gray, dusty, or even black, depending on how long it’s been in there. Gently pull the old filter out. Be careful not to spill any trapped dust. Some users like to place the old filter into a plastic bag immediately. This prevents dust from escaping into the room. We found that doing this makes the whole process much cleaner.
This old filter has done its job capturing tiny particles. It’s full of dust, pollen, pet dander, and other airborne irritants. It’s no longer effective at cleaning your air. It’s time to say goodbye to it. Dispose of it properly according to your local waste disposal guidelines. It’s not something you can clean and reuse.
Step 4: Install the New Filter Correctly
Now, take your brand-new filter. Most filters have a specific way they need to be inserted. Look for an “airflow” or “front” indicator on the filter itself. This tells you which side faces outward or inward. It’s designed to direct air through the filter media in the most efficient way. Make sure the filter is seated properly in the compartment. It should fit snugly without being forced.
Ensuring Proper Filter Alignment
Double-check that the filter is facing the right direction. If your filter has a plastic frame, ensure it’s sitting flush against the purifier’s housing. Sometimes, a filter might not slide in easily. Don’t force it. Remove it and try again, checking for any obstructions or misalignment. A correctly seated filter ensures optimal performance. It prevents air from bypassing the filter media.
Step 5: Close the Filter Compartment
Once the new filter is in place, it’s time to close up the air purifier. Reattach the filter cover. Make sure it clicks or latches securely into position. If you removed any screws, reinsert and tighten them. You want to ensure there are no gaps. Gaps can allow air to escape unfiltered.
Step 6: Plug In and Power On Your Purifier
Your air purifier is almost ready to go! Plug the power cord back into the wall outlet. Turn your air purifier back on. Most units will automatically detect the new filter. Some may require you to reset the filter indicator light. Check your manual for instructions on how to do this. You’ve successfully changed your air purifier filter!
Quick Checklist for Your Filter Change
- Unplug: Always disconnect power first.
- Open: Locate and open the filter cover.
- Remove: Take out the old filter carefully.
- Insert: Place the new filter, checking alignment.
- Close: Securely close the filter compartment.
- Power Up: Plug in and turn on your purifier.
What to Do After Changing the Filter
After you’ve completed the filter change, you might want to do a quick clean-up. Wipe down the area around the filter compartment. This removes any dust that may have been disturbed. Then, it’s time to enjoy your freshly purified air!
Resetting the Filter Indicator Light
Many air purifiers come with a reminder light that tells you when it’s time to change the filter. After you install the new one, you’ll need to reset this light. The method varies by brand and model. Some common ways include pressing and holding a specific button for a few seconds. Others might involve a sequence of button presses. Your air purifier’s manual will provide the exact instructions for resetting the filter indicator. For example, we found that many Levoit models require you to press and hold the power button for 3 seconds after the unit is on. Not resetting it might lead to annoying blinking lights.
Observing Initial Performance
Once your purifier is back up and running, you might notice a difference. Airflow could feel stronger. You might also notice that your purifier is quieter. Some users report that the air smells fresher immediately after a filter change. This is a good sign that your new filter is working hard. Keep an eye on it for the next few days. You should notice a sustained improvement in your home’s air quality.
Conclusion
You’ve learned how simple it is to change your air purifier filter. It’s a quick task that makes a big difference. Remember to always unplug your unit first for safety. Choosing the right filter and ensuring proper alignment are key steps. You’re now equipped to keep your air purifier running efficiently. Enjoy breathing cleaner, fresher air in your home!
Frequently Asked Questions
How often should I really be changing my air purifier filter?
We found that most manufacturers recommend replacing your filter every 6 to 12 months. However, this can change based on your home’s air quality and how often you use the purifier. If you have pets or allergies, you might need to change it more often.
What happens if I don’t change my air purifier filter?
If you skip filter changes, your air purifier’s effectiveness will drop. A clogged filter can reduce airflow and can’t capture pollutants as well. It might even cause your unit to work harder and use more energy.
Can I clean my air purifier filter instead of replacing it?
Most air purifier filters are designed for single use and cannot be cleaned. Trying to wash or vacuum them can damage the filter material, making it less effective or even unusable. Always check your manual for specific cleaning instructions, but replacement is usually the best option.
My air purifier has an indicator light, but it’s not on. Should I still change the filter?
While the indicator light is a helpful guide, it’s not the only factor. Your manual will suggest an interval, often based on hours of use. If it’s been close to the recommended time, or if you notice decreased airflow or lingering odors, it’s probably a good time to change it.
Can I use a generic filter if I can’t find the exact one for my model?
We advise against using generic filters. Using the correct, manufacturer-approved filter ensures your air purifier works as intended. Generic filters may not fit properly or offer the same level of filtration, potentially harming your unit or reducing air quality.