DIY Natural Air Purifier: Simple Steps for Fresh Air
You can absolutely make a natural air purifier right at home with a few simple supplies. For a truly effective DIY solution, you’ll want to combine the power of activated charcoal with the air-purifying capabilities of certain houseplants. This two-pronged approach can help reduce common indoor pollutants.
Many commercially available air purifiers use HEPA filters and activated carbon. We’ve found that replicating this principle using natural elements can be a surprisingly effective way to improve your home’s air quality. It’s a fantastic way to get cleaner air without the higher cost of store-bought models.
- Combine activated charcoal and houseplants.
- Activated charcoal absorbs odors and toxins.
- Certain plants filter specific airborne particles.
- It’s an affordable and natural solution.
- Easy to set up in any room.
Ready to breathe a little easier? Below, we’ll walk you through exactly how to gather your materials and create your own natural air purifier step by step.
Crafting Your DIY Natural Air Purifier
Making your own natural air purifier is simpler than you might think. It’s a fantastic way to improve the air you breathe using readily available materials. We’ll guide you through the process, focusing on two key components: activated charcoal and air-purifying plants.
Understanding the Power of Activated Charcoal
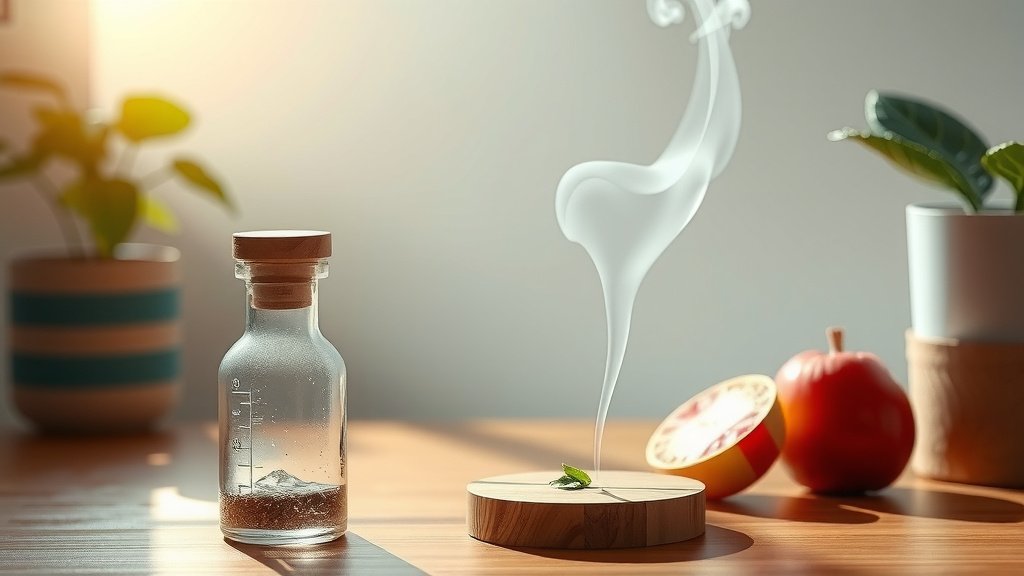
Activated charcoal is essentially charcoal that has been processed to be extremely porous. This porous structure gives it a huge surface area. It’s this surface area that makes it so effective at trapping pollutants. Think of it like a tiny sponge for your air.
Many commercial air filters use activated carbon for this reason. It works by a process called adsorption. Pollutant molecules stick to the surface of the charcoal. It’s not a chemical reaction, but a physical one. This means it can trap a variety of airborne contaminants. Research shows activated charcoal is effective at removing volatile organic compounds (VOCs) and odors (NCBI).
What Activated Charcoal Can Capture
You might be surprised at what this simple material can do. It’s particularly good at tackling:
- Odors: From cooking smells to pet odors, activated charcoal can neutralize them.
- VOCs: These are chemicals found in many household products. Things like paints, cleaning supplies, and even furniture can release VOCs.
- Smoke: If you’re dealing with lingering smoke smells, it can help.
- Other toxins: It can trap certain other microscopic particles in the air.
Choosing the Right Plants for Your Purifier
While activated charcoal handles many microscopic invaders, plants bring their own air-cleaning magic. Certain houseplants are known for their ability to filter specific toxins from the air. NASA even conducted research on this topic. They found that common houseplants could remove benzene, formaldehyde, and trichloroethylene.
You’ll want to pick plants that are known performers. Some are better than others. It’s like choosing the best employees for a team. Each one brings a unique skill set.
Top Plant Picks for Cleaner Air
Here are a few research-backed plants that do a great job:
| Plant Name | What it Helps Remove |
|---|---|
| Spider Plant (Chlorophytum comosum) | Formaldehyde, Xylene |
| Snake Plant (Sansevieria trifasciata) | Formaldehyde, Benzene, Trichloroethylene, Xylene |
| Peace Lily (Spathiphyllum) | Ammonia, Benzene, Formaldehyde, Trichloroethylene |
| Boston Fern (Nephrolepis exaltata) | Formaldehyde, Xylene |
| English Ivy (Hedera helix) | Benzene, Formaldehyde, Trichloroethylene, Xylene |
Remember, even common houseplants contribute. Don’t worry if you can’t find these exact ones. Any healthy, vibrant plant can help improve your indoor environment. Just make sure your chosen plants are safe for any pets or children you might have.
Gathering Your Materials
You don’t need a lot of fancy supplies. Here’s what you’ll need for your natural air purifier project:
- Activated Charcoal: You can find this online or at pet stores (often sold for aquariums). Look for granular or pelletized forms, not powder.
- A Container: This can be a decorative pot, a mason jar, or even a simple bowl. Make sure it’s deep enough.
- A Mesh Liner or Fabric: This is to keep the charcoal from falling through any drainage holes if your container has them. A piece of landscape fabric or fine mesh works well.
- Air-Purifying Plants: Choose one or a few of the plants we mentioned.
- Potting Soil: If your container isn’t already holding a plant.
Assembling Your Natural Air Purifier
Putting it all together is the fun part! Let’s get your purifier ready to work.
Step 1: Prepare Your Container
If your chosen container has drainage holes, you’ll want to cover them. Place a piece of mesh fabric or your liner over the holes. This prevents the charcoal from escaping. If your container has no holes, you can skip this step.
Step 2: Add the Activated Charcoal Layer
Pour a layer of activated charcoal into the bottom of your container. Aim for about 1-2 inches. This layer will sit at the base and work its magic from the ground up.
Step 3: Add Soil and Plant Your Green Friend
Now, add your potting soil on top of the charcoal layer. You want enough soil to comfortably plant your chosen houseplant. Gently place your plant into the soil. Make sure its roots are covered.
Water your plant lightly. You want the soil to be moist, but not waterlogged. The plant will sit above the charcoal layer, allowing both elements to work independently and together.
Step 4: Placement is Key
Where should you put your new air purifier? Think about areas where air might get stagnant. Living rooms, bedrooms, or even home offices are great spots. If you have a particular area that tends to smell musty, try placing it there.
You can even create a few of these and place them around your home. This multiplies their effectiveness. Having multiple, smaller units can be more efficient than one large one for some spaces.
Maintaining Your Natural Air Purifier
These natural purifiers don’t require a lot of upkeep. They are designed to be low-maintenance. However, a little care goes a long way to keep them working effectively.
Plant Care Essentials
Your plant needs the basics: light, water, and occasional feeding. Check the specific needs of your plant variety. Most of the recommended plants are fairly forgiving. They are often called “low-light” or “easy-care” plants for a reason!
As your plant grows, it will continue to help purify the air. Healthy plants are happy plants. They do their best work when they are well-cared for.
Recharging the Activated Charcoal
The activated charcoal can become saturated over time. Eventually, it will stop adsorbing pollutants. You can “recharge” it to extend its life. This is a simple process.
About once a month, you can take the container outside. Let it sit in direct sunlight for several hours. The UV rays from the sun can help release some of the trapped molecules. You’ll find this really boosts its adsorption power again.
If the charcoal seems spent or you notice odors returning significantly, you might need to replace it. This usually happens after several months of use and recharging. Fresh activated charcoal is quite affordable.
A Simple Checklist for Success
Ready to get started? Here’s a quick rundown:
- Gather your activated charcoal and chosen container.
- Select 1-2 air-purifying houseplants.
- Ensure your container has a way to hold the charcoal (mesh liner if needed).
- Add a layer of activated charcoal at the bottom.
- Plant your chosen greenery above the charcoal.
- Place your new purifier in a well-ventilated area of your home.
Conclusion
You’ve learned how to create your own natural air purifier using activated charcoal and houseplants. This DIY approach offers a budget-friendly and effective way to improve your home’s air quality. By combining the adsorptive power of charcoal with the filtering capabilities of plants, you’re creating a dynamic system for cleaner air. Don’t hesitate to set up your first natural purifier today. Your home and your lungs will thank you for it!
Frequently Asked Questions
How often should I recharge the activated charcoal?
You can recharge your activated charcoal by placing it in direct sunlight for several hours about once a month. This helps release trapped pollutants and extends its effectiveness. You’ll notice it working better after sun exposure.
Can I use activated charcoal powder instead of granules?
It’s best to use granular or pelletized activated charcoal, not powder. Powder can be messy and may easily pass through any mesh you use, reducing its effectiveness in your DIY purifier. Granules are easier to manage and more efficient for this purpose.
What if I don’t have the exact plants listed?
Don’t worry if you can’t find those specific plants! Most healthy houseplants contribute to better air quality to some extent. Choose any vibrant, well-cared-for plant you like, keeping in mind its light and water needs.
How do I know when to replace the activated charcoal completely?
If you notice a significant return of odors or pollutants even after recharging, it might be time for a replacement. Typically, activated charcoal lasts several months before needing to be swapped out for fresh material. New charcoal is quite inexpensive.
Can I combine multiple plants with my activated charcoal?
Absolutely! You can combine several of the recommended air-purifying plants with your activated charcoal layer. This allows you to tackle a wider range of pollutants and adds a beautiful, lush element to your DIY air purifier.