DIY Air Purifier: Build One With a Fan
Yes, you can absolutely make your own air purifier using a common box fan and a furnace filter. This DIY solution is a surprisingly effective way to clean your indoor air, especially for larger rooms. It’s a budget-friendly alternative to store-bought units.
Many people are looking for ways to improve their home’s air quality without spending a lot of money. This simple fan-and-filter setup can help capture common airborne particles like dust, pet dander, and pollen. We found that it’s a popular and practical solution for many households seeking cleaner air at home.
- You can make an air purifier with a box fan and furnace filter.
- It’s a cost-effective DIY project.
- Helps remove dust, dander, and pollen.
- Easy to assemble and requires minimal tools.
- A great alternative to expensive commercial purifiers.
Ready to breathe a little easier? Let’s walk through exactly how you can build your own air purifier step by step.
Building Your Own Air Purifier with a Fan and Filter
You’re likely here because you want cleaner air without a hefty price tag. We’ve found that a simple DIY air purifier using a common box fan and a furnace filter is a **fantastic and affordable solution**. It’s a project that many people can complete in under an hour.
This setup works by pulling air through a filter, trapping particles before the fan blows the cleaned air back into your room. It’s a straightforward concept with **real benefits for your home’s air quality**. Let’s get you set up to build one yourself.
Gathering Your Materials
You won’t need a specialized workshop for this project. Most of what you need is readily available at your local hardware or home improvement store, and you might even have some items already.
The Essential Components
Here’s what you’ll need to gather:
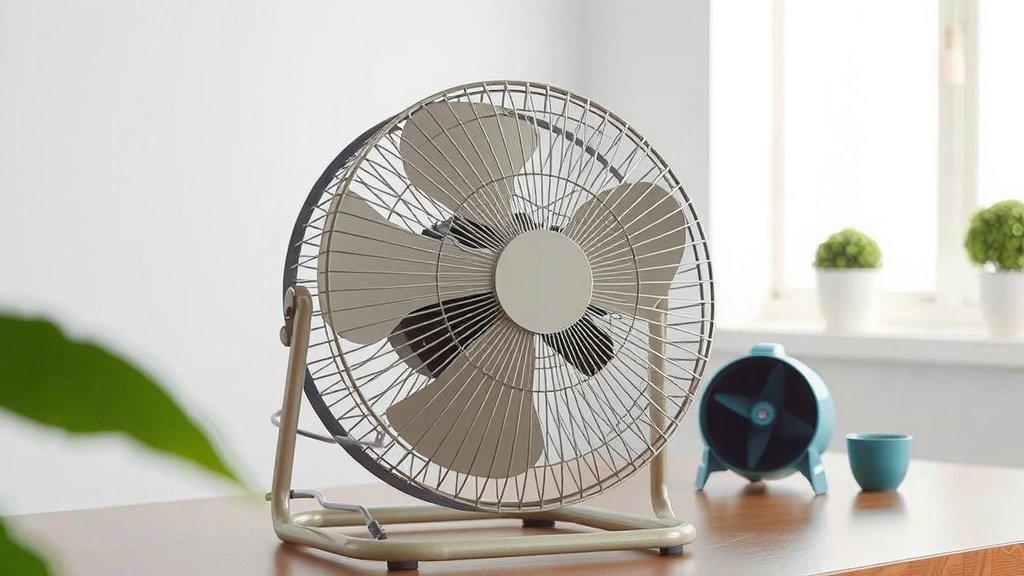
- A Box Fan: A standard 20-inch box fan is ideal. These are common and relatively inexpensive. Make sure it’s clean and in good working order.
- A Furnace Filter: This is the heart of your air purifier. You’ll want a filter that matches the size of your box fan, typically 20×20 inches.
- Duct Tape or Strong Packing Tape: This will be used to secure the filter to the fan.
- Optional: A Cardboard Shroud or Frame: Some people like to add a simple cardboard frame for a more secure fit, though it’s not strictly necessary.
Choosing the Right Furnace Filter
The filter is **crucial for capturing airborne particles**. Not all furnace filters are created equal, so here’s what to look for:
- MERV Rating: MERV stands for Minimum Efficiency Reporting Value. Higher MERV ratings mean the filter captures smaller particles. For a DIY air purifier, a MERV rating between 11 and 13 is often recommended. This offers a good balance between filtration efficiency and airflow. A MERV 13 filter can capture microscopic particles like viruses, bacteria, and smoke.
- Size: As mentioned, a 20×20 inch filter is standard for a 20-inch box fan. Ensure the dimensions match your fan exactly.
- Thickness: Most standard furnace filters are 1 or 2 inches thick. Either will work, but a 2-inch filter might offer slightly more surface area for filtration.
- Pleated Filters: Look for pleated filters. These have more surface area than flat filters, allowing for better airflow and longer filter life.
We found that selecting a good quality, pleated filter with a MERV rating of 11-13 makes a noticeable difference in the air quality. A higher MERV rating is great, but be mindful that it can also restrict airflow, potentially straining your fan motor over time.
Step-by-Step Assembly Guide
Putting this together is surprisingly simple. You’ll be done before you know it!
Attaching the Filter to the Fan
This is the main step. You want to ensure a good seal so air is forced through the filter.
- Identify the Airflow Direction: Most box fans have an arrow indicating which way the air blows. You want to attach the filter to the back of the fan, where the air is drawn in.
- Position the Filter: Place the furnace filter against the back of the box fan. Ensure the arrow on the filter points in the same direction as the airflow of the fan (towards the fan motor). This is important for proper filtration.
- Secure with Tape: Use your duct tape or packing tape to create a seal around the edges of the filter where it meets the fan. Go around all four sides, making sure there are **no gaps**. A good seal ensures all the air is pulled through the filter material.
Optional: Adding a Cardboard Shroud
If you want an extra-secure attachment or a cleaner look, you can create a simple shroud from cardboard.
- Cut Cardboard Strips: Cut strips of sturdy cardboard that are roughly the same width as the fan’s frame.
- Attach to the Fan: Tape these strips around the edges of the fan, creating a slightly larger frame.
- Secure the Filter: Then, tape the filter to this cardboard frame, ensuring a tight seal. This method can sometimes provide a **more robust connection** and prevent the filter from being sucked directly into the fan blades if tape fails.
Testing Your DIY Air Purifier
Once everything is taped securely, plug in your fan and turn it on. You should feel air being pulled through the filter and blown out the front. Listen for any unusual noises. If the fan seems to be struggling, you might have a filter that’s too restrictive, or your seal isn’t quite right.
We found that starting the fan on a lower setting is a good way to test it. If it runs smoothly, you can then increase the speed. The goal is to have it effectively move air without undue strain on the fan motor.
Where to Place Your New Air Purifier
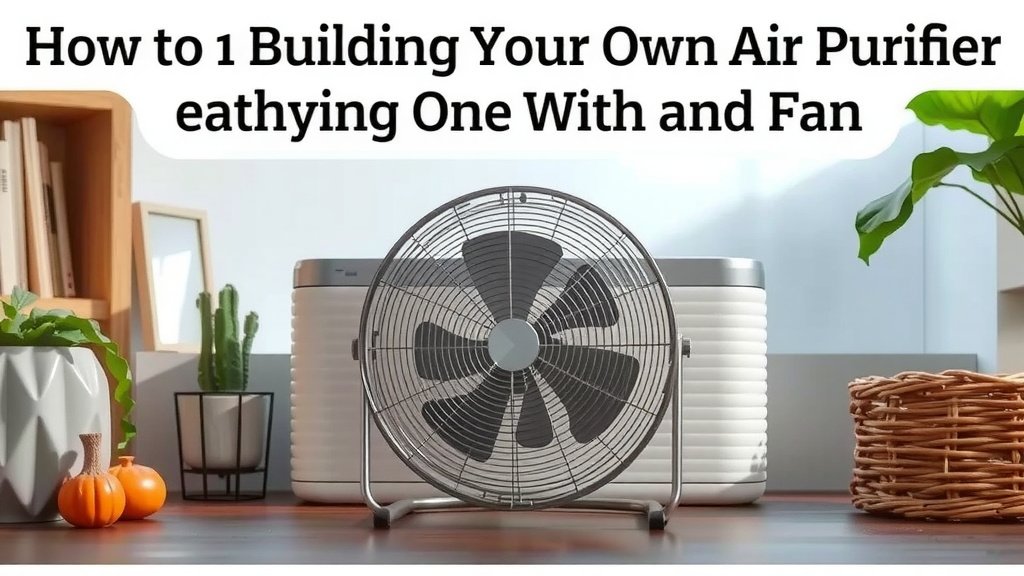
Placement is key to maximizing the benefits of your DIY air purifier. Think about where air tends to get stagnant or where you spend most of your time.
Room Size Considerations
This type of DIY unit is best suited for **medium to large rooms**, like living rooms or bedrooms. For smaller spaces, it might be a bit overkill, and for very large open-plan areas, you might consider building two.
Optimizing Airflow
Place your air purifier away from walls and furniture to allow for unobstructed airflow. You want air to be able to circulate freely around the unit. Placing it in a corner can sometimes create dead zones, so keeping it more central in the room is often best. It’s also a good idea to run it for several hours a day, especially when you’re home.
Maintenance for Your DIY Purifier
Like any air purification system, your DIY unit requires some maintenance to keep it working efficiently.
Filter Replacement Schedule
The filter will eventually become clogged with dust and debris. How often you need to replace it depends on your environment. In homes with pets or high dust levels, you might need to replace it every 1-3 months. In cleaner environments, it might last 3-6 months. We recommend checking the filter monthly.
When you see a visible buildup of dust and grime on the filter, it’s time for a change. A dirty filter will reduce airflow and decrease the effectiveness of your purifier. You can often find replacement filters at the same place you bought the original.
Cleaning the Fan
While you have the filter off for replacement, it’s a good time to give your box fan a quick clean. Unplug the fan and use a soft cloth or a vacuum cleaner brush attachment to gently remove any dust accumulated on the fan blades and grill. This ensures the fan continues to operate smoothly.
| Feature | DIY Air Purifier | Commercial Air Purifier |
|---|---|---|
| Cost | Low (Fan + Filter + Tape) | High ($100 – $500+) |
| Effectiveness | Good for particulates (dust, dander, pollen) | Varies; many have HEPA and activated carbon for more pollutants |
| Noise Level | Fan dependent; can be loud on high settings | Varies; many are designed for quieter operation |
| Maintenance | Regular filter replacement | Filter replacement, sometimes pre-filter cleaning |
| Features | Basic filtration | Timers, air quality sensors, multiple fan speeds, Wi-Fi control |
| Setup Time | Under 1 hour | Plug and play |
Tips for Optimal Performance
Here are a few final tips to get the most out of your homemade air cleaner:
- Run it Consistently: For continuous air cleaning, run the purifier for extended periods.
- Consider Multiple Units: If you have a larger home or want to purify multiple areas, consider building a few of these.
- Monitor Air Quality: Pay attention to how you feel and if you notice less dust or fewer allergens in the air.
- Proper Sealing is Key: Double-check your tape seal. A leaky seal means air is bypassing the filter.
- Use a Reliable Fan: Ensure your box fan is in good working order and doesn’t overheat.
Conclusion
You’ve learned how easy it is to build your own air purifier using just a box fan and a furnace filter. This simple DIY project offers a budget-friendly way to improve your indoor air quality, effectively capturing common allergens like dust and pollen. Remember, a good seal and the right MERV-rated filter are key to its success. Now, you’re ready to take the next step: gather your materials and assemble your own air cleaner for fresher air in your home. Breathe easier knowing you’ve taken charge of your air quality!
Frequently Asked Questions
How often should I replace the furnace filter on my DIY air purifier?
We found that filter replacement frequency depends heavily on your environment. In homes with pets or high dust levels, plan to replace it every 1 to 3 months. In less demanding conditions, it might last 3 to 6 months, but checking it monthly is always a good practice.
Can a DIY air purifier be as effective as a commercial one?
For capturing common airborne particles like dust, pet dander, and pollen, a well-built DIY unit can be very effective. Commercial purifiers may offer additional features like HEPA filters for smaller particles or activated carbon for odors, but your fan-and-filter setup provides excellent basic filtration.
Will running a DIY air purifier strain my box fan’s motor?
Using a filter with an appropriate MERV rating (typically 11-13) and ensuring a good seal helps prevent excessive strain. If you notice your fan struggling or making unusual noises, it might indicate the filter is too restrictive or not properly attached. We recommend testing it on a lower setting first.
What is the best place to position my homemade air purifier?
For optimal performance, place your DIY air purifier in a central location within a medium to large room, away from walls and furniture. This allows for unobstructed airflow, ensuring the fan can effectively draw air through the filter and circulate cleaner air throughout the space.
Can I use any type of fan for this project?
While other fans might work, a standard 20-inch box fan is ideal and most commonly used for this DIY project. Its flat shape and straightforward design make it easy to attach a furnace filter securely. We’ve found this combination to be the most reliable and effective.