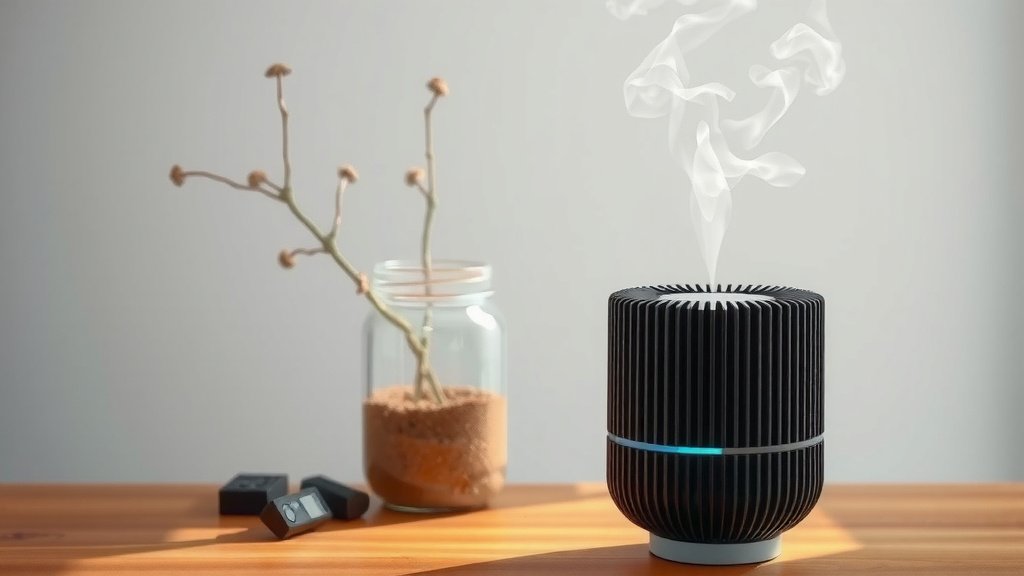
DIY Charcoal Air Purifier: Fresh Air, Naturally
You can absolutely make a charcoal air purifier at home! It’s a surprisingly simple and effective way to improve your indoor air quality using common materials. This DIY project is a great way to reduce odors and certain pollutants without needing fancy gadgets.
Many people are looking for natural ways to clean their air. Activated charcoal is known for its powerful absorption capabilities. It works by trapping molecules that cause smells and impurities. This makes your homemade purifier a budget-friendly alternative to store-bought options.
- Gather activated charcoal and a container.
- Prepare your container for airflow.
- Combine charcoal and container components.
- Place your purifier in the desired area.
- Remember to refresh the charcoal periodically.
Ready to breathe a little easier? Let’s walk through exactly how to build your own effective charcoal air purifier step by step.
Crafting Your DIY Charcoal Air Purifier
Making your own air purifier is a fantastic way to tackle common indoor air issues. You can greatly reduce odors and airborne irritants right in your own home. This project uses a natural purifier: activated charcoal. It’s like a tiny sponge for smelly stuff!
Understanding How Activated Charcoal Works
Activated charcoal isn’t your backyard barbecue briquette. It’s specially treated to have millions of tiny pores. These pores create a huge surface area. This allows it to trap gases, odors, and certain chemicals. It’s a process called adsorption, where molecules stick to the surface.
Research shows activated charcoal is very effective at removing volatile organic compounds (VOCs). These are gases that can come from paints, cleaning supplies, and furniture. It also works wonders on odors from pets, cooking, or mustiness. You’re essentially creating a natural filtration system for your air.
The Science Behind Adsorption
Think of the charcoal’s surface like a microscopic velcro. When air passes over it, odor molecules and other unwanted particles get caught. They stick to the charcoal’s vast network of pores. This process is safe and chemical-free. It’s simply a physical trapping action.
Gathering Your Materials
You won’t need a trip to a specialty store for most items. You can likely find everything you need around your house or at a local hardware or pet store. Having your materials ready makes the building process smooth sailing.
Essential Components
- Activated Charcoal: This is your key ingredient. You can buy it in granular or pellet form. Look for activated charcoal meant for water filters or aquarium filters. This is usually the best quality for air purification. Avoid charcoal dust, as it can be messy.
- Breathable Container: You need something that allows air to flow through it easily. A small canvas bag, a mesh laundry bag, or even an old sock (clean, of course!) works well. The goal is to let air in and out while keeping the charcoal contained.
- Optional: Larger Outer Container: If you want to place your purifier in a specific spot, like a closet or near a litter box, you might want a decorative outer container. A small basket, bowl, or even a repurposed tin can can work. This isn’t essential for function but adds a nice touch.
Preparing Your Air Purifier Components
Before you assemble everything, a little prep work goes a long way. This ensures your purifier is ready to start cleaning the air effectively from day one.
Getting the Charcoal Ready
Sometimes, activated charcoal can be a little dusty. It’s a good idea to rinse it gently. Place the charcoal in a colander and rinse it under cool water. Do this until the water runs clear. You can also spread it on a baking sheet and let it air dry completely. This step helps reduce any fine dust.
Preparing Your Breathable Bag
If you’re using a fabric bag, like a canvas or mesh bag, make sure it’s clean and dry. If you’re repurposing an old sock, give it a good wash and dry. You want to start with a fresh item to avoid adding new odors. Ensure the bag has a way to be closed, like a drawstring.
Assembling Your Homemade Purifier
Now for the fun part – putting it all together! This is where your DIY air cleaner starts to take shape. It’s a straightforward process that takes just a few minutes.
Filling the Charcoal Bag
Open your breathable bag or container. Carefully pour the prepared activated charcoal into it. Don’t pack it too tightly. You want there to be some space for air to circulate within the bag. Fill it about two-thirds to three-quarters full. This leaves room for the charcoal to move and air to flow.
Securing the Bag
Once filled, securely close the bag. If it has a drawstring, tie it tightly. If you’re using a sock, you can tie a knot in the opening or use a rubber band. The aim is to prevent charcoal from spilling out. You want the charcoal contained, but air to pass through the fabric.
Placing Your Purifier for Maximum Impact
Where you put your new air purifier matters. Different areas in your home might need its odor-absorbing power more than others. Think about where stale air or strong smells tend to linger.
Strategic Placement Tips
- Near Odor Sources: Place it close to litter boxes, pet beds, trash cans, or in a damp basement. This allows it to work directly on the source of the smell.
- In Small, Enclosed Spaces: Closets, bathrooms, gym bags, or cars can become stuffy. Your DIY purifier can help keep these areas fresh.
- Near Air Vents: Placing it near where air circulates can help purify a larger area of the room.
- On Your Nightstand: If you’re sensitive to nighttime odors or stuffy air, a small purifier can make a difference.
Using an Outer Container (Optional)
If you’re using a decorative basket or bowl, place your filled charcoal bag inside it. This makes it look tidier. Make sure the outer container doesn’t block airflow to the charcoal bag. A simple basket allows air to move freely around your purifier.
Maintaining Your Charcoal Air Purifier
Activated charcoal doesn’t last forever. Its absorption capacity will eventually be used up. But the good news is, you can often refresh it, extending its life!
Recharging the Charcoal
Many experts suggest that you can recharge activated charcoal by drying it out. Place the filled charcoal bag in direct sunlight for a few hours. The sun’s UV rays and heat can help release some of the trapped molecules. This process, sometimes called regeneration, can restore some of its absorptive power. You might need to do this every few weeks to a month, depending on how much it’s working.
When to Replace the Charcoal
Even with recharging, activated charcoal will eventually become saturated. If you notice your purifier isn’t as effective at absorbing odors anymore, it’s time for fresh charcoal. This typically happens after several months of use. Replacing the charcoal is simple – just empty the old into the trash and refill your bag with new activated charcoal.
A Simple Checklist for Success
- Rinse and dry your activated charcoal.
- Fill your breathable bag about two-thirds full.
- Secure the bag tightly to prevent spills.
- Place the purifier in areas with odors or poor air.
- Recharge in sunlight every few weeks.
- Replace charcoal every 3-6 months for best results.
Conclusion
You’ve learned how to create your own activated charcoal air purifier! This DIY project is a fantastic, natural way to improve your home’s air quality. By using readily available materials, you can effectively tackle unwanted odors and certain airborne pollutants. Remember to prepare your charcoal and container, assemble it carefully, and place it strategically for the best results. Taking the simple step to build this purifier can lead to a fresher living space for you and your family.
Your next step is to gather your materials and start building! You’ll be enjoying cleaner air in no time.
Frequently Asked Questions
How much activated charcoal do I need for my DIY air purifier?
You should fill your breathable bag about two-thirds to three-quarters full. This ensures the charcoal is contained but still allows air to circulate freely through the material.
Can I use any kind of charcoal?
No, you need activated charcoal specifically. Regular charcoal briquettes for grilling aren’t treated to have the necessary porous surface area for effective air purification.
How often should I refresh or replace the activated charcoal?
You can recharge the charcoal by placing the bag in direct sunlight for a few hours every few weeks. For best results, replace the charcoal entirely every 3 to 6 months, depending on how much it’s used.
What kind of container is best for holding the charcoal?
A breathable container is key. Small canvas bags, mesh laundry bags, or even clean old socks work well because they allow air to pass through while keeping the charcoal inside.
Will this DIY purifier remove dust or allergens?
Activated charcoal is excellent for adsorbing gases and odors. While it might catch some larger particles, it’s not designed to filter fine dust or allergens like a HEPA filter would.

![What Is The Best Air Purifier for Pneumonia [In 2026]](https://homeunderstandable.com/wp-content/uploads/2025/05/best-air-purifier-for-pneumonia.jpg)