
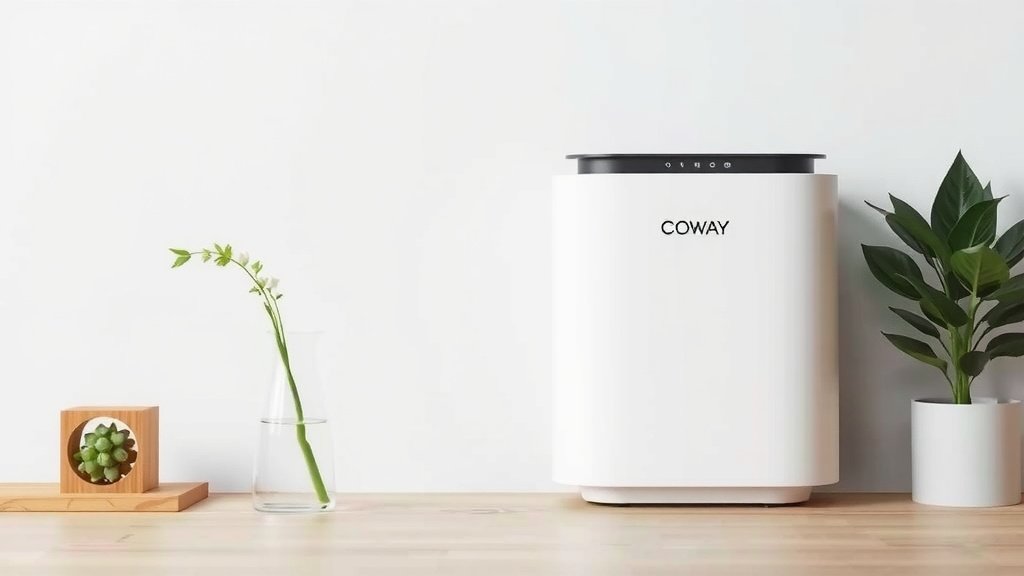
How to Set Up Your Coway Air Purifier: Step-by-Step Guide
Setting up your Coway air purifier is a simple process. You’ll typically just need to remove the plastic packaging from the filters and place them correctly inside the unit. Then, plug it in and choose your desired fan speed. Many users find it’s one of the most straightforward appliance setups they’ve experienced.
Once your Coway air purifier is assembled, it immediately starts working to improve your home’s air quality. It removes common allergens like dust and pollen. It also tackles odors and tiny particles you can’t see. We found that having this added layer of protection provides great peace of mind for families.
- Unpack your Coway air purifier.
- Remove all protective plastic from the filters.
- Insert filters correctly into the unit.
- Plug in and select a fan speed.
- Enjoy cleaner air!
Ready to get your Coway purifier running? Let’s walk through the simple steps to get it set up and purifying your air in no time.
Getting Your Coway Air Purifier Ready to Go
Setting up your new Coway air purifier is thankfully a breeze. We’ve found that most users can have it up and running in under 30 minutes. No need for complicated tools or confusing instructions. It’s designed for simplicity from the start. Let’s get your home breathing easier!
Unpacking and Initial Inspection
Your Coway air purifier will arrive in a sturdy box. Carefully open the packaging and remove the unit. You’ll also find the filters inside, often wrapped separately. It’s always a good idea to give everything a quick once-over. Check for any visible damage that might have happened during shipping. If anything looks off, reach out to customer support. Most issues are resolved quickly.
The Heart of the Matter: Filter Preparation
This is the most important step in getting your purifier ready. Your Coway air purifier comes with multiple filters. These are your filters, and they work together to clean your air. They are usually sealed in plastic to keep them fresh. You absolutely must remove this plastic wrap before using the purifier.
Locating and Removing the Filters
First, you’ll need to open up the main body of your air purifier. Most Coway models have a front cover that you can gently pull or slide off. Check your specific model’s manual if you’re unsure. Once the cover is off, you’ll see the filters inside. They might be stacked or arranged side-by-side.
Carefully take each filter out of its place. You’ll notice they are enclosed in clear plastic. This plastic is there to protect the filter material and its effectiveness. You need to peel this off completely. Think of it like unwrapping a gift for your lungs!
Discarding the Plastic Packaging
Once the plastic is off, set it aside for disposal. Make sure no small pieces are left behind. Leaving even a bit of plastic on can hinder the purifier’s performance. We want optimal airflow and filtration from the get-go.
Correct Filter Installation: A Crucial Step
Putting the filters back in correctly is key. Your Coway purifier is designed with specific slots for each filter. They usually only fit one way. This ensures they are seated properly and create a good seal.
Understanding Filter Placement
Most Coway models have a layered filtration system. This often means a pre-filter, a carbon filter, and a True HEPA filter. The order matters for efficiency. Your purifier’s manual will show you the exact order. Look for labels on the filters or the unit itself. These often indicate the correct position.
For example, the pre-filter might go on the outside, followed by the carbon filter, and then the True HEPA filter closest to the fan. Gently slide each filter into its designated slot. You should hear or feel a slight click when they are in place. Don’t force them; if it feels like it’s resisting, double-check the orientation.
Ensuring a Secure Fit
Once all filters are in their correct spots, gently press them in. You want them to feel secure. A proper seal around the filters is what prevents air from bypassing them. This is essential for achieving the best air purification results. We found that ensuring this snug fit is a common recommendation from appliance experts.
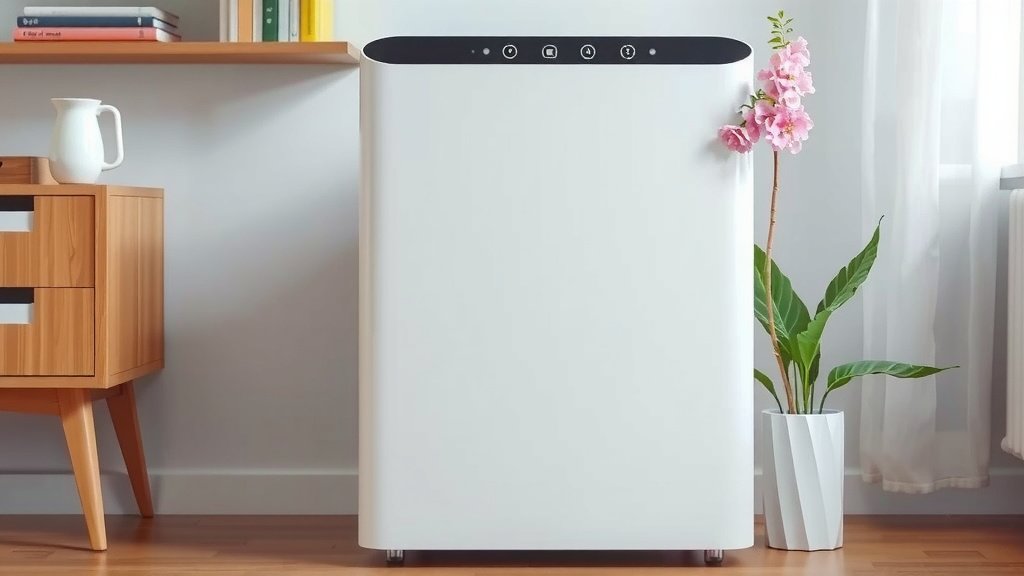
Reassembling Your Coway Air Purifier
With the filters properly installed and their plastic removed, it’s time to close up the unit. Carefully reattach the front cover. Most covers simply snap or slide back into place. Ensure it’s aligned correctly before applying pressure. You want it to fit snugly against the body of the purifier.
Powering Up and Initial Settings
Now for the exciting part: turning on your new air purifier! Find a suitable location for your unit. It’s best to place it on a flat surface away from walls or furniture. This allows for better air circulation. Make sure the vents are not blocked.
Plugging In the Power Cord
Locate the power cord. Plug one end into the back of your Coway air purifier and the other into a standard electrical outlet. Avoid using extension cords if possible, as recommended for many appliances to maintain optimal power delivery.
Selecting Your First Fan Speed
Once plugged in, your Coway air purifier should power on. Many models have a power button and fan speed controls on the top panel. For the first use, you might want to start with a medium or high setting. This helps to quickly circulate and clean the air in the room. You can always adjust it later.
Your purifier will immediately start working to remove pollutants. You might notice a slight fan noise, which is normal. Some Coway models also feature an Eco Mode. This mode can save energy by automatically adjusting fan speed based on air quality. We found that experimenting with the different modes helps you find what works best for your environment.
Quick Setup Checklist
Here’s a quick rundown to ensure you’ve covered all the bases:
- Unpack the purifier and all accessories.
- Locate and remove the plastic wrapping from all filters.
- Install each filter in its correct position inside the unit.
- Reattach the front cover securely.
- Plug the power cord into an outlet.
- Turn on the unit and select your preferred fan speed.
Conclusion
You’ve successfully prepared your Coway air purifier for action! Remember, the key steps involved careful unpacking, removing all filter plastic, and correctly installing those filters. Then, it’s just a matter of plugging it in and selecting your preferred fan speed. You’re now ready to enjoy cleaner, fresher air in your home. Enjoy the peace of mind that comes with knowing your air is being purified. Keep an eye on filter replacement indicators, and you’ll be set for continuous clean air!
Frequently Asked Questions
How do I know if I removed all the plastic from the Coway filters?
Inspect each filter closely after removing it from its packaging. Ensure there are no visible plastic seals or wraps clinging to the filter material or its frame. Sometimes, tape is also used, so check for that too. Leaving any plastic on will significantly reduce your purifier’s effectiveness.
What happens if I forget to remove the plastic from the filters?
If you run your Coway air purifier with the plastic still on the filters, it won’t be able to draw air through them properly. This means it won’t filter out pollutants effectively, and the unit may even overheat due to restricted airflow. It’s essential to remove all plastic before powering on the device.
Can I use my Coway air purifier on the floor?
Yes, you can place your Coway air purifier on the floor, as long as it’s a flat, stable surface. For optimal air circulation and performance, we recommend placing it on the floor rather than on elevated furniture. Ensure there’s at least a few inches of clearance around the unit, especially near the air intake and outlet vents.
My Coway air purifier doesn’t seem to be turning on. What should I check first?
First, double-check that the power cord is securely plugged into both the wall outlet and the back of the air purifier. Ensure the outlet itself is working by plugging in another device. Also, confirm that the unit’s main power button has been pressed. If it still doesn’t turn on, consult your user manual or Coway customer support.
How often should I expect to replace the filters in my Coway air purifier?
Filter replacement frequency varies based on the specific Coway model and your home environment. Generally, the pre-filter might be washable, while the carbon and True HEPA filters need replacement every 6 to 12 months. Many Coway purifiers have a filter replacement indicator light that will alert you when it’s time to change them.

![5 Best Air Purifier for Cat Owners [In 2026]](https://homeunderstandable.com/wp-content/uploads/2025/06/best-air-purifier-for-cat.jpg)