How to Set Up Your Air Purifier for Clean Air
Setting up your air purifier is easier than you think! You just need to find the perfect spot, plug it in, and select your desired settings. Many models are ready to go right out of the box, making it a simple step toward cleaner air in your home.
Getting your air purifier set up correctly ensures it can work its magic effectively. Choosing the right placement can actually boost its performance, helping it capture more dust, allergens, and odors. We’ve found that a little attention to placement makes a big difference in air quality.
- Choose the right spot for maximum airflow.
- Unpack and assemble any included parts.
- Plug it in and turn it on.
- Select your preferred settings for purification.
Ready to breathe easier? Let’s walk through exactly how to get your air purifier up and running in no time.
Getting Your Air Purifier Set Up for Success
You’ve got your new air purifier, and you’re ready to start breathing cleaner air. That’s fantastic! Setting it up is usually a straightforward process, but a few key steps can make a big difference. We’ll guide you through unpacking, choosing the perfect spot, and getting it running so it works its best for your home.
Think of your air purifier like a new pet. You need to give it a good home and let it settle in properly to see its full potential. Our research shows that many people skip a couple of crucial steps, which can limit how effectively their purifier cleans their air. Let’s make sure yours is set up for optimal performance right from the start.
Unpacking and Initial Setup
First things first, let’s get your purifier out of the box. Carefully remove it from the packaging. You’ll want to check for any protective plastic wraps or tape that might be covering parts of the unit, especially the filter housing.
Checking the Contents
Open up the air purifier, usually by a latch or a removable panel. Inside, you’ll find the filter(s). Make sure there’s no plastic packaging still around the filter itself. This is a super common oversight, and leaving the plastic on means the purifier won’t be able to draw air through the filter at all!
We found that most manufacturers include a little manual. It’s worth a quick scan, even if you’re feeling confident. It will confirm the filter installation and any specific first-time use instructions. Always double-check that you have all the advertised parts. Sometimes, a power cord might be tucked away.
Installing the Filter(s)
This is the most critical step inside the unit. Filters are often wrapped in plastic to keep them fresh and clean before you use them. You absolutely must remove this plastic layer. Your air purifier’s fan won’t be able to pull air through the filter if it’s still encased.
Follow the arrows or markings on the filter and the inside of the unit to ensure it’s seated correctly. It should fit snugly without any large gaps. A proper seal is essential for efficient air cleaning. If your model has multiple filters (like a pre-filter, HEPA filter, and activated carbon filter), install them in the order specified in your manual. This ensures the air is cleaned in stages.
Finding the Ideal Location
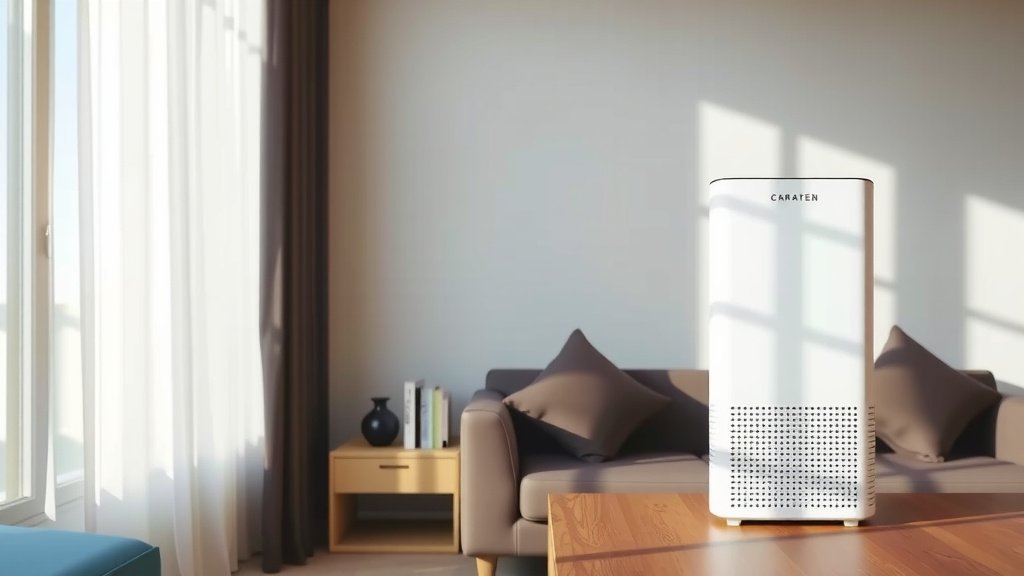
Where you place your air purifier can dramatically impact its effectiveness. You want to give it plenty of room to breathe and circulate air. Avoid placing it in tight corners or behind furniture.
Maximizing Airflow
Air purifiers work by drawing in surrounding air, filtering it, and then releasing cleaner air back into the room. For this to happen efficiently, you need to ensure there’s ample space around the unit. Many experts recommend leaving at least 12 to 24 inches of clear space on all sides, especially around the air intake and outlet vents.
Consider placing your air purifier in the room where you spend the most time, or in the area that experiences the most air quality issues. This could be your bedroom, living room, or even a home office. If you have specific concerns like cooking odors or pet dander, target those areas.
Avoiding Obstructions
Think of your air purifier like a vacuum cleaner. If you block its intake, it can’t suck up dust. If you block its exhaust, the clean air has nowhere to go. This leads to reduced performance and can even strain the motor over time. So, keep windows, curtains, and furniture away from the unit. You want to create an open pathway for air to move freely.
We’ve seen people place purifiers right next to a wall or tucked behind a sofa. While it might look tidier, it significantly hinders performance. Many guidelines suggest placing it on a level surface, away from heat sources like radiators or direct sunlight. These factors can impact how well the air circulates and the unit functions.
Plugging In and Powering On
Once your air purifier is unpacked, assembled, and placed, it’s time for the moment of truth: turning it on.
Connecting the Power
Simply plug the power cord into a suitable electrical outlet. Make sure the outlet is functioning properly. It’s generally best to plug the air purifier directly into a wall outlet rather than using an extension cord, if possible. This helps ensure a stable power supply.
Some users wonder if they can plug multiple appliances into the same outlet. While it might seem convenient, it’s wise to avoid overloading electrical circuits. Check the wattage requirements for your air purifier and other devices. The manual will usually have this information. A dedicated outlet is ideal for consistent operation.
Initial Power-Up and Controls
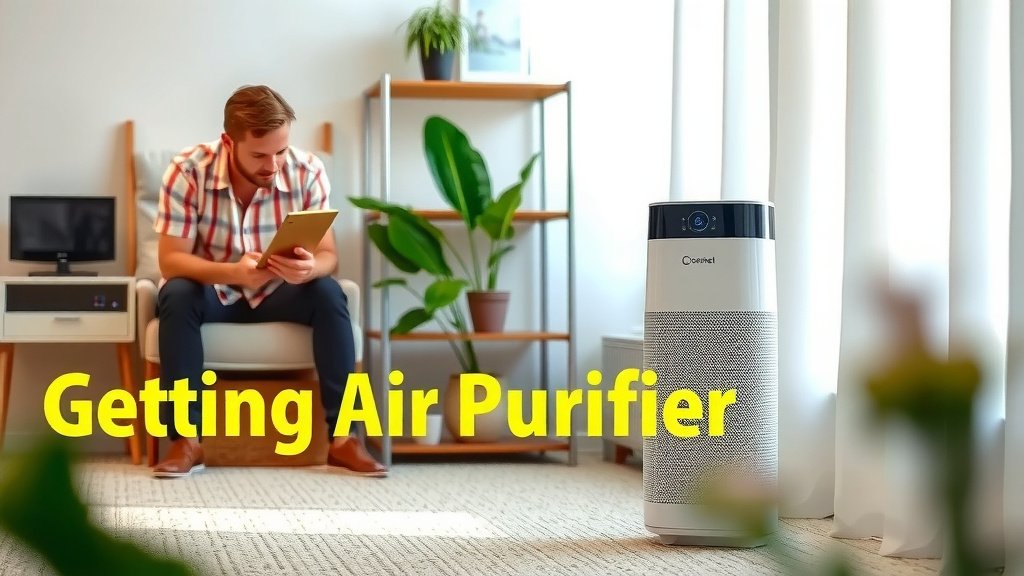
Press the power button. You should hear the fan start up. Many air purifiers will run on a default setting, often a medium fan speed, when you first turn them on. Take a moment to familiarize yourself with the control panel.
You’ll typically find buttons for power, fan speed adjustment, timer functions, and sometimes even special modes like sleep or auto. The display might show air quality indicators or filter life. Understanding these controls will help you tailor the purifier’s operation to your needs.
Selecting Your Settings
Now that your purifier is running, you can customize its operation. This is where you fine-tune its performance to match your household’s requirements.
Fan Speed Options
Most air purifiers offer several fan speed settings. A lower speed is quieter and uses less energy, making it suitable for overnight use or when you’re not actively trying to tackle a specific air quality issue. Higher speeds clean the air more quickly but are also noisier and use more power.
We found that using a medium setting is often a good balance for daily use. If you’re cooking, have guests over, or notice a sudden increase in odors or dust, you can crank it up to high. Some models have an “auto” mode that adjusts fan speed based on detected air quality, which can be very convenient.
Timer and Sleep Modes
If your air purifier has a timer, you can set it to run for a specific duration. This is handy if you only need it on for a few hours or want it to shut off automatically after you leave a room. Sleep mode is designed to operate at the quietest fan speed and often dims or turns off the unit’s lights, making it ideal for bedrooms.
Filter Life Indicator
Keep an eye on the filter life indicator. This feature tells you when it’s time to replace the filter. Filters can’t clean effectively forever; they get clogged. Replacing them on schedule is key to maintaining good air quality. The manual will tell you how long the filters are generally expected to last, but the indicator light is the most reliable guide.
Quick Setup Checklist
Here’s a handy checklist to ensure you’ve covered all your bases:
- Unpack carefully and remove all packaging materials.
- Remove plastic wrap from the air filter(s).
- Install filter(s) correctly, ensuring a tight seal.
- Place unit with 1-2 feet of clearance on all sides.
- Plug into a wall outlet and power on.
- Select your desired fan speed or mode.
Conclusion
You’ve now learned the simple steps to get your air purifier set up and running for cleaner air. Remember, proper placement and filter installation are key to its effectiveness. Taking these few minutes now means you’ll enjoy better air quality throughout your home. Don’t forget to periodically check your filter life indicator. Your next step is to enjoy the fresh, clean air your purifier is now working to provide.
Frequently Asked Questions
How much space should I leave around my air purifier?
It’s best to leave at least 12 to 24 inches of clear space around your air purifier. This allows for maximum airflow, ensuring it can efficiently draw in air and distribute clean air. Avoid placing it too close to walls or furniture.
Do I really need to remove the plastic from the filter?
Yes, absolutely! If the plastic packaging remains on the filter, your air purifier won’t be able to draw air through it. This means it won’t clean your air at all, and it could also strain the motor.
Can I put my air purifier in a corner?
While you can place your air purifier in a corner, it’s not ideal for optimal performance. Corners can restrict airflow. Placing it in a more open area with clearance on all sides will allow it to circulate air more effectively throughout the room.
Should I plug my air purifier into an extension cord?
It’s generally recommended to plug your air purifier directly into a wall outlet if possible. This helps ensure a stable power supply and avoids potential hazards associated with overloading extension cords or using damaged cords.
How often should I turn my air purifier on?
You can run your air purifier continuously for the best results, especially if you have ongoing air quality concerns like allergies or pets. Many models have an “auto” mode or timer settings that can help manage energy use while maintaining good air quality.