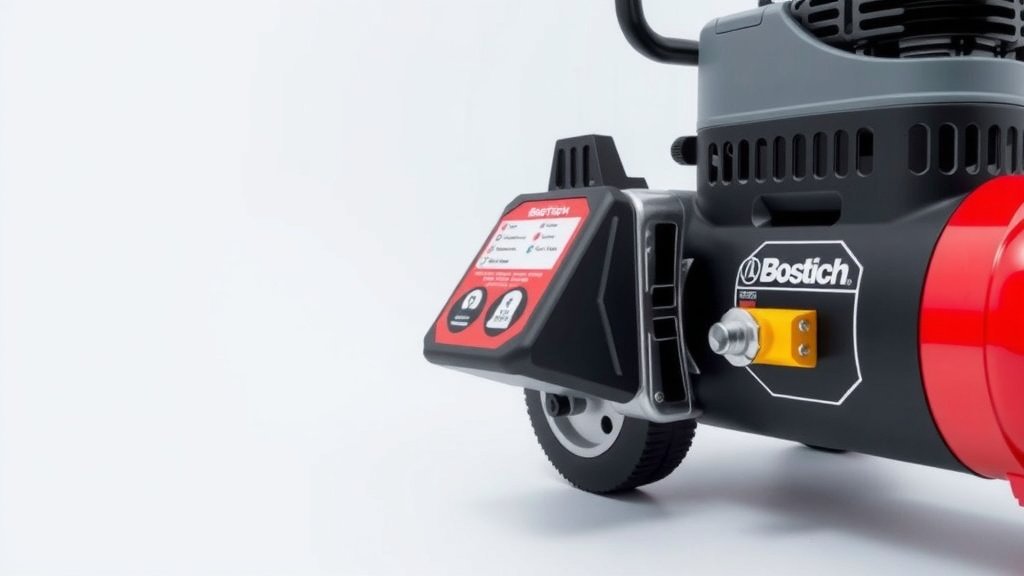
Bostitch Air Compressor: A Quick Start Guide
Using your Bostitch air compressor is simpler than you might think. The core process involves connecting your air tool, setting the regulator correctly, and turning on the compressor to build pressure. Make sure your hose is securely attached before you start any project.
We found that understanding a few key parts helps immensely. This includes knowing how to adjust the pressure for different tasks, like inflating tires versus using a nail gun. Proper setup ensures efficient operation and prevents damage to your tools or the compressor itself. It’s all about finding that sweet spot.
- Connect your air tool to the compressor hose.
- Adjust the regulator to the correct pressure setting.
- Turn on the compressor and let it build air.
- Monitor the pressure gauge throughout your work.
Below, we’ll walk you through each step in detail so you can confidently use your Bostitch air compressor for all your projects.
Getting Your Bostitch Air Compressor Ready for Action
So, you’ve got a Bostitch air compressor and a project waiting. That’s exciting! The good news is that setting it up is pretty straightforward. We found that understanding a few key components makes the whole process much smoother. Think of it like getting your tools ready before you start cooking – a little prep goes a long way.
Understanding Your Compressor’s Key Parts
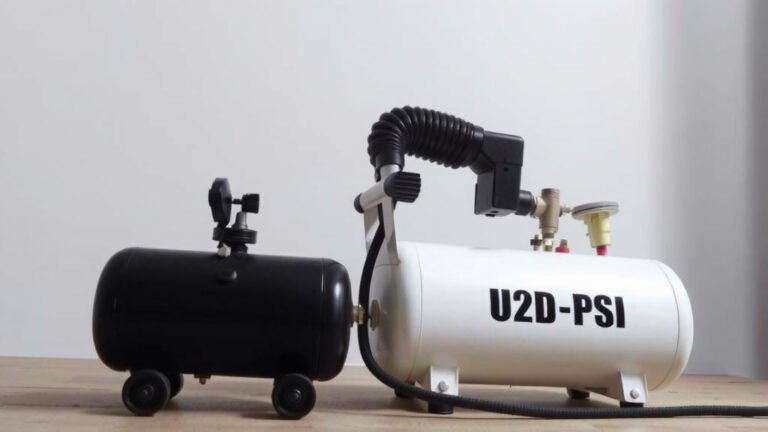
Before you even plug it in, take a moment to familiarize yourself with the main parts. This isn’t about memorizing a textbook; it’s about knowing what does what. You’ll want to spot the air tank, the pressure gauge, the regulator knob, and the quick-connect coupler. Each plays a vital role in delivering the right amount of air.
The Pressure Gauge: Your Air’s Dashboard
The pressure gauge is your best friend. It shows you exactly how much air pressure is currently in the tank. You’ll see two needles on many gauges. One shows the current tank pressure. The other, often colored differently, indicates the pressure you’ve set coming out of the regulator. Keep an eye on this to make sure you’re within the safe operating limits for your tool.
The Regulator: Fine-Tuning Your Airflow
This is where you dial in the power. The regulator knob allows you to control the air pressure that goes from the compressor to your hose and tool. Different tools need different amounts of air. Too much pressure can damage your tool or even be dangerous. Too little, and your tool won’t perform as it should. We found that most common tools have a recommended PSI range listed right on them.
The Quick-Connect Coupler: Where the Magic Happens
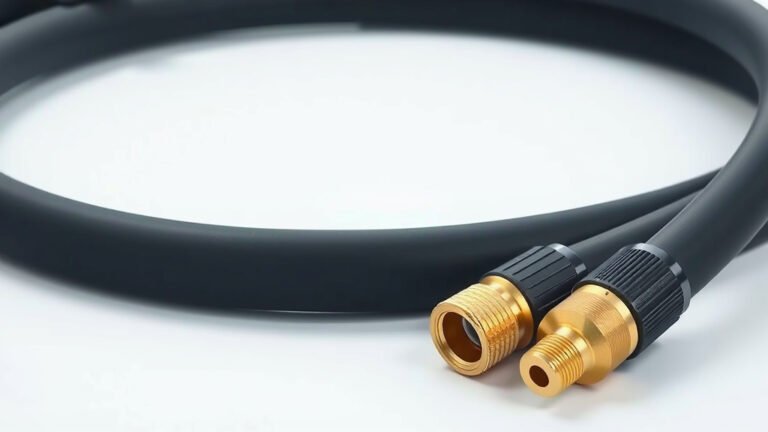
This is the handy fitting where you’ll attach your air hose. Most Bostitch compressors use a standard quick-connect style. You simply pull back the sleeve, push in the hose fitting, and let the sleeve snap forward. A secure connection here is absolutely essential for preventing leaks and ensuring consistent airflow.
Step-by-Step Guide to Using Your Compressor
Now that you know the parts, let’s get to work. We’ve broken down the process into simple, actionable steps. Following these will help you get the most out of your Bostitch compressor and your air tools.
Step 1: Connect Your Air Tool
First things first, make sure your compressor is unplugged or the engine is off. Then, connect your air hose to the quick-connect coupler on the compressor. Ensure it snaps in firmly. After the hose is secure on the compressor end, attach your air tool to the other end of the hose. Again, a solid click or snap is what you’re looking for.
Step 2: Set the Regulator Pressure
This is where you consult your air tool’s manual or look for markings on the tool itself. You need to know the recommended PSI. Turn the regulator knob counter-clockwise to lower the pressure and clockwise to increase it. Many experts suggest setting the regulator slightly below the tool’s maximum recommended PSI to be safe. You’ll often see the set pressure on the second needle of the gauge.
Step 3: Power Up and Build Pressure
Once everything is connected and the regulator is set, you can plug in your compressor or start its engine. The compressor will begin to run and fill the air tank. You’ll hear it working. Watch the pressure gauge; it will climb as the tank fills. Most compressors have an automatic shut-off feature that turns the motor off when it reaches its maximum tank pressure.
Step 4: Operate Your Air Tool
With the tank pressurized, you’re ready to go! Squeeze the trigger on your air tool. Air will flow through the regulator, at your set pressure, to power your tool. As you use the tool, the pressure in the tank will drop. The compressor will automatically kick back on when the pressure falls below a certain point to refill the tank.
Step 5: Monitoring and Adjusting
Throughout your project, it’s wise to keep an eye on the pressure gauge. If you notice the pressure dropping significantly while using your tool, it might mean your tool is using air faster than the compressor can supply it, or there might be a leak. You may need to pause and let the tank build pressure again. If your tool isn’t performing well, re-check the regulator setting. It’s a delicate balance!
A Quick Checklist for Success
Before you dive into your next project, run through this quick checklist. It’ll save you time and potential headaches:
- Is the compressor unplugged before making connections?
- Are the air hose connections secure at both ends?
- Have you checked your tool’s required PSI?
- Is the regulator set correctly for your tool?
- Is the pressure gauge needle in the safe zone?
- Is the tank pressure building properly?
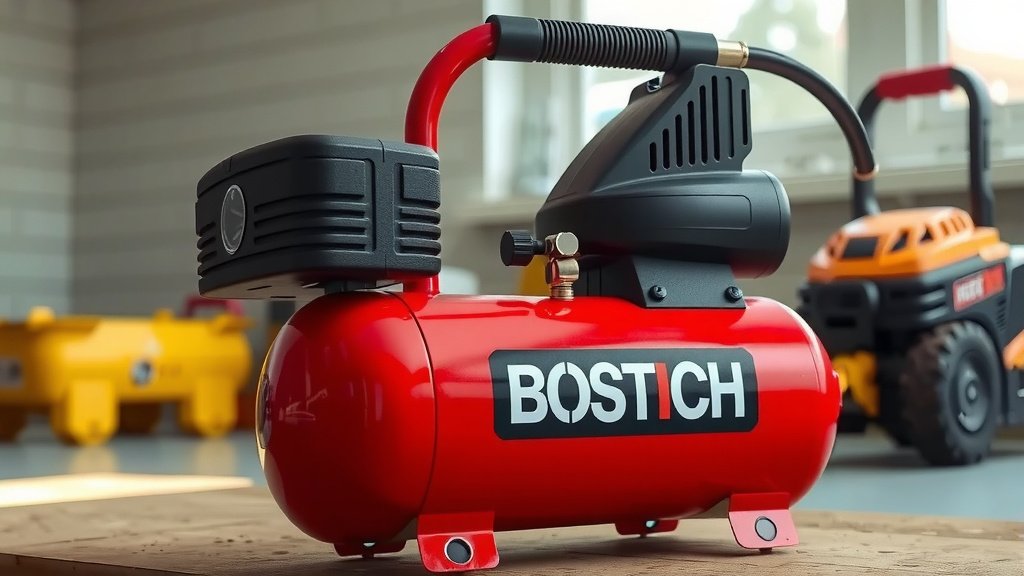
Tips for Optimal Performance and Longevity
Using your Bostitch air compressor correctly isn’t just about getting the job done; it’s also about making sure your equipment lasts. We’ve found a few practices really help.
Drain the Tank Regularly
This is probably the most important maintenance step. Water naturally condenses inside the air tank as it compresses. If you don’t drain it, this water can cause rust and corrosion, eventually leading to leaks or even tank failure. Locate the drain valve at the bottom of the tank. After each use, or at least daily, open it up and let any water escape. A small amount of air will come out with it, which is normal. Many sources recommend doing this while the tank is still slightly warm, as the water is less viscous.
Check the Oil Level (If Applicable)
Some Bostitch compressors are oil-lubricated. If yours is, you’ll need to check the oil level regularly. Most have a sight glass or a dipstick. Always ensure the oil is between the minimum and maximum marks. Using the wrong type of oil or running it low can seriously damage the compressor’s motor. Consult your owner’s manual for the specific type of oil recommended.
Keep it Clean
Dust and debris can clog the air intake filter, making your compressor work harder and less efficiently. Periodically check and clean the air filter. A dirty filter means less air is being pulled in, which can lead to overheating and reduced performance. Many filters can be cleaned with compressed air or a soft brush. Some may need replacement after a certain amount of use.
Store it Properly
When you’re done, don’t just leave your compressor out in the elements. Store it in a dry, protected area. This helps prevent rust and protects the electrical components. If you’re storing it for an extended period, it’s a good idea to drain the tank completely and perhaps run it for a few minutes to ensure it’s dry inside. Many enthusiasts also wrap the power cord neatly to prevent damage.
Conclusion
You’re now well-equipped to use your Bostitch air compressor with confidence. Remember, understanding your compressor’s key parts, like the pressure gauge and regulator, is vital for safe and efficient operation. Always connect your tools securely and set the correct PSI for each job. Consistent maintenance, especially draining the tank, will ensure your compressor serves you reliably for years to come. Your next project just got a whole lot easier!
Frequently Asked Questions
How do I know if my air hose is securely connected?
You should hear a distinct “click” or “snap” when the hose fitting engages with the compressor’s quick-connect coupler. A loose connection can lead to air leaks and poor tool performance. Gently tug on the hose to ensure it’s seated firmly.
What happens if I set the regulator too high for my tool?
Setting the regulator pressure too high can damage your air tool, leading to premature wear or immediate failure. It can also be dangerous, potentially causing parts to break off. Always refer to your tool’s manual for the recommended PSI range.
Why is draining the air compressor tank so important?
Water naturally condenses inside the tank as air is compressed. If not drained, this moisture can cause rust and corrosion, weakening the tank over time and potentially leading to leaks or even a dangerous rupture. Draining it after each use is a best practice.
Can I use any type of oil in my Bostitch compressor?
No, you should only use the specific type of oil recommended in your Bostitch air compressor’s owner’s manual. Using the wrong oil can lead to inadequate lubrication, overheating, and severe damage to the compressor motor.
How often should I check the air filter on my compressor?
It’s a good idea to check your air filter periodically, especially if you use your compressor in dusty environments. A clogged filter restricts airflow, making the compressor work harder and reducing its efficiency. Cleaning or replacing it as needed will ensure optimal performance.