How to Safely Disconnect Nail Gun from Air Compressor
Disconnecting your nail gun from the air compressor is a safety essential. Always turn off the air supply and then disconnect the hose. This prevents accidental firing and keeps you safe on your job site.
Understanding this simple step can save you from a nasty surprise. It’s a fundamental part of safe nail gun operation. Many DIYers and professionals alike rely on this quick procedure for peace of mind. It’s a small action with big safety implications.
- Turn off the air compressor.
- Release pressure from the hose.
- Disconnect the hose from the nail gun.
- Store your tools safely.
Let’s walk through exactly how to disconnect your nail gun from the air compressor step by step, ensuring you’re safe and ready for your next project.
Safely Detaching Your Nail Gun from the Air Supply
Disconnecting your nail gun from the air compressor might seem straightforward. But doing it the wrong way can lead to accidental nail discharge. We’ll show you the proper steps to ensure your safety and protect your workspace. It’s a quick process that’s absolutely essential for anyone using pneumatic tools.
Why Proper Disconnection Matters So Much
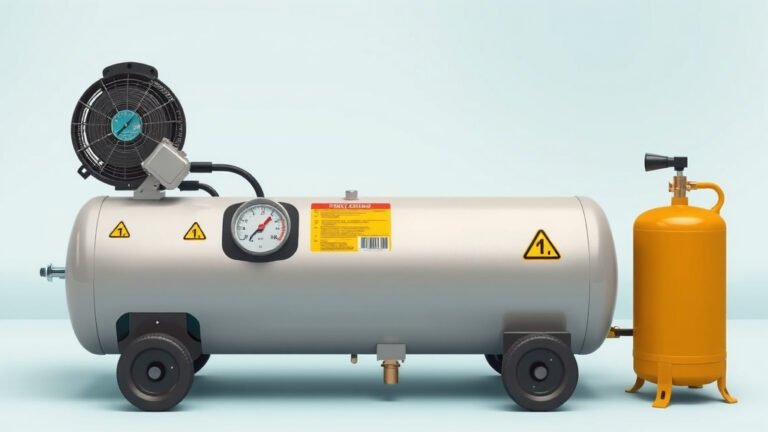
Think of the air compressor as the “power source” for your nail gun. It’s holding a lot of pressurized air, like a coiled spring. If you just yank the hose, you risk releasing that pressure unexpectedly. This is where accidents happen.
Many workplace injuries involving nail guns are preventable. They often occur when tools are being handled without proper safety precautions. Research consistently shows that even simple steps, like depressurizing a tool, can drastically reduce risks (CDC).
You wouldn’t leave a loaded firearm lying around, right? It’s a similar principle here. You want to ensure the tool is completely deactivated before you move it or set it down. This peace of mind is worth a few extra seconds.
The Step-by-Step Process for Safe Disconnection
Let’s break down the entire process. Each step is designed to remove power and potential energy safely.
Step 1: Power Down the Air Compressor
This is your first and most important action. You need to stop the flow of air to the nail gun entirely. Locate the power switch or plug of your air compressor unit.
Ensure it’s completely turned off. If it’s plugged into a wall outlet, unplugging it provides an extra layer of certainty. This stops the compressor from building more pressure.
Some compressors have a pressure gauge. Watch this gauge to see the pressure slowly drop as you proceed. You’re essentially telling the system, “No more air, please!”
Step 2: Release Pressure from the Hose and Nail Gun
Even after turning off the compressor, there’s still air trapped in the hose and the nail gun’s internal chamber. You need to let this air escape safely.
Never point the nail gun at yourself or anyone else when performing this step. The safest way is to point the nail gun’s nose away from any living thing or fragile surface.
For most nail guns, simply pressing the trigger while the air is disconnected will release any residual pressure. You might hear a puff of air. This is a good thing! It means the tool is depressurizing.
Some nail guns have a specific pressure release valve, but triggering is the most common method. You might need to squeeze the trigger multiple times to ensure all the air is out.
Step 3: Disconnect the Air Hose from the Nail Gun
Now that the system is depressurized, you can physically separate the hose from the nail gun. This usually involves a quick-connect fitting.
Locate the end of the air hose that connects to the nail gun. You’ll see a metal coupling. Most common fittings have a collar that you pull back.
Pull back the collar on the hose coupling. This action disengages the fitting from the port on the nail gun. Once the collar is pulled back, the hose should detach easily.
If it feels stuck, give it a gentle wiggle. Never force it. Forcing could damage the fitting or the nail gun’s air port.
Step 4: Disconnect the Air Hose from the Compressor (Optional but Recommended)
While you’ve disconnected the tool, it’s good practice to also disconnect the hose from the compressor itself. This ensures there’s no chance of accidental reconnection or pressure buildup.
Go back to your air compressor. The air hose likely connects to a regulator or a port on the compressor tank. You’ll find another quick-connect fitting here.
Just like before, pull back the collar on the hose coupling. This will release the hose from the compressor’s fitting. Now, both ends are safely disconnected.
Understanding Different Fitting Types
While the pull-collar method is very common, you might encounter other types. Knowing them helps you disconnect smoothly.
Common Quick-Connect Styles
The most prevalent type in North America is the “industrial” style, which uses the pull-collar mechanism we described. You’ll see these on most job sites.
There are also “automotive” or “A-style” fittings. These often look smaller and might require a push-and-twist motion or a different collar action. Always check the specific type of fitting your hose and tools use.
A table can help visualize this:
| Fitting Style | How to Disconnect | Common Usage |
|---|---|---|
| Industrial (I/M) | Pull back the collar | General construction, woodworking |
| Automotive (A) | Push and twist, or specific collar action | Automotive repair, lighter duty |
| High Flow (larger sizes) | May have larger collars or different lever actions | Heavy-duty industrial applications |
Most modern nail guns and compressors use the industrial style for convenience and safety. If you’re unsure, consult your tool’s manual.
What to Do If the Hose Won’t Disconnect
Sometimes, fittings can get a bit stubborn. Dirt, rust, or wear can make them difficult to separate.
First, double-check that all pressure is released. Any remaining air can make the coupling tighter. You can try gently tapping the collar with the handle of a screwdriver. This might break any small obstructions.
Avoid using pliers to force the connection. This can easily damage the fitting, making it unusable. If it’s severely stuck, it might be time to replace the hose or fitting. Safety should always come first.
Storing Your Tools Safely After Disconnection
Once everything is disconnected, you’re not quite done. Proper storage is key to tool longevity and continued safety.
Coil the air hose neatly. Avoid sharp bends or kinks, which can damage the internal structure of the hose. Store it away from walkways and potential hazards.
Place the nail gun in its case or on a designated tool shelf. Make sure it’s in a dry place, away from moisture. This prevents rust and keeps it ready for your next project.
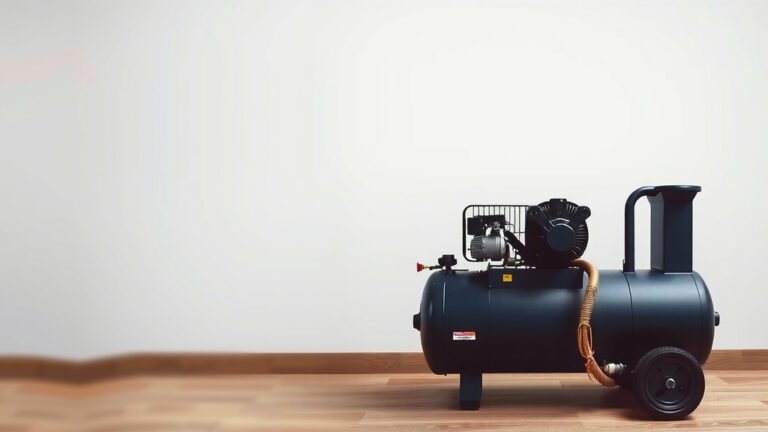
The air compressor should be stored in a well-ventilated area. Ensure any water collected in the tank has been drained, as this is also important for maintenance. Many experts recommend draining the tank regularly (OSHA).
Quick Safety Checklist for Disconnecting
Here’s a quick rundown to keep in mind:
- Always turn off the air compressor first.
- Ensure the nail gun is pointed away from people.
- Squeeze the trigger to release all air pressure.
- Pull back the collar on the hose fitting to disconnect.
- Store tools neatly and safely.
- Check your specific fittings for unique disconnections.
Conclusion
You’ve now learned the essential steps to safely disconnect your nail gun from the air compressor. Remember, the key is always to power down the compressor first, then release any residual pressure by squeezing the trigger. Finally, detach the hose, ideally disconnecting both ends. This simple routine is your best defense against accidental nail discharge and potential injuries. Make it a habit on every project to ensure your workspace remains safe and your tools stay in good condition. Your next project will be much safer for it!
Frequently Asked Questions
Do I need to disconnect the hose from the compressor too?
While disconnecting the nail gun is the primary safety step, it’s highly recommended to also disconnect the hose from the air compressor. This adds an extra layer of certainty that no air can accidentally flow to the tool. It ensures the entire system is safely separated.
What if my nail gun’s trigger doesn’t release air?
If squeezing the trigger doesn’t release air after turning off the compressor, check your nail gun’s manual for a specific pressure release valve. Some models have this feature. If you still can’t release pressure, it might indicate a malfunction, and you should consult a professional or the manufacturer.
Can I use pliers to force a stuck hose fitting?
It’s best to avoid using pliers to force a stuck fitting. Pliers can easily damage the collar or the fitting itself, making it difficult or impossible to disconnect in the future. Try gently wiggling the connection or tapping the collar lightly before resorting to more forceful methods.
How often should I drain the air compressor tank?
Draining your air compressor tank regularly is crucial for maintenance and preventing rust. Many experts recommend draining the tank after each use or at least weekly, depending on how frequently you use it and the humidity levels. Check your compressor’s manual for specific recommendations.
What’s the difference between industrial and automotive air fittings?
Industrial (I/M) fittings, common in the US, typically use a pull-back collar to disconnect. Automotive (A-style) fittings are often smaller and may require a push-and-twist motion. While both serve the same purpose, their disconnection mechanisms differ, so it’s good to know which type you’re using.