How to Attach Air Hose to Air Compressor Safely
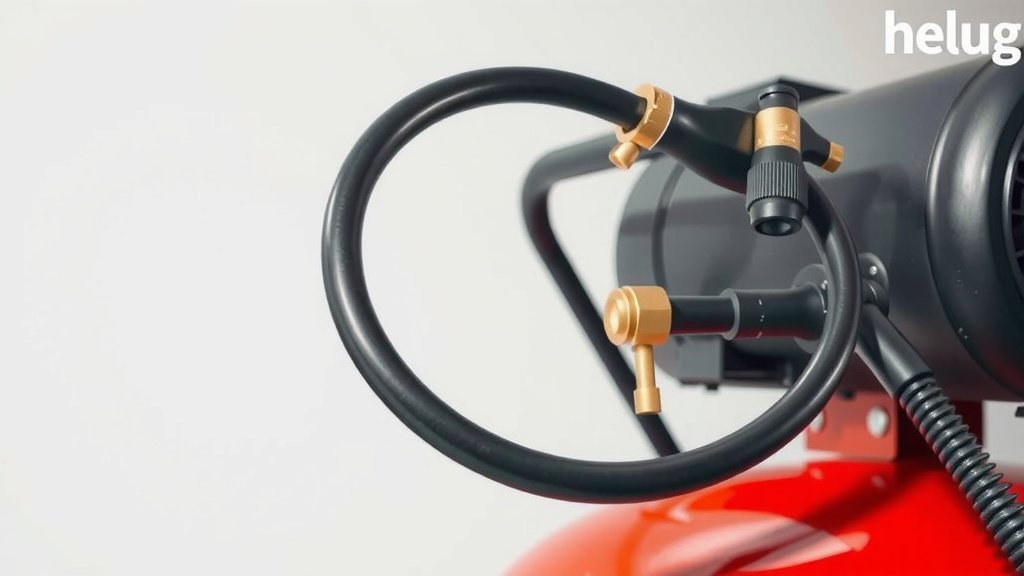
Attaching an air hose to your air compressor is pretty straightforward once you know the steps. You generally need to connect the hose to the compressor’s outlet and then secure the connection with a fitting, often a quick-connect coupler. This ensures a safe and airtight seal for your tools.
Getting this connection right is key to using your air tools effectively. A proper connection prevents air leaks, which can cause your compressor to run longer and more often. We found that many DIYers struggle with this first step, which is why we’ve researched the best ways to help you get it right.
- Identify the air outlet on your compressor.
- Choose the correct hose fitting or coupler.
- Attach the hose securely to the compressor outlet.
- Check for any air leaks after connecting.
Below, we’ll walk you through exactly how to attach your air hose to your air compressor, step by step. Let’s get your tools ready to go!
Connecting Your Air Hose to the Compressor
You’ve got your tools ready, your project in mind, and your air compressor humming. The next logical step? Getting that air hose hooked up! It sounds simple, and thankfully, it usually is. But doing it right ensures everything runs smoothly and safely. We’ve found that a secure connection is absolutely **key to getting the most power** from your air tools. A leaky hose means your compressor works harder than it needs to, which can waste energy and even shorten its lifespan. Let’s make sure your connection is solid!
Understanding Your Compressor’s Air Outlet
Before you even think about attaching the hose, you need to locate where the air actually comes out of your compressor. This is your starting point. Think of it as the main exit ramp for all that compressed air.
Identifying the Compressor’s Port
Most air compressors have a single main outlet. It’s usually a threaded fitting. You might see a valve or regulator knob nearby. This is where you’ll screw in or connect your air hose. Take a moment to look it over. Is it clean? Are there any obvious signs of damage? A quick inspection now can save you headaches later.
Types of Compressor Outlets
While most outlets are standard threaded fittings, some larger or specialized compressors might have different connection types. For most DIY and home garage setups, you’ll find a 1/4-inch or 3/8-inch NPT (National Pipe Thread) fitting. This is the most common size. If you’re unsure, check your compressor’s manual or look for markings on the fitting itself. It’s like checking the label on a bottle – it tells you what you’re working with.
Choosing the Right Hose Fittings and Couplers
Now, let’s talk about the bits that actually make the connection happen. Your air hose likely has a fitting on one end, and your compressor has an outlet. You need these two to play nice together. This is where couplers and adapters come into the picture.
Quick-Connect Couplers: The Standard Choice
The most common setup you’ll encounter is a quick-connect coupler. These are fantastic because they allow for fast, tool-free connections and disconnections. Your air hose will typically have a “plug” fitting on the end. This plug inserts into a “coupler” socket, which is usually attached to your compressor’s outlet. A satisfying “click” often means you’re securely connected.
We found that many people opt for these because of their sheer convenience. Imagine swapping out tools multiple times a day; quick connects make it a breeze. You simply push the plug into the coupler, and a sleeve retracts to allow it. Pulling back the sleeve releases the plug.
Threaded Fittings: A Secure, But Slower, Option
Some setups might use a direct threaded connection. In this case, your air hose would have a male threaded end, and you’d screw it directly into the female threaded outlet on the compressor. While very secure, this method requires a wrench and takes more time to connect and disconnect. It’s like choosing a sturdy bolt over a quick-release buckle – both work, but serve different needs.
Ensuring Compatibility
The most critical part here is ensuring your fittings match. Most standard air tools and compressors use 1/4-inch industrial or automotive quick-connect fittings. Industrial fittings (often called “M” style) are usually wider and offer better airflow than automotive fittings (“I/M” style). If you’re buying a new hose or coupler, check the packaging to confirm the size and style. Mismatching fittings is like trying to fit a square peg into a round hole – it just won’t work, and you risk damaging the threads.
| Type | Description | Pros | Cons |
|---|---|---|---|
| Quick-Connect (Auto/I/M Style) | Smaller, common in home garages. | Widely available, inexpensive. | Can restrict airflow on higher CFM tools. |
| Quick-Connect (Industrial/M Style) | Larger, better for higher airflow. | Allows more air through, good for demanding tools. | Less common in basic kits, slightly more expensive. |
| Threaded Fittings | Screw directly onto compressor outlet. | Very secure, no accidental disconnections. | Slow to connect/disconnect, requires tools. |
Step-by-Step Connection Process
Alright, you’ve identified your compressor’s outlet and picked out the right fittings. Now let’s get this hose attached. Safety first, always!
Step 1: Turn Off and Depressurize
This is non-negotiable. Make absolutely sure your air compressor is turned off and unplugged from the power source. Then, open the drain valve at the bottom of the tank to release any stored air pressure. You don’t want any sudden bursts of air surprising you. We found that many beginners overlook this, but it’s a critical safety step.
Step 2: Attach the Coupler or Fitting to the Compressor
If your compressor doesn’t have a quick-connect coupler already attached, you’ll need to install one. Screw the coupler onto the compressor’s outlet fitting. Make sure it’s snug but don’t overtighten, which could damage the threads. If you’re using a direct threaded hose, screw that end firmly into the compressor outlet. Sometimes, a bit of Teflon tape on the threads can help create a better seal, but it’s often not necessary with modern fittings.
Step 3: Connect the Air Hose
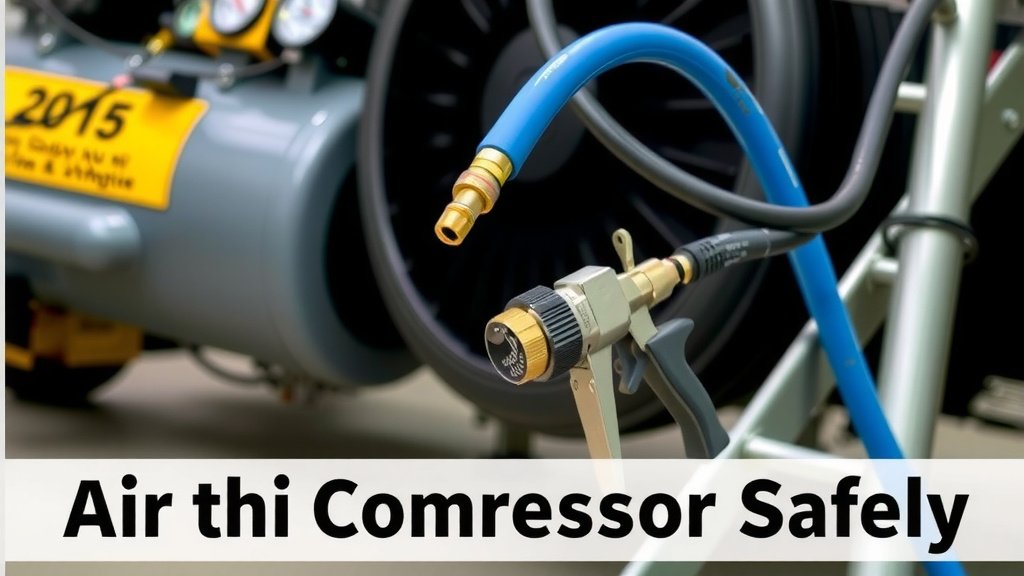
Now, take the plug end of your air hose. If you’re using quick connects, simply push the plug firmly into the coupler attached to the compressor. You should feel and hear it lock into place. If you’re using a direct threaded hose, screw the hose end onto the compressor fitting until it’s tight.
Step 4: Secure the Connection
With quick connects, the connection is usually secure once you hear the click. For threaded fittings, ensure they are tight enough to prevent leaks but not so tight that you can’t remove them later. A little wiggle test is often all you need. You want it to feel solid.
Testing for Air Leaks
You’ve made the connection; great job! But before you power up your tools, it’s wise to check for leaks. This step is often overlooked, but it’s vital for efficiency and safety.
How to Check for Leaks
With the compressor still turned off and unplugged, but *after* you’ve connected the hose, you can do a quick manual check. Gently try to pull the hose away from the compressor. Does it feel secure? Then, if you have a very small amount of residual pressure in the tank, you might hear a faint hiss if there’s a leak. For a more thorough check, you’ll turn the compressor on briefly.
The Soap and Water Trick
A popular method, and one we often recommend, is the soap and water test. Mix a bit of dish soap with water in a spray bottle. Once the compressor is running and has built a little pressure (after completing the connection), spray the soapy water around the connection point. If you see bubbles forming, you have an air leak. Turn off the compressor, unplug it, and tighten the fitting or coupler until the bubbles stop. Repeat the test until you’re leak-free.
What to Do If You Find a Leak
Don’t panic if you find a leak! Most often, it just means the fitting needs to be tightened a bit more. If tightening doesn’t help, check the threads for any damage or debris. Sometimes, a worn-out rubber washer or O-ring inside the fitting might be the culprit. Replacing these is usually a simple and inexpensive fix. Experts at the Occupational Safety and Health Administration (OSHA) also highlight regular equipment checks as key to workplace safety, and this applies to your home setup too.
Quick Connection Checklist:
- Turn off and unplug the air compressor.
- Release any stored air pressure.
- Identify the correct compressor outlet fitting.
- Ensure your hose fitting is compatible.
- Attach the hose securely to the compressor.
- Test for leaks using the soap and water method.
Conclusion
You’ve successfully attached your air hose to the compressor! Remember, a secure and leak-free connection is key to getting the most power from your tools. We’ve walked through identifying the outlet, choosing the right fittings, and testing for leaks. Don’t skip that final soap and water check; it saves time and frustration. Now, you’re ready to power up your compressor and get to work with confidence. Your next step is to simply plug in your favorite air tool and enjoy the efficiency of a properly connected system!
Frequently Asked Questions
What if my air hose fitting doesn’t fit the compressor outlet?
You likely have a mismatch in size or type. Most home compressors use 1/4-inch NPT threads. You might need to purchase an adapter or a new hose with compatible fittings, such as a standard 1/4-inch industrial (M-style) quick-connect fitting for better airflow. Always check the size and style before buying.
How tight should I make the air hose connection?
For quick-connect fittings, you just need to push the plug firmly into the coupler until it clicks and locks. For threaded fittings, tighten them until they feel snug and secure, usually with a wrench, but avoid overtightening, which can damage the threads. A good seal is important, but so is the ability to disconnect it later.
Can I leave the air hose connected to the compressor all the time?
It’s generally best to disconnect your air hose when not in use. Leaving it connected can put continuous stress on the fittings, and if there’s a minor leak, it can cause your compressor to cycle on unnecessarily. Disconnecting also helps prevent accidental damage.
My air tool feels weak even with the hose connected. What could be wrong?
A weak tool performance often points to an airflow issue. First, check your compressor’s tank pressure is set correctly. Then, perform the soap and water test on your hose connection to ensure there are no leaks. You might also have an undersized hose or fitting restricting airflow, especially if you’re using a high-demand tool.
Do I need Teflon tape on my air hose fittings?
Teflon tape, or pipe thread sealant, is primarily for threaded fittings to create a better seal. For most modern quick-connect couplers and hose plugs, Teflon tape is not needed and can sometimes interfere with their proper function. If you’re using a direct threaded connection, a bit of tape can help, but it’s often unnecessary.