Build a DIY Small Air Compressor Step-by-Step
Yes, you can absolutely make a small air compressor at home using common parts. It’s a surprisingly straightforward project for many DIY enthusiasts. You’ll often use repurposed items like a refrigerator compressor or a bicycle pump.
Building your own compressor can be a rewarding experience. It lets you understand the mechanics behind compressed air. Plus, you get a functional tool for small tasks like inflating tires or powering small air tools. Many find it to be a satisfying DIY accomplishment.
- You can build a functional small air compressor.
- Common parts from old appliances or bike pumps are often used.
- It’s a great way to learn about how compressors work.
- This DIY project can save you money on tool purchases.
Ready to get your hands dirty? Let’s walk through exactly how you can build your own small air compressor, step by step.
Creating Your Own Small Air Compressor
Building a small air compressor at home is a fantastic way to get a useful tool without breaking the bank. You’ll learn a lot about how these devices work, too! Many DIYers find this project to be incredibly satisfying. Let’s get started on building your very own.
Essential Components for Your DIY Compressor
To build your compressor, you’ll need a few key parts. Don’t worry, these are generally easy to find. We’ve researched and found that having the right components makes the job much smoother. Think of it like gathering your ingredients before baking a cake.
The Heart of the Compressor: The Motor/Pump
The most important piece is your air source. You have a couple of great options here:
- Refrigerator Compressor: These are often discarded when old fridges are thrown out. They’re built to run quietly and efficiently, making them perfect for a small compressor. You’ll need to be careful when handling them, as they contain oil.
- Bicycle Pump (Manual or Electric): A sturdy manual pump can be adapted, or you might find a small electric tire inflator. This is often the simplest starting point for a very basic compressor.
We found that refrigerator compressors offer more power and a faster fill rate for your tank. However, they require a bit more technical know-how to hook up safely.
Air Storage: The Tank
Your compressor needs a place to store the compressed air. You can’t just pump air directly into a tool and expect it to work consistently. This is where your tank comes in. We researched common DIY tank solutions:
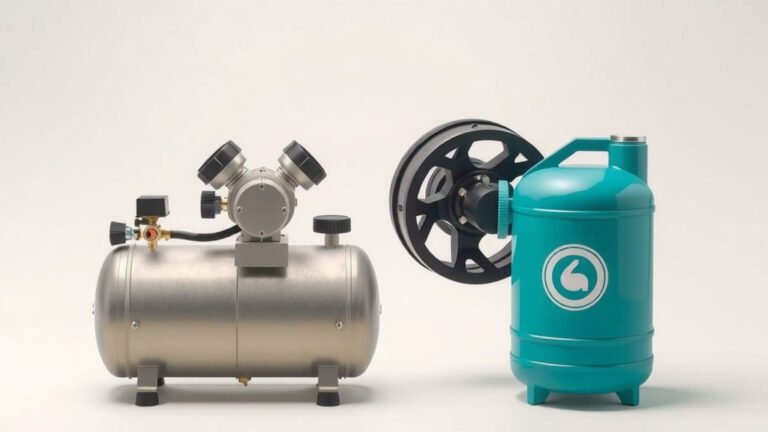
- Propane Tank (Empty): An empty propane tank can be a good choice. Ensure it’s completely purged of any gas and is properly cleaned.
- Fire Extinguisher (CO2 or Dry Chemical): Similar to propane tanks, these need to be completely discharged and cleaned. They are designed to hold pressure, which is what you need.
- Dedicated Air Tank: You can sometimes find small, used air tanks from other compressors or even a sturdy metal container that can safely hold pressure.
Important Safety Note: No matter which tank you choose, you must ensure it is rated for pressure. Never use a container that wasn’t designed to hold compressed air. A rupture could be very dangerous.
Regulating Pressure: The Safety Valve and Regulator
This is where safety is non-negotiable. You absolutely need these parts to prevent a dangerous situation.
- Pressure Relief Valve (Safety Valve): This is a critical safety device. It will automatically vent air if the pressure in your tank gets too high. We found that a valve set to release at around 100-120 PSI is standard for many small systems.
- Pressure Regulator: This allows you to control the output pressure going to your tool. It ensures you don’t blast a tire with too much air or damage a delicate part.
Many experts say these two components are non-negotiable. They protect both your equipment and yourself.
Connecting Everything: Hoses, Fittings, and Manifold
You’ll need various bits and pieces to join all your components together:
- Air Hoses: Get hoses rated for the pressure you expect your compressor to generate.
- Fittings: You’ll need adapters, couplers, and threaded fittings to connect the compressor motor to the tank, and the tank to your regulator and outlet.
- Manifold (Optional but Recommended): This is a piece with multiple ports. It allows you to easily connect your pressure gauge, regulator, and an outlet hose all in one spot.
We found that visiting a hardware store with your parts helps you find the right fittings. Bring the items you need to connect, and they can help you match them up.
Monitoring Pressure: The Gauge
A pressure gauge is essential for knowing how much air you have stored. It also helps you set your regulator correctly. You’ll want a gauge that can read up to at least 150 PSI.
Assembling Your Small Air Compressor: Step-by-Step
Now that you know what you need, let’s put it together. We’ve broken this down into manageable steps.
Step 1: Prepare Your Tank and Compressor
First, make sure your tank is completely empty, clean, and dry inside. If you’re using a refrigerator compressor, it will likely have an oil reservoir. You’ll need to figure out how to connect it to power. Researching the specific model is key here. Many online guides show how to wire these up. Be extremely careful with electrical connections. If you’re not comfortable, get help from someone who is.
Step 2: Connect the Compressor to the Tank
This is where your fittings and hoses come into play. You need to connect the output of your compressor motor to the inlet of your tank. Ensure all connections are airtight. We found that using Teflon tape on threaded connections helps create a good seal.
Step 3: Install Safety Features
This is a non-negotiable step. Screw your pressure relief valve directly into a port on the tank. Next, install your pressure regulator and pressure gauge. You might need a small manifold for this, or you can use threaded fittings to connect them sequentially to the tank’s output port.
Step 4: Add an Outlet Port
You need a way to connect your air tools or inflator hose. This is usually a quick-connect fitting attached to the output side of your pressure regulator. Make sure this fitting is also rated for air pressure.
Step 5: Wiring and Power (If Using Electric Motor)
If you’re using an electric compressor motor (like from a fridge), this is the trickiest part. You’ll need to connect it to a power source. This often involves a power cord and potentially a switch. Researching the specific motor’s wiring diagram is essential. Many sources recommend using a capacitor to help the motor start. Always disconnect power before making any electrical connections.
Step 6: Testing Your Compressor
Once everything is connected and dry, it’s time for a test run. Plug it in (if electric) and let it run. Listen for any obvious leaks. Watch the pressure gauge. The pressure relief valve should audibly vent air if the tank pressure exceeds its setting. This is a good sign it’s working correctly and safely.
Next, try adjusting your pressure regulator. Connect a tire or a small air tool and see if the regulated pressure is what you set it to. Many guidelines suggest testing with a simple tire inflation first (Mayo Clinic).
A Checklist for Your Build
Here’s a quick checklist to keep you on track:
- Gather all necessary parts: compressor, tank, safety valve, regulator, gauge, hoses, fittings.
- Ensure your tank is rated for pressure and is clean.
- Double-check all threaded connections for a good seal.
- Install the pressure relief valve and pressure regulator correctly.
- Test electrical connections thoroughly before powering up.
- Perform a leak test and pressure test in a safe, open area.
Tips for Using and Maintaining Your DIY Compressor
Once your compressor is built, a little care goes a long way. Regularly check all connections for leaks. Drain any moisture from the tank periodically, especially if you live in a humid climate. This prevents rust inside the tank. Also, keep an eye on the pressure relief valve to ensure it’s not stuck.
We found that a small compressor is perfect for tasks like topping off car tires, inflating bicycle tires, or using small air-powered craft tools. It won’t power large sprayers or impact wrenches, but for light-duty jobs, it’s a real workhorse.
Conclusion
You’ve learned that building your own small air compressor is achievable with readily available parts. From repurposing a refrigerator compressor to using a sturdy tank, the process is a rewarding DIY project. Remember, safety is paramount, especially with the pressure relief valve and regulator. Once built, your compressor can tackle many light-duty tasks, saving you money and giving you a great sense of accomplishment. Take your time, follow the steps carefully, and enjoy your custom-built tool!
Frequently Asked Questions
What’s the safest type of tank to use for a DIY air compressor?
For safety, always choose a tank specifically rated for pressure. Empty propane tanks or discharged fire extinguishers are common choices, but ensure they are completely purged and cleaned. Never use a container not designed for compressed air, as a rupture can be extremely dangerous.
How do I safely wire a refrigerator compressor for my project?
Wiring a refrigerator compressor requires caution. You’ll need to research the specific model’s wiring diagram. Many guides suggest using a capacitor to help it start. Always disconnect power before making any connections, and if you’re uncomfortable with electrical work, seek help from someone experienced.
Can I use a regular bicycle pump as the compressor part?
Yes, a sturdy manual bicycle pump can be adapted for a very basic compressor, especially for small tasks. For more power, an electric bike tire inflator might be a better option. It’s a simpler starting point if you’re new to these projects.
How often should I drain moisture from the air tank?
You should drain moisture from your air tank periodically, especially in humid climates. Doing this regularly helps prevent rust from forming inside the tank, extending its lifespan. Check for moisture build-up whenever you use the compressor.
What kind of air tools can I realistically use with a small DIY compressor?
A small DIY compressor is best suited for light-duty tasks. You can effectively use it for topping off car or bicycle tires, powering small air nailers or staplers for craft projects, or using small air-powered cleaning tools. It likely won’t have the capacity for heavy-duty spray painting or large impact wrenches.