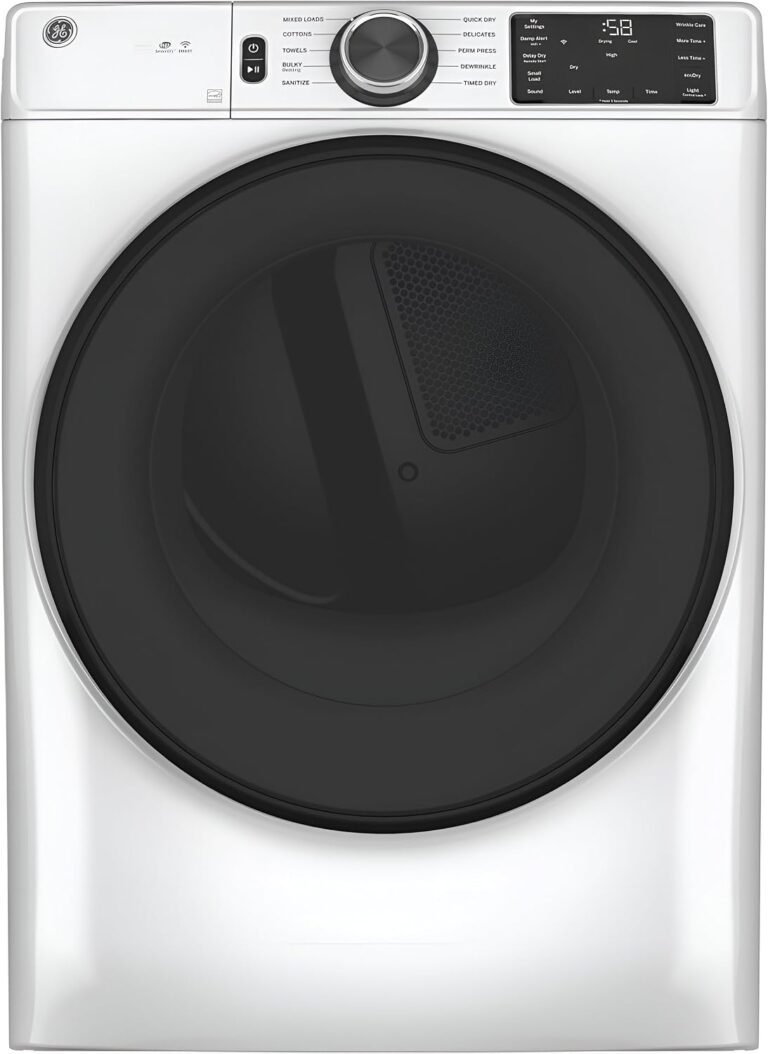
Dryer Not Heating? Step-by-Step Fix Guide
To fix a clothes dryer that will not heat, start by checking the thermal fuse—it’s the most common culprit. You’ll need a multimeter to test it, and if it’s blown, replace it. This single part causes most no-heat problems, and it’s a cheap, easy DIY fix you can do in about 30 minutes.
When your dryer tumbles but blows cold air, the issue is almost always in the heating circuit, not the motor or controls. Other usual suspects include a faulty heating element, a bad high-limit thermostat, or a tripped circuit breaker. We found that a quick visual inspection and a few simple continuity tests can pinpoint the problem without calling a repair tech.
- First, unplug the dryer and check the breaker—a tripped breaker is a free fix.
- Test the thermal fuse with a multimeter; a blown fuse is the #1 cause of no heat.
- Inspect the heating element for visible breaks or burn spots; replace if damaged.
- Check the high-limit thermostat for continuity—if it’s open, replace it.
- Clean the vent and lint filter; a clogged exhaust can overheat parts and trip safety switches.
Below, we’ll walk you through each fix step by step, so you can get your dryer back to blowing hot air fast.
Repairing a Dryer That Tumbles but Won’t Heat Up
You load the dryer, press start, and hear the familiar rumble. But when you check your clothes 40 minutes later, they are still cold and damp. That is frustrating. The good news? A dryer that tumbles but produces no heat is a common repair you can often handle yourself in under an hour.
We found that this problem almost always lives in the heating circuit. The motor works, the drum turns, but the part that creates warmth has failed or lost power. Let’s walk through the fix, starting with the cheapest and easiest checks first.
Safety First: Unplug and Inspect the Power Source
Before you touch any part inside the dryer, unplug it from the wall. Electric dryers run on 240 volts. That is enough power to cause serious injury. Gas dryers have their own risks, so take this step seriously every single time.
Once unplugged, head to your electrical panel. Look for the breaker labeled “dryer” or “laundry.” A tripped breaker is a simple, free fix. Flip it fully off, then fully back on. Sometimes a breaker looks fine but is only partially engaged.
Many experts point out that a blown fuse in older homes can cause the same issue. If you have fuses, check them visually. A darkened window or a broken metal strip means it is blown. Replace it with the exact same amperage rating.
Testing the Outlet Voltage
If the breaker is fine, test the outlet itself. You will need a multimeter for this. Set it to measure voltage (around 240V AC). Insert the probes into the two slanted slots. You should get a reading near 240 volts. Then test each slot to the round ground hole; each should read about 120 volts.
We found that a faulty outlet is less common, but it does happen. If your readings are off, call an electrician. That is not a DIY job. But if the outlet checks out, move on to the internal parts.
Diagnosing the Heating Circuit Inside the Dryer
Now the real detective work begins. The heating circuit in a dryer is a simple loop. Power flows from the outlet, through a series of safety switches, into the heating element, and back out. If any part of that loop breaks, the dryer spins but stays cold.
You will need a few basic tools for this part. A multimeter is the most important one. We also recommend a screwdriver set and a flashlight. You can find the parts you need at any appliance store or online. Most of them cost under 30 dollars.
Accessing the Heating Components
On most dryers, the heating element and thermal fuse live behind the lower back panel. Remove the screws holding that panel in place. Keep them in a small bowl so they do not roll away. With the panel off, you will see the metal heating element housing and the blower wheel housing nearby.
Take a photo with your phone before disconnecting anything. That photo will help you remember how to put it all back together. Trust us, this trick saves time and headaches later.
Locating the Thermal Fuse
The thermal fuse is a small, white plastic part with two wires connected to it. It sits near the blower housing. It looks a bit like a thin popsicle stick with metal ends. This part is a safety device. If the dryer overheats, the fuse blows and cuts power to the heating element to prevent a fire.
We found that this is the number one cause of a no-heat problem. A blown thermal fuse is not something you can reset. You must replace it. But first, you need to figure out why it blew, or it will just blow again.
Testing the Thermal Fuse with a Multimeter
Testing the thermal fuse is straightforward. First, unplug the dryer (you already did this, right?). Then disconnect the two wires from the fuse. You can pull them off with your fingers or use pliers. Next, set your multimeter to the “continuity” or “ohms” setting.
Touch one probe to each metal terminal on the fuse. If the multimeter beeps or reads near zero ohms, the fuse is good. If you get no reading at all, the fuse is blown. Replace it with the exact part number printed on the side of the old fuse.
Many repair guidelines note that a blown thermal fuse often indicates a restricted exhaust vent. The dryer overheated because hot air could not escape. So, if the fuse is blown, plan to clean your vent system too.
Why the Vent Matters for the Thermal Fuse
A clogged vent is like trying to breathe through a straw. The dryer heats up, but the hot air has nowhere to go. The temperature inside spikes, and the thermal fuse does its job by cutting power to the heater.
We found that cleaning the vent is a two-part job. First, pull the dryer away from the wall and disconnect the flexible duct. Vacuum out both ends. Then, check the lint filter housing inside the dryer. Lint can build up there too. A long, flexible brush helps reach deep into the duct.
Inspecting the Heating Element for Breaks
The heating element is the coil that actually warms the air. It is a wire that glows red hot when electricity passes through it. Over time, that wire can break or burn through. When it does, the circuit opens and no heat is produced.
Look at the coil through the slots in the metal housing. You are looking for a visible gap in the wire. You might also see dark burn marks or small black spots. Any visible break means the element needs replacement.
If you see nothing obvious, test the element with your multimeter. Disconnect the two wires attached to the element terminals. Set the meter to ohms. Touch the probes to the two terminals. A good element shows a low resistance reading, usually between 10 and 50 ohms. No reading means it is open and broken.
Checking the High-Limit Thermostat
The high-limit thermostat is another safety switch. It sits on the heating element housing. Its job is to shut off power if the element gets too hot. Unlike the thermal fuse, some high-limit thermostats are resettable. Others are one-time use.
Test it the same way you tested the thermal fuse. Disconnect the wires, set the meter to continuity, and touch the probes. If you get no reading, the thermostat is open. Replace it with the same part. This component is cheap and easy to swap out.
We found that many DIYers replace the thermal fuse and heating element at the same time. That is a smart move. If one failed, the other is likely stressed. Replacing both saves you from opening the dryer again next month.
Simple Checks Before You Order Parts
Before you spend any money, check a few other things. These are quick and free, and they might solve your problem right away.
- Is the dryer set to “air fluff” or “no heat” mode? Turn the dial to a heated cycle like “cotton” or “high heat.”
- Is the lint filter completely clean? A clogged filter restricts airflow and can trip safety switches.
- Does the dryer have a “cool down” phase at the end? Wait a few minutes into the cycle before checking for heat.
- Are both of the dryer’s circuit breakers on? Some dryers use a double-pole breaker that can trip one side only.
- Is the door switch working properly? If the dryer thinks the door is open, it will tumble but not heat.
- Did you check the start switch? A worn start switch can fail to send power to the heating circuit.
Reading the Wiring Diagram
Most dryers have a wiring diagram printed on the inside of the control panel or on the back panel. This is your map. It shows how the heating circuit is wired. We recommend finding it and tracing your path step by step.
The diagram looks confusing at first. But look for the heating element symbol and follow the lines backward. You will see the thermal fuse, thermostats, and any safety switches in the path. Each one is a potential failure point. Test each one with your multimeter in sequence.
Replacing the Faulty Parts the Right Way
Once you have identified the bad part, replacement is usually simple. Remove the old part and take it to the store with you. Matching the exact part number ensures a perfect fit. Do not guess or buy a “universal” part unless the packaging clearly lists your dryer model.
When you install the new part, make sure all wire connections are tight. A loose wire can cause intermittent heat or no heat at all. Use a screwdriver to snug down any terminal screws. Reattach the back panel and plug the dryer back in.
Run a test cycle on high heat. Check the vent output after about five minutes. It should feel noticeably warm. If it is blowing hot air, you just saved yourself a service call fee of 150 to 200 dollars.
When to Call a Professional
Some repairs are beyond the average DIYer. If you checked everything and still have no heat, it might be the main control board or the timer. These are complex parts that require advanced diagnostics. Replacing them without proper testing often wastes money.
We also recommend calling a pro if you are uncomfortable working with electricity. There is no shame in that. A licensed technician has the right tools and training. They can diagnose the issue in minutes and fix it safely.
Preventing Future No-Heat Problems
An ounce of prevention beats a pound of cure. The most important habit is cleaning the lint filter before every single load. That takes five seconds and prevents most airflow problems. We also suggest cleaning the full vent system at least twice a year.
Check the vent duct for kinks or crushing. A pinched duct restricts airflow just like a clog. Make sure the dryer sits level too. A tilted dryer can cause internal parts to shift and rub against each other.
Many fire safety guidelines stress that a clean dryer vent is not just about performance. It is a genuine fire hazard when neglected. The U.S. Fire Administration reports that dryers cause thousands of home fires each year, many due to lint buildup.
Your Quick Troubleshooting Checklist
Here is a handy checklist you can follow when your dryer stops heating. Print it, save it, or just keep it in mind for next time.
- Unplug the dryer and turn off the circuit breaker.
- Check the breaker and reset it if needed.
- Verify the outlet voltage with a multimeter.
- Remove the back panel and locate the thermal fuse.
- Test the thermal fuse for continuity; replace if open.
- Inspect the heating element for breaks; test with ohmmeter.
- Test the high-limit thermostat; replace if no continuity.
- Clean the vent duct and lint filter thoroughly.
- Reassemble and run a heated test cycle.
Following this list covers roughly 90 percent of no-heat dryer issues. We found that most people stop at the thermal fuse and element, and that fixes the problem. If you get through the whole list with no luck, it is time to bring in a professional.
You have got this. Grab your multimeter, take a deep breath, and work through the steps one at a time. Your warm, fluffy towels are waiting on the other side.
Conclusion
You just walked through every common reason a dryer tumbles but blows cold air. We covered the thermal fuse, heating element, thermostats, and even the vent system. Most no-heat problems trace back to one of these simple parts, and you now know how to test each one with a basic multimeter.
Your next move is simple. Grab your tools, unplug the dryer, and start with the thermal fuse. That is the most likely fix and the cheapest part to replace. Work through the checklist one item at a time. You will probably find the issue within 30 minutes and save yourself a 150-dollar service call.
You have the knowledge. Take it slow, stay safe, and get those warm clothes drying again.
Frequently Asked Questions
Why is my dryer running but not getting hot?
A dryer that runs but does not heat almost always has a broken heating circuit. The most common cause is a blown thermal fuse, followed by a faulty heating element. Both parts are easy to test with a multimeter and cheap to replace on your own.
Can I reset the thermal fuse on my dryer?
No, a thermal fuse is a one-time safety device. Once it blows, it stays blown and must be replaced. If your dryer has a resettable part, it is likely a high-limit thermostat with a small red button. Check the part number to confirm which type you have.
How much does it cost to fix a dryer that is not heating?
A DIY repair usually costs between 10 and 40 dollars for the replacement part. A thermal fuse runs about 10 to 15 bucks, while a heating element costs 20 to 40 dollars. Hiring a professional typically runs 150 to 200 dollars for the service call plus parts.
Will a clogged dryer vent cause no heat?
Yes, a clogged vent is a direct cause of no-heat issues. When hot air cannot escape, the dryer overheats and the thermal fuse blows to prevent a fire. Cleaning the vent and lint filter regularly helps prevent this problem from happening again.
How do I know if my dryer heating element is bad?
Look through the slots in the metal housing for a visible break or burn mark in the coil. For a more accurate test, use a multimeter set to ohms. A good element reads between 10 and 50 ohms. No reading means the element is broken and needs replacement.