
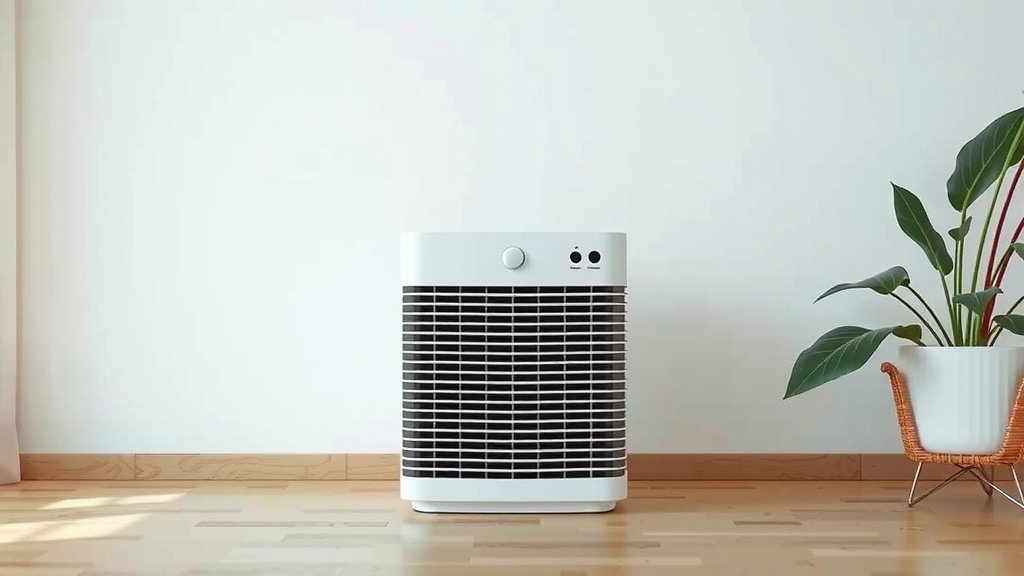
How to Clean Your Germ Guardian Air Purifier Safely
The easiest way to clean your Germ Guardian air purifier is by regularly washing the pre-filter and wiping down the exterior. You should also replace the HEPA filter as recommended by the manufacturer to keep your air pure and your unit running smoothly. Neglecting these simple steps can reduce its effectiveness.
Keeping your Germ Guardian clean is essential for optimal performance. A dirty air purifier can recirculate dust and allergens. We found that consistent cleaning ensures you’re breathing the cleanest possible air. It also helps extend the lifespan of your appliance.
- Wash the pre-filter often.
- Wipe down the outside.
- Change the main filter on schedule.
- Check your manual for specifics.
- Proper cleaning means cleaner air.
Let’s walk through exactly how to clean your Germ Guardian air purifier, step by step, so you can get back to enjoying fresh, clean air.
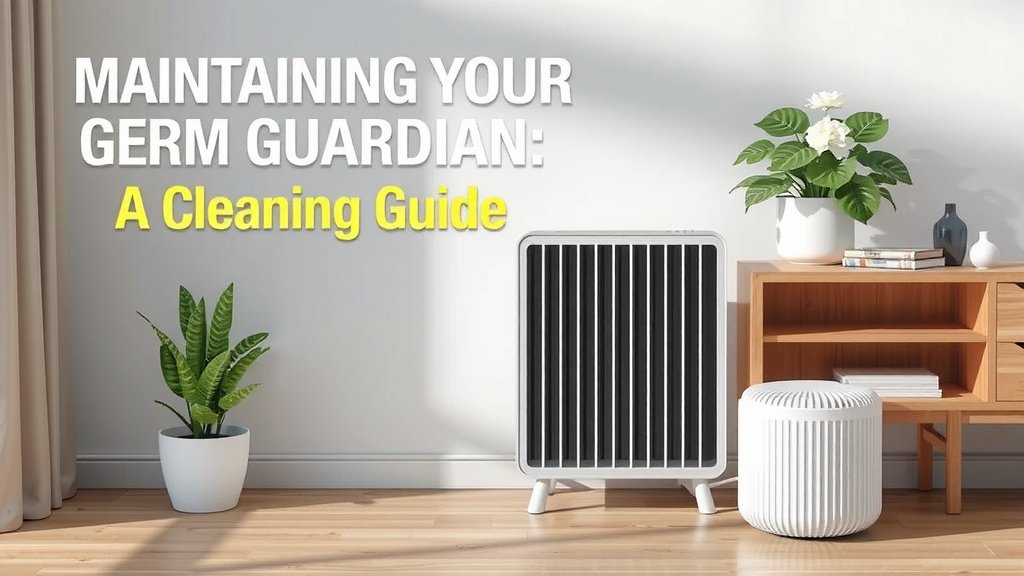
Maintaining Your Germ Guardian: A Cleaning Guide
Keeping your Germ Guardian air purifier clean is a simple process. You’ll want to establish a routine. This ensures you always breathe the cleanest air possible. A dirty unit can actually make your air quality worse. We found that a little regular attention goes a long way. Let’s get your purifier sparkling and working its best.
Understanding Your Germ Guardian’s Components
Before you start cleaning, it’s helpful to know what you’re dealing with. Your Germ Guardian likely has a few key parts that need attention. These include the exterior, the pre-filter, and the main HEPA filter. Understanding these will make the cleaning process much easier.
The Exterior Casing
The outside of your air purifier collects dust just like any other surface in your home. You’ll want to keep this part clean for both looks and hygiene. It’s usually made of plastic and is quite straightforward to wipe down. Think of it like dusting your TV or bookshelf.
The Pre-Filter: Your First Line of Defense
This is the layer that catches the largest particles. We’re talking about things like pet hair, lint, and larger dust bunnies. Because it catches so much, it’s also the part that gets dirty the fastest. Cleaning this regularly is the most impactful step for maintaining good air quality.
The HEPA Filter: The Heart of the Purifier
The HEPA filter is where the real magic happens. It traps tiny particles like pollen, mold spores, and bacteria. This filter is designed to be replaced, not washed. It’s like the engine filter in your car; once it’s clogged, it needs to be swapped out for a new one.
Step-by-Step Cleaning Instructions
Ready to get cleaning? It’s not complicated. You won’t need any special tools. Just a few common household items will do the trick. We’ll break it down so you can follow along easily.
Step 1: Safety First – Unplug Your Unit
This might seem obvious, but it’s the most important first step. Always unplug your Germ Guardian before you start any cleaning. You don’t want any unexpected power surges or accidental activation. Just pull the plug right from the wall socket.
Step 2: Cleaning the Exterior
Grab a soft, damp cloth. You can use plain water or a mild, non-abrasive cleaner. Gently wipe down all the outside surfaces. Pay attention to any vents or grilles where dust might accumulate. Make sure the cloth is just damp, not soaking wet. You don’t want water getting inside the unit. After wiping, use a dry cloth to remove any moisture. This is a quick step that makes a big difference in how clean your purifier looks.
Step 3: Cleaning the Washable Pre-Filter
This is where you’ll spend a bit more time. Most Germ Guardian models have a pre-filter that you can actually wash. Carefully remove the front grille or access panel, following your model’s instructions. Usually, it just snaps or slides off. Once you have the pre-filter out, take it to a sink. You can rinse it under cool running water. If it’s particularly dusty or grimy, you can use a mild soap. Gently scrub away the dirt with your hands or a soft brush. After rinsing thoroughly, let the pre-filter air dry completely. This is critical – never put a wet filter back into the unit. Many experts suggest letting it dry for at least 24 hours (CDC).
Step 4: Addressing the HEPA Filter
Your HEPA filter is not washable. Trying to wash it will ruin its delicate structure and make it ineffective. The key here is replacement. Check your user manual for the recommended replacement schedule. For many Germ Guardian models, this is typically every 6 to 12 months, depending on usage and air quality. You’ll know it’s time when you notice a decrease in performance or see visible dust buildup on the filter itself. When it’s time, carefully remove the old HEPA filter and insert a new, genuine Germ Guardian replacement filter. Again, ensure the unit is unplugged during this process.
Step 5: Checking the Activated Carbon Filter (If Applicable)
Some Germ Guardian models include an activated carbon filter. This layer helps remove odors and smoke. Like the HEPA filter, it is also designed for replacement, not washing. Consult your manual for its lifespan and replacement instructions. These often need replacing at the same time as the HEPA filter, but it’s always best to check.
A Quick Cleaning Checklist
Here’s a handy checklist to keep your Germ Guardian in top shape:
- Unplug the air purifier.
- Wipe down the exterior with a damp cloth.
- Rinse the pre-filter under cool water.
- Allow the pre-filter to air dry completely.
- Replace the HEPA filter as recommended (usually 6-12 months).
- Check your user manual for model-specific guidance.
When to Replace vs. When to Clean
It’s easy to get confused about what to clean and what to replace. Think of it this way: filters that catch larger debris, like pre-filters, are usually washable. Filters designed to trap microscopic particles, like HEPA filters, are meant for replacement. We found that following this general rule covers most air purifiers (Consumer Reports).
| Filter Type | Maintenance Action | Frequency Suggestion |
|---|---|---|
| Pre-Filter | Washable (rinse/mild soap) | Monthly or when visibly dirty |
| HEPA Filter | Replace (do not wash) | Every 6-12 months |
| Activated Carbon Filter | Replace (do not wash) | Check manual; often with HEPA |
This table provides a general overview. Your specific Germ Guardian model might have slightly different recommendations. Always refer to your user manual for the most accurate information.
Conclusion
You’ve learned how simple it is to keep your Germ Guardian air purifier working at its best. By regularly washing the pre-filter and wiping down the exterior, you make a big difference. Remember, replacing the HEPA filter on schedule is key for truly clean air. These routine steps ensure your purifier continues to capture dust and allergens effectively. Your next step is to schedule your pre-filter wash for next month. This small habit will help you breathe easier and keep your home healthier.
Frequently Asked Questions
How often should I really clean the pre-filter?
We recommend cleaning your pre-filter at least once a month. You should also check it weekly. If you notice a lot of dust or debris, it’s time for a rinse. This helps prevent larger particles from reaching the main HEPA filter.
Can I use household cleaners on the exterior?
For the exterior, a damp cloth with mild soap is usually sufficient. Avoid harsh chemicals or abrasive cleaners. These can damage the plastic casing over time. Always ensure the unit is unplugged before wiping it down.
What happens if I wash the HEPA filter?
Washing the HEPA filter will ruin its delicate fibers. This makes it unable to trap tiny particles effectively. You will need to replace a washed HEPA filter immediately. Always stick to replacement recommendations for optimal performance.
How do I know when it’s time to replace the HEPA filter?
Your user manual will give you a specific timeline, often 6-12 months. You might also notice reduced airflow or see visible dust buildup on the filter. A decrease in air cleaning effectiveness is another sign.
Where can I buy replacement filters for my Germ Guardian?
You can typically find genuine Germ Guardian replacement filters on the manufacturer’s website. They are also available through major online retailers. Using official replacements ensures the best fit and performance for your unit.
![5 Best Levoit Air Purifier for Large Room [In 2026]](https://homeunderstandable.com/wp-content/uploads/2025/05/best-levoit-air-purifier-for-large-room-top-picks-for-fresh-air-768x432.jpg)