How to Connect Two Air Compressor Tanks Safely and Easily
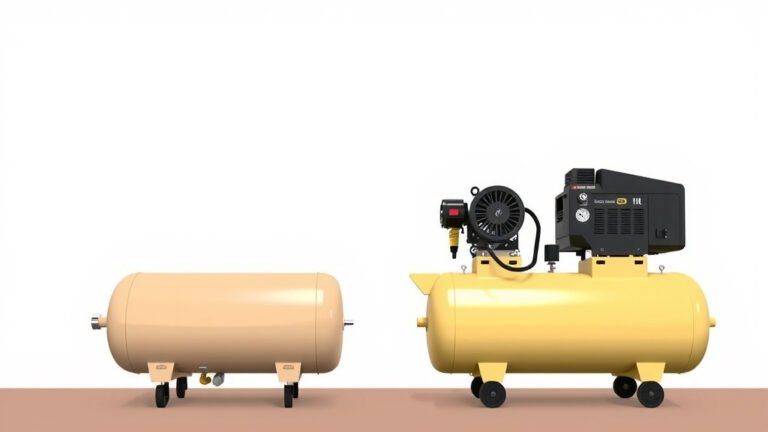
Yes, you can definitely connect two air compressor tanks to get more air volume. This common DIY project involves linking two tanks together using a special manifold or a series of fittings. It’s a great way to increase your compressed air supply for longer tool run times. You’ll be able to power more demanding tools without the compressor constantly cycling. Get ready for more efficient work.
Adding a second tank effectively gives your compressor a larger reserve of air. This means less strain on the motor and pump. Many homeowners and small shop owners find this modification to be a real workhorse booster. It’s a smart way to get more performance from your existing equipment without buying a whole new unit. Think of it as giving your compressor a bigger lung.
- Connect two tanks for more air.
- Use a manifold or fittings.
- Enjoy longer tool run times.
- Reduce compressor cycling.
- Boost existing equipment performance.
Below, we’ll walk you through exactly how to connect two air compressor tanks safely and effectively. Let’s get your tools running longer!
Boosting Your Air Compressor’s Capacity
You’re looking to connect two air compressor tanks, and that’s a smart move. Adding a second tank gives your compressor a bigger air reserve. This means your tools can run longer. It also lets your compressor motor take longer breaks. This can help extend the life of your equipment. So, let’s dive into how you can make this happen.
Understanding the Basics of Dual Tanks
Think of your air compressor like a lung. A single tank is like a small lung. Connecting two tanks is like giving it a much larger set of lungs. This extra volume is stored air. When you use a tool, air leaves the tank. A larger tank means more air is available before the pressure drops too low. Your compressor’s motor and pump don’t have to work as hard or as often.
Why Add a Second Tank?
You might be finding that your current tank runs empty too quickly. This can happen when you’re using air-hungry tools. Tools like sandblasters, impact wrenches, or paint sprayers demand a lot of air. When the tank pressure drops, the compressor kicks on. If it cycles too often, it can overheat. It can also be really annoying to have your work interrupted constantly.
- More air means longer tool run times.
- Reduces the strain on your compressor’s motor.
- Less frequent cycling of the compressor.
- Can prevent overheating issues with older units.
- Allows you to use more demanding air tools.
Key Components You’ll Need
To connect two tanks, you’ll need a few specific parts. Safety is always the top priority here. Make sure you get high-quality fittings designed for compressed air systems. Don’t try to jury-rig something with plumbing parts not meant for pressure.
The Manifold or Fitting Kit
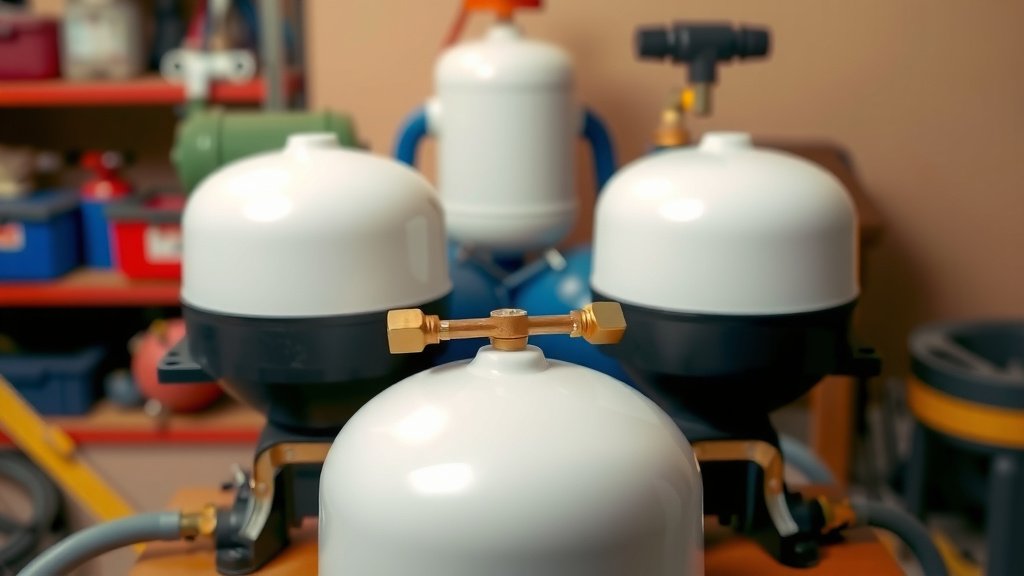
Many people opt for a ready-made manifold kit. These kits are designed to connect two tanks easily. They usually have ports for each tank and a main output port for your tools. A manifold simplifies the plumbing. It’s often the easiest route for DIYers. You can find these at most hardware stores or online.
Individual Fittings
Alternatively, you can piece together your own setup using individual fittings. You’ll need a T-fitting or a cross-fitting. You’ll also need adapters to connect to your existing tank ports. Brass or steel fittings are generally recommended for durability and safety under pressure. Always check the pressure rating of your fittings.
Hoses and Sealant
You’ll need high-pressure air hoses. Make sure they are rated for the maximum pressure your compressor can produce. You’ll also need pipe thread sealant, like Teflon tape or pipe dope. This ensures all connections are airtight. A leaky system wastes air and makes your compressor work harder.
Step-by-Step: Connecting Your Tanks
Safety first! Always unplug your compressor before you start any work. Make sure the tanks are completely drained of air. Releasing that stored pressure is essential for your safety. Wear safety glasses throughout the entire process.
Preparing the Tanks
You’ll need to identify the ports on each tank. Most air compressor tanks have a main outlet port. They often have one or two smaller ports too, sometimes for safety valves or drains. You need to figure out how to connect them together and still have an outlet for your tools.
Choosing Your Connection Point
You can often connect tanks by using a T-fitting in the main air line. Or, some kits allow you to connect them in parallel. If your tanks have multiple ports, you might be able to connect them directly to each other. Researching your specific tank models can help here. We found that looking up the tank diagrams online is very useful.
Assembling the Plumbing
Start by applying pipe thread sealant to all male threads. Wrap Teflon tape clockwise around the threads. If using pipe dope, apply it evenly. Then, begin connecting your fittings and hoses. Work methodically and tighten connections snugly, but don’t overtighten.
Using a Manifold Kit
If you have a manifold kit, follow its specific instructions. Typically, you’ll attach one end of the manifold to the outlet of your first tank. Then, you’ll attach the second tank to another port on the manifold. Finally, you’ll connect your main air hose to the output port on the manifold. Ensure all seals are tight.
Building Your Own Fitting System
If you’re using individual fittings, you might use a T-fitting. Connect the T-fitting to the main outlet of your primary tank. Then, use an adapter to connect your second tank to the other side of the T. Your main air hose would then connect to the third port of the T. Or, you could use a cross fitting if connecting two tanks side-by-side. This creates a unified air source. Many sources suggest checking that the fittings are rated for at least 150 PSI.
Testing for Leaks
Once everything is connected, it’s time to test. Plug in your compressor and let it build pressure. Listen carefully for any hissing sounds. You can also use a spray bottle filled with soapy water. Spray it on all the connections. If you see bubbles forming, you have a leak. Turn off the compressor, drain the air, and tighten the leaky connection. Repeat until all leaks are gone.
Important Safety Considerations
Working with compressed air systems requires caution. Always remember that compressed air can be dangerous if not handled properly. Think of it like a pressurized can of soda – it holds a lot of energy.
Pressure Ratings Matter
Ensure all components – tanks, hoses, fittings, and regulators – have a pressure rating that exceeds your compressor’s maximum output. Many home compressors can reach 150 PSI or more. The tanks themselves are designed for this. Ensure your added components can handle it too. Consulting the manufacturer’s specifications is a good idea.
Drain Valves and Safety Reliefs
Make sure both tanks have functional drain valves. You need to drain them regularly to remove moisture. Moisture can cause rust and damage your compressor. Also, ensure that each tank has its own safety relief valve. These are critical safety devices that release excess pressure if the regulator fails. Many experts say never to remove or tamper with these valves.
Regular Maintenance Checks
Periodically check all connections for leaks. Inspect hoses for any signs of wear or damage. Listen to your compressor; any unusual noises could signal a problem. Keeping your system in good repair ensures it runs efficiently and safely. This is key for long-term use.
Here’s a quick checklist to keep you on track:
- Unplug compressor before starting.
- Drain tanks completely.
- Use pressure-rated fittings and hoses.
- Apply thread sealant correctly.
- Test all connections for leaks.
- Never remove safety relief valves.
Conclusion
You’ve learned how connecting a second air compressor tank can dramatically boost your air supply. This DIY project gives you longer tool run times and reduces strain on your compressor. Remember to always prioritize safety by using the right pressure-rated parts and checking for leaks thoroughly. With the proper fittings and a careful approach, you’ll enjoy a much more efficient and capable compressed air system. Go ahead and set up your enhanced air reserve; your tools will thank you for it!
Frequently Asked Questions
Can I connect any two air compressor tanks together?
While you can connect most tanks, it’s best if they are similar in pressure rating and material. Ensure all your fittings and hoses can handle the combined pressure. Always check the maximum PSI rating of each tank and your components.
What’s the difference between using a manifold and individual fittings?
A manifold is a single unit designed for easy connection, often simplifying the process. Individual fittings, like T-connectors, give you more flexibility but require careful assembly. Manifolds are generally quicker for DIYers, while custom fittings can be tailored to specific setups.
How much pressure can a DIY dual tank system handle?
Your system’s pressure limit is determined by its weakest component. You must ensure all tanks, hoses, fittings, and regulators are rated for at least 150 PSI, or higher if your compressor goes beyond that. Never exceed the lowest pressure rating among your parts.
Do I need to drain both tanks after using the compressor?
Yes, you should drain both tanks regularly to remove accumulated moisture. This prevents rust and internal damage. Make sure each tank has an accessible drain valve for easy maintenance. Consistent draining is key to longevity.
Can connecting two tanks increase my compressor’s lifespan?
Yes, by providing a larger air reserve, your compressor motor and pump will cycle less frequently. This reduces wear and tear and can help prevent overheating, potentially extending the overall life of your equipment. It’s like giving your compressor more breathing room.