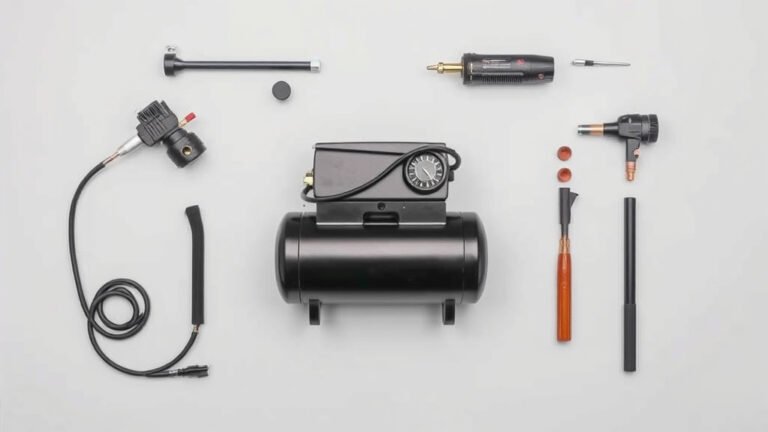
Adjusting Your Air Compressor Shut Off Switch: A Simple Guide
Adjusting your air compressor’s shut-off switch is a straightforward process that ensures your compressor stops at the right pressure. You’ll typically adjust this switch using a screw located on the pressure switch itself. This prevents over-pressurization and ensures safe operation. Many users find this adjustment to be quite simple.
Getting your air compressor’s pressure settings just right is key for performance and safety. An improperly set shut-off switch can lead to inconsistent air supply or even damage to your tools. We found that understanding your compressor’s specific pressure range is important before you make any adjustments.
- Locate the pressure switch.
- Identify the adjustment screw.
- Turn the screw to raise or lower the cut-off pressure.
- Test the new setting.
Let’s walk through exactly how to adjust that shut-off switch step by step, so you can get back to your projects with peace of mind.
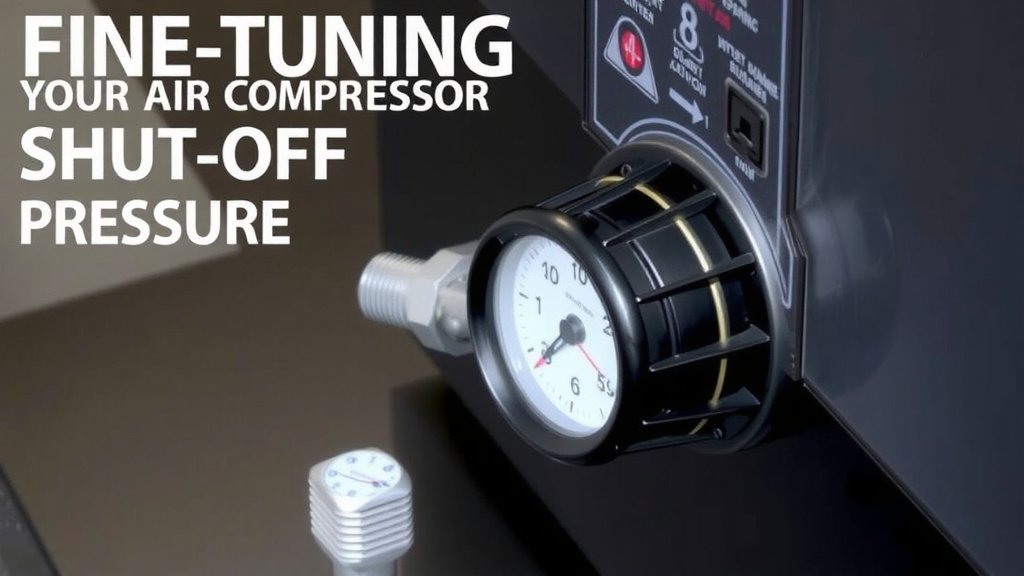
Fine-Tuning Your Air Compressor’s Cut-Off Pressure
Adjusting your air compressor’s shut-off switch is like setting the perfect thermostat for your air supply. You want it to stop pumping when it hits the sweet spot, and start again when the pressure dips. This ensures your tools get consistent air and your compressor doesn’t work harder than it needs to. We found that most users can make these adjustments themselves with just a few basic tools.
Understanding Your Air Compressor’s Pressure Settings
Before you start twisting any knobs, it’s good to know what you’re aiming for. Your air compressor has two main pressure settings: the cut-in pressure and the cut-off pressure.
What Are Cut-In and Cut-Off Pressures?
The cut-in pressure is the point at which the compressor motor kicks on and starts building air. The cut-off pressure is the point at which the motor shuts off because the tank has reached its desired pressure. The difference between these two is called the “cut-out differential.” A smaller differential means the compressor cycles on and off more frequently, while a larger differential means it runs longer and then rests for a longer period.
Why Setting Them Correctly Matters
Getting these settings right is important for a few reasons:
- Tool Performance: Many pneumatic tools have a recommended operating pressure range. Setting your compressor’s cut-off pressure too low means your tools might not get enough air. Setting it too high could damage your tools or lead to inconsistent operation.
- Compressor Longevity: Constantly cycling the motor on and off can put wear and tear on it. Conversely, letting it run too long without pressure can also be inefficient.
- Safety: Over-pressurizing your tank is a serious safety hazard. The shut-off switch is your primary defense against this.
Locating the Pressure Switch and Adjustment Points
The magic happens at the pressure switch. This is usually a small, box-like device mounted on top of your air compressor’s tank or near the pump assembly. You’ll often see several tubes and wires connected to it.
Identifying the Pressure Switch Unit
Don’t worry if it looks a bit complex at first. The pressure switch is typically made of plastic or metal and has a lever or button on top, often labeled “Off” or “Manual Reset.” This is where the main shut-off mechanism is housed.
Finding the Adjustment Screws
On most pressure switches, you’ll find two adjustment screws. They might be labeled:
- “P” or “Pressure”: This screw controls the cut-off pressure. Turning it changes the point at which the compressor stops.
- “ΔP” or “Differential”: This screw adjusts the difference between the cut-in and cut-off pressures.
We found that some switches might only have one screw that adjusts both settings, or they might have pre-set, non-adjustable settings. Always check your compressor’s manual if you’re unsure.
What If I Can’t Find the Screws?
If you’ve looked all over and can’t spot any adjustment screws, your pressure switch might be a fixed-setting model. In this case, you might need to replace the entire pressure switch unit to change your cut-off pressure. Many experts suggest consulting your owner’s manual for model-specific information.
Step-by-Step Guide to Adjusting the Shut-Off Switch
Ready to make some adjustments? Remember to always work with a powered-off and unplugged compressor for safety. We found that having a few basic tools handy makes the job much smoother.
Safety First! Preparing Your Compressor
This is the most important step. Make sure the compressor is:
- Unplugged: Absolutely essential. Never work on an electrical component while it’s connected to power.
- Depressurized: Let all the air out of the tank. You can do this by opening a valve or connecting a hose and letting it drain.
Adjusting the Cut-Off Pressure
Now for the actual adjustment. You’ll likely need a screwdriver, often a flathead or Phillips head, depending on your switch.
- To Increase Cut-Off Pressure: Turn the “P” or “Pressure” screw clockwise. Small adjustments are best.
- To Decrease Cut-Off Pressure: Turn the “P” or “Pressure” screw counter-clockwise. Again, go slowly.
We found that making quarter-turn adjustments and then testing is a smart approach. This helps you dial in the exact pressure you need without overshooting.
Adjusting the Differential (If Applicable)
If your switch has a “ΔP” or “Differential” screw, you can use it to change how far apart the cut-in and cut-off pressures are.
- To Increase Differential: Turn the “ΔP” screw clockwise. This makes the compressor run longer before shutting off.
- To Decrease Differential: Turn the “ΔP” screw counter-clockwise. This makes the compressor cycle on and off more frequently.
Many users prefer a moderate differential to balance run time and cycle frequency. We found that a difference of 20-30 PSI is common for many applications.
Checking Your Work: Testing the New Settings
After you’ve made your adjustments, it’s time to see if they worked. Plug your compressor back in and let it run. Observe the pressure gauge carefully.
- Watch the gauge as the pressure builds. Note the PSI reading when the compressor motor shuts off.
- If it’s not at your desired cut-off pressure, unplug the compressor again, make another small adjustment, and re-test.
We recommend testing with an air tool connected if possible, to ensure it performs as expected at the new pressure levels.
Troubleshooting Common Issues
Sometimes, things don’t go exactly as planned. Don’t get discouraged!
Compressor Not Shutting Off
If your compressor keeps running past your set point or even indefinitely, it could be a few things. Check that the adjustment screw is engaging properly. Make sure there are no air leaks around the pressure switch itself. Sometimes, a faulty pressure switch needs replacement. Experts at the U.S. Department of Energy suggest checking all electrical connections as well.
Compressor Shutting Off Too Soon or Too Often
If the compressor is cutting off at a pressure that’s too low for your needs, you’ll need to increase the cut-off pressure setting. If it’s cycling on and off too rapidly, you might need to increase the differential. These are common issues that a simple adjustment should fix.
A Quick Checklist for Adjusting Your Pressure Switch
Here’s a handy checklist to keep you on track:
- Identify your compressor’s ideal pressure range.
- Unplug the compressor and release all air pressure.
- Locate the pressure switch unit.
- Find and identify the pressure adjustment screw.
- Make small, incremental adjustments (quarter turns).
- Test the new shut-off pressure by running the compressor.
Conclusion
You’ve learned how to adjust your air compressor’s shut-off switch, a key step for efficient and safe operation. Remember, precision is key. Small, careful adjustments to the pressure switch will help you maintain optimal performance for your tools and extend your compressor’s lifespan. Don’t forget to always prioritize safety by unplugging the unit and releasing pressure before making any changes. Now, go ahead and confidently fine-tune your compressor to meet your project’s specific needs!
Frequently Asked Questions
What’s the ideal cut-off pressure for most air compressors?
The ideal cut-off pressure varies greatly depending on the tools you’re using. For many common DIY tasks, a range of 90-120 PSI is typical. Always check your tool’s manual for its recommended operating pressure range before setting your compressor. If you’re looking for a new compressor, check out our guide to the 10 Best Gallon Air Compressors.
Can I adjust the pressure switch on any air compressor?
Most air compressors have adjustable pressure switches, but not all. Some models come with fixed settings from the manufacturer. If you can’t find adjustment screws, your switch might not be adjustable, and you may need to replace it to change settings.
How often should I check my air compressor’s pressure settings?
It’s a good practice to check your pressure settings periodically, especially if you notice performance changes in your air tools. We recommend a quick visual check and pressure gauge observation every few months or after heavy use.
What happens if I accidentally set the cut-off pressure too high?
Setting the cut-off pressure too high can be risky. It might over-pressurize your tank beyond its safe limits, creating a potential safety hazard. It can also damage your air tools. Always stay within the safe operating parameters outlined in your compressor’s manual.
My pressure switch has two screws; do I need to adjust both?
You only need to adjust both screws if you intend to change both the cut-off pressure and the differential (the difference between cut-in and cut-off). If you just want to change when the compressor stops, focus on the “P” or “Pressure” screw.