How to Adjust Your Air Compressor Unloader Valve
Adjusting your air compressor unloader valve is simpler than you might think. You can typically **adjust the pressure settings** by turning a specific screw or knob on the valve itself. This is often necessary to ensure your compressor runs efficiently and safely, preventing **over-pressurization** or under-performance. We’ll show you exactly how to do it.
This little valve plays a big role in your air compressor’s operation. It’s designed to **reduce the load** on the motor when the tank reaches its set pressure. Knowing how to adjust it means you can fine-tune your compressor for different tasks and ensure its **longevity**. Let’s get this done right.
- Understand what the unloader valve does.
- Locate the adjustment screw or knob.
- Follow safety precautions before adjusting.
- Make small adjustments and test pressure.
- Know when to call a pro.
Let’s walk through exactly how to adjust your air compressor’s unloader valve step by step.
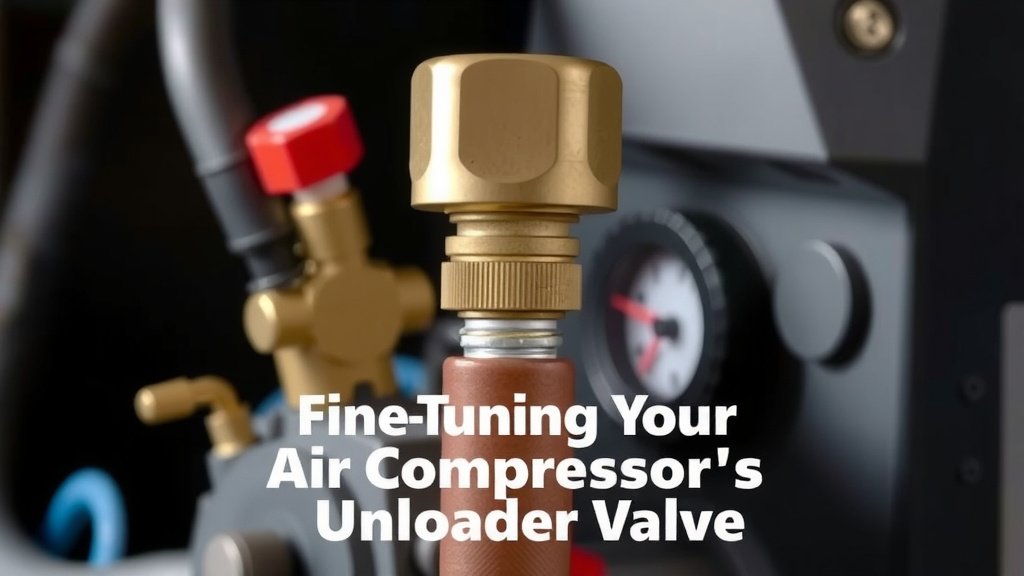
Fine-Tuning Your Air Compressor’s Unloader Valve
Adjusting this small but mighty valve can make a big difference in how your air compressor performs. Let’s dive in and get it set just right for your needs.
Understanding the Unloader Valve’s Role
Before we start turning screws, let’s quickly touch on what this valve actually does. Think of it as the compressor’s pressure gatekeeper. When your air tank hits the desired pressure, the unloader valve does two main things. It stops the compressor from pumping more air. It also releases any built-up pressure in the pump head or discharge line. This makes it easier for the motor to start up again the next time. We found this process is key to preventing unnecessary strain on your equipment.
Why Adjust the Unloader Valve?
You might wonder why you’d need to adjust it. Several reasons come to mind. Maybe you’re using your compressor for a different task that requires a lower or higher operating pressure. Perhaps the original setting isn’t quite meeting your needs anymore. Sometimes, over time, these valves can drift slightly, and a simple adjustment can bring it back to spec. You’ve got to keep things running smoothly, right? Keeping it calibrated ensures your tools get the right amount of air and your compressor doesn’t work harder than it needs to.
Safety First: Preparing for the Adjustment
Safety is always the top priority. Before you even think about touching the unloader valve, make sure your compressor is completely shut off. You’ll want to disconnect the power source. For electric compressors, this means unplugging it. For gas-powered ones, shut off the engine and disconnect the spark plug wire. Always check your compressor’s manual for specific safety instructions. We found that many operating manuals stress these initial steps for good reason.
Next, let the air pressure in the tank bleed down to zero. You can do this by opening a valve or using an air tool. You don’t want any stored pressure fighting you. Wearing safety glasses is also a must. Little bits of debris can sometimes pop out unexpectedly. We recommend a good pair of safety glasses to protect your eyes.
Locating the Unloader Valve and Adjustment Point
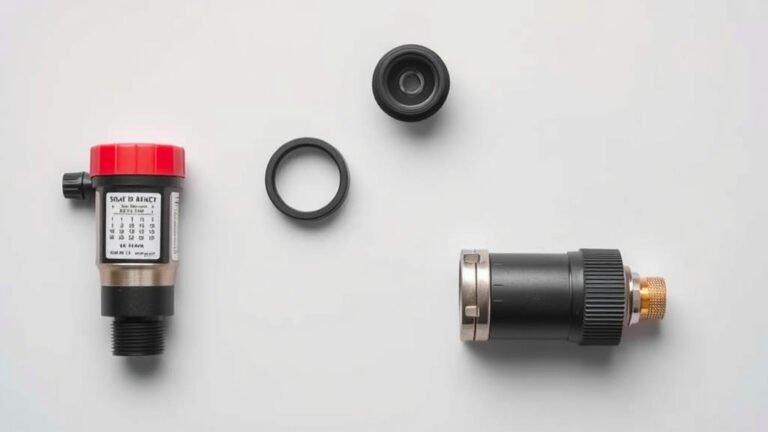
So, where is this mysterious valve? It’s usually located near the pump head or the discharge pipe that goes from the pump to the air tank. You’ll often see a small assembly with a screw or a knob on it. This is your adjustment point.
Some models have a spring-loaded mechanism. You’ll often find a large screw that compresses or de-compresses a spring. This spring is what controls the pressure setting. Turning the screw clockwise usually increases the pressure. Turning it counter-clockwise typically lowers the pressure. Think of it like tightening or loosening a spring. We found that identifying this screw is the first tangible step in the adjustment process.
Identifying Different Types of Unloader Valves
While the basic function is the same, unloader valves can look a bit different. Some are very basic, with just one adjustment screw. Others might have a more complex setup, especially on larger industrial compressors. For most common portable or stationary home compressors, you’ll find a straightforward adjustment screw.
You might also see a check valve integrated into the unloader assembly. This check valve is what prevents air from flowing back into the pump. Make sure you’re adjusting the correct part. If you’re unsure, your compressor’s manual is your best friend here. It usually has diagrams. We discovered that a quick look at the manual can save a lot of guesswork.
The Adjustment Process: Step-by-Step
Now for the hands-on part. With the compressor safely shut off and depressurized, locate that adjustment screw. You’ll need a screwdriver or wrench, depending on the type of screw head.
Start with small, incremental adjustments. A quarter-turn or half-turn is usually plenty to start. After each adjustment, you’ll need to test the pressure. Close any bleed valves and turn the power back on to let the compressor build pressure. Watch your pressure gauge.
Testing and Fine-Tuning the Pressure
As the compressor runs, keep an eye on the pressure gauge. Listen for when the unloader valve kicks in and stops the pump. Note the pressure reading at that exact moment. This is your cut-out pressure.
If it’s not where you want it, shut off the compressor again, depressurize the tank, and make another small adjustment. Repeat the process of turning on, building pressure, and observing the cut-out. You’re aiming for the sweet spot. Many experts suggest making these adjustments in small steps to avoid overshooting your target. We found this patient approach works best.
It’s also good to check your cut-in pressure. This is the pressure at which the compressor starts pumping again after it drops. You want a reasonable difference between the cut-in and cut-out pressures. Too small a difference, and the compressor might cycle on and off too frequently, which can be hard on the motor. Too large a difference, and you might run out of air before it kicks back on.
| Application | Typical Cut-Out Pressure (PSI) | Notes |
|---|---|---|
| General Household Use | 120-150 PSI | Good balance for most tasks. |
| Tire Inflation | 100-130 PSI | Sufficient for car and bike tires. |
| Air Tools (Nailers, Staplers) | 90-120 PSI | Check tool requirements; many need around 90 PSI. |
| Painting/Spraying | 60-90 PSI | Lower pressure needed for consistent finish. |
Resetting for Specific Tasks
Sometimes you’ll need to adjust your pressure for different jobs. For instance, if you’re doing some delicate painting, you’ll want a lower pressure than if you’re using a powerful impact wrench. A lower cut-out pressure means less stored energy. This can be helpful for tasks where over-pressurization is a concern.
Remember to write down your new settings if they differ significantly from the original. This way, you can easily switch back if needed. Keeping a log can be quite handy. We found that users often appreciate having these notes for future reference.
Troubleshooting Common Issues
What if it’s not cooperating? One common issue is if the unloader valve doesn’t seem to be releasing pressure when it should. This could mean the valve is sticking. You might try gently tapping on the valve assembly with the handle of your screwdriver while the compressor is off and depressurized. Sometimes, a bit of gentle persuasion is all it needs.
Another problem could be that the adjustment screw doesn’t seem to do anything. In this case, the internal mechanism might be worn or damaged. It’s possible the spring has lost its tension or a seal has failed. If you’ve made adjustments and the pressure remains wildly off, it might be time to look at replacing the valve assembly. Many sources suggest that internal wear is a common culprit.
When to Call a Professional
While adjusting an unloader valve is often a DIY-friendly task, there are times when it’s best to call in the experts. If you’ve tried making adjustments and you’re still not getting the correct pressure, or if you suspect a more serious mechanical issue, don’t hesitate to seek help. Trying to force a stuck valve or working with a faulty component could lead to further damage or unsafe operating conditions.
If your compressor is making unusual noises, if there are visible leaks from the valve assembly, or if you’re simply not comfortable with the process, a qualified technician can diagnose and fix the problem. Safety should always be your guiding principle. Remember, your compressor is a powerful tool, and treating it with respect is key to its longevity and your safety.
Here’s a quick checklist to keep you on track:- Ensure power is disconnected and the tank is depressurized.
- Wear safety glasses during the entire process.
- Locate the unloader valve and its adjustment screw or knob.
- Make small, quarter-turn adjustments to the screw.
- Test pressure after each adjustment by running the compressor.
- Consult your manual if you encounter difficulties.
Conclusion
You’ve now got a solid grasp on how to adjust your air compressor’s unloader valve. Remember, it’s all about small, careful adjustments and testing the pressure along the way. Keeping this valve set correctly ensures your compressor runs efficiently and safely, extending its life. Don’t hesitate to consult your manual if anything feels unclear. Your next step is to grab your tools, follow the safety steps, and make those fine-tunes to get your compressor performing just the way you need it.
Frequently Asked Questions
How often should I check or adjust my unloader valve?
You don’t typically need to adjust your unloader valve regularly. Check it if you notice your compressor isn’t building pressure as expected or if the motor seems to be struggling. We found that periodic visual checks for leaks or damage are more common than frequent adjustments.
Can I adjust the unloader valve while the compressor is running?
Absolutely not. It’s critical to shut off the compressor and disconnect the power before making any adjustments. Attempting to adjust it while it’s running is dangerous and can cause damage to the valve and compressor. Always prioritize safety.
What happens if the unloader valve is set too high?
If your unloader valve is set too high, the compressor will keep pumping until it reaches a very high pressure. This can over-pressurize your tank, which is a serious safety hazard. It also puts excessive strain on the motor and pump, potentially leading to premature wear or failure. We’ve seen this cause damage.
My unloader valve adjustment screw is stuck. What should I do?
If the adjustment screw is stuck, first ensure the compressor is off and depressurized. You can try a bit of penetrating oil around the screw, letting it soak for a while. If it still won’t budge, gently tapping the valve assembly might help loosen it. If not, it might indicate internal corrosion or damage, and you may need to replace the valve.
What’s the difference between the cut-out and cut-in pressure?
The cut-out pressure is the PSI at which the compressor pump stops running when the tank is full. The cut-in pressure is the PSI at which the pump starts again after the pressure drops. A good difference between these two prevents the compressor from cycling on and off too frequently, which is better for the motor.