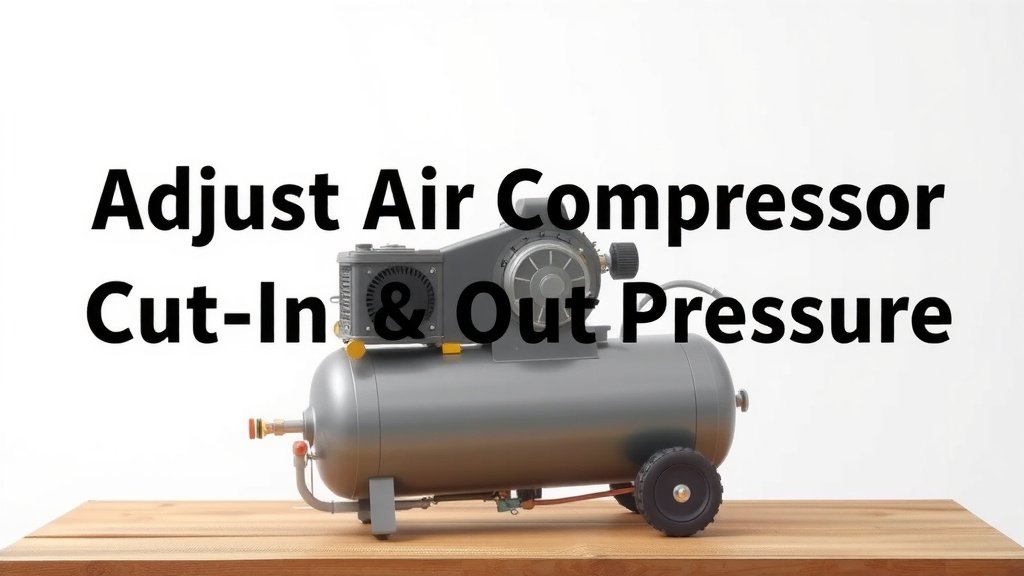
Adjust Air Compressor Cut-In & Cut-Out Pressure
You can easily adjust the cut-in and cut-out pressure on your air compressor yourself. This lets you set the perfect operating range for your tools and tasks. We’ll show you how to do it safely and effectively.
Getting your compressor’s pressure settings right is key. It ensures your tools get the air they need without overworking the motor. Many homeowners and DIYers find this adjustment straightforward once they know where to look and what to do. It’s all about the pressure switch.
- Know your ideal pressure range.
- Locate the pressure switch.
- Adjust the large adjustment screw.
- Fine-tune the small screw for differential.
- Test your new settings.
Ready to dial in your air compressor’s performance? Let’s walk through exactly how to adjust your cut-in and cut-out pressure step by step.
Setting Your Air Compressor’s Pressure Range
Adjusting your air compressor’s cut-in and cut-out pressure is a straightforward process. It allows you to customize the tool’s operation to your specific needs. Think of it like tuning a musical instrument; you want it to play at the right notes for the song you’re performing. Getting this pressure range right ensures your tools have sufficient air without constantly stressing the compressor motor. You’re essentially telling your compressor when to “turn on” to refill the tank (cut-in) and when to “turn off” once it’s full (cut-out).
Understanding Pressure Switch Basics
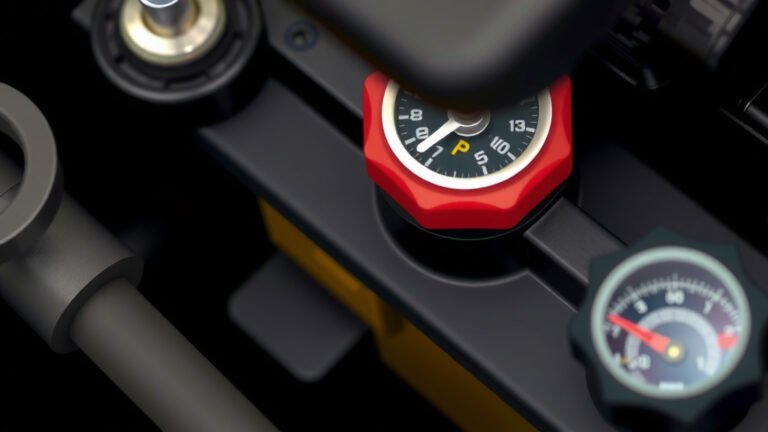
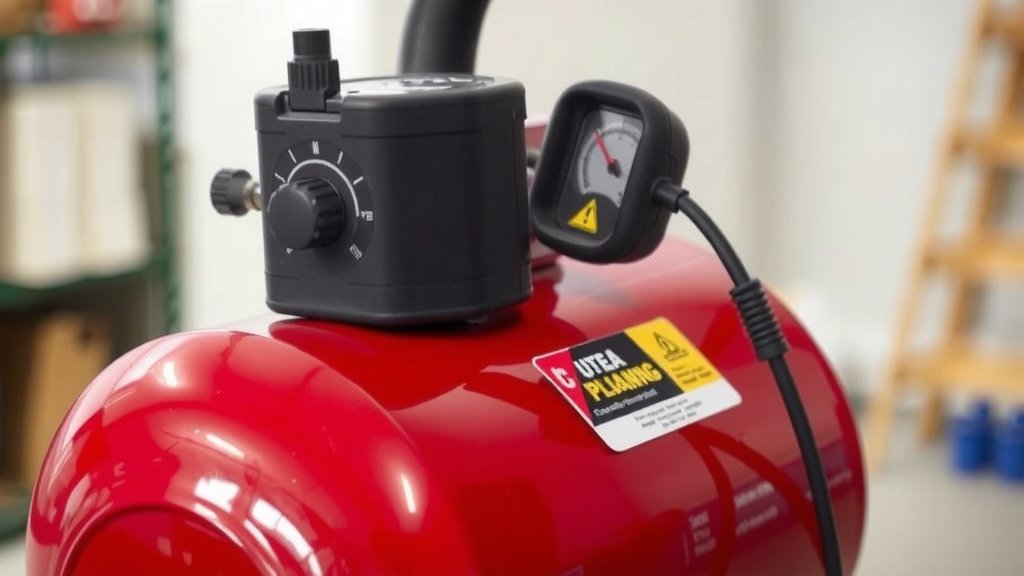
The magic behind these adjustments is the pressure switch. This is a small, often black, component typically found near the top of the air compressor tank, usually where the air line connects from the pump head. It acts like the thermostat for your air compressor. When the tank pressure drops to a certain level, the switch activates the motor to start pumping more air. Once the pressure reaches a set point, it signals the motor to stop. Most pressure switches have two adjustment screws, one for cut-out pressure and one for the pressure difference, also known as the differential.
Why Adjusting Pressure Matters
Why bother with these settings? Well, different tools have different air pressure requirements. A framing nailer might work fine at a lower pressure, while an impact wrench needs more oomph. Setting your compressor too high for a tool can damage it. Setting it too low means your tool won’t perform optimally, leading to frustration. You might also want to adjust the pressure to save energy or reduce wear and tear on your compressor. Research shows that running equipment at its optimal pressure can improve efficiency (U.S. Department of Energy).
Gathering Your Tools and Safety Gear
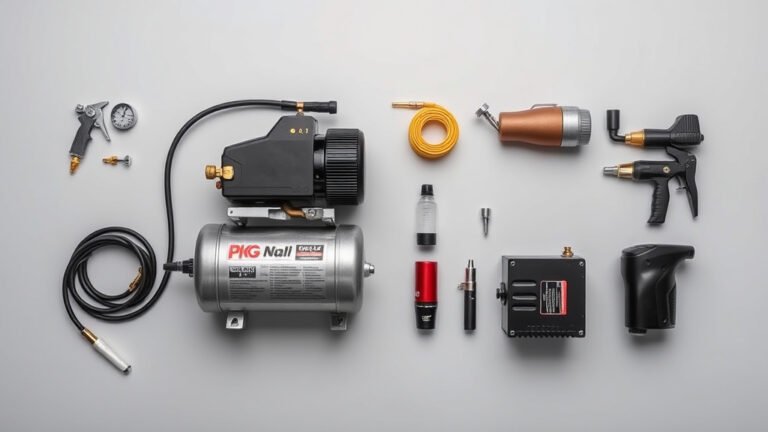
Before you start tinkering, let’s make sure you’re prepared. Safety first is always the best approach. You’ll need a few things:
- Safety glasses: Protect your eyes from any accidental debris.
- Gloves: For a better grip and protection.
- Screwdrivers: You’ll likely need a flathead and possibly a Phillips head screwdriver.
- Adjustable wrench: Sometimes needed to loosen locking nuts.
- Your air compressor manual: Always a good reference if you have it handy.
- A known pressure gauge: To verify your settings accurately.
Most importantly, always unplug your air compressor before making any adjustments. This prevents the motor from accidentally starting while you’re working on the switch. We cannot stress this enough; unplugging is critical.
Locating and Identifying Your Pressure Switch
The pressure switch is usually mounted on a manifold where air lines converge. You’ll see wires connected to it, and likely a line running to the tank. It often has a lever or a large knob on it, and you’ll see those two adjustment screws we talked about.
Understanding the Adjustment Screws
Most pressure switches have two main adjustment points. These are typically clearly labeled, or their function is obvious from their size and location:
- The Large Screw: This one usually adjusts the cut-out pressure. It’s often the most prominent screw on the switch.
- The Small Screw: This adjusts the pressure differential, sometimes called the “cut-in differential.” This determines how much the pressure drops before the compressor kicks back on.
Many experts advise starting with the large screw. You’re setting the upper limit of your pressure range first. Think of it as setting the maximum fill line for your tank.
Step-by-Step Adjustment Process
Now for the hands-on part. Let’s walk through adjusting your compressor’s pressure settings.
Step 1: Determine Your Target Pressure Range
First, decide on your desired cut-in and cut-out pressure. Consult your tool manuals. For example, a common range might be 90 PSI cut-in and 120 PSI cut-out. This gives you a 30 PSI differential. Some tools might require specific settings. We found that using a range recommended by tool manufacturers is a good starting point. Always aim for the higher end of the tool’s requirement for optimal performance, but never exceed the maximum rating of the compressor or tool.
Step 2: Unplug and Prepare
As mentioned, ensure your compressor is unplugged from the power source. Locate the pressure switch. You might want to use your adjustable wrench to loosen any locking nuts associated with the adjustment screws, if present. This prepares them for turning.
Step 3: Adjusting the Cut-Out Pressure (Large Screw)
This is where you set the maximum pressure. To increase the cut-out pressure, you typically turn the large screw clockwise. To decrease it, turn it counter-clockwise. Make small adjustments, maybe one-half to one full turn at a time. After each adjustment, plug the compressor back in, let it build pressure, and check your gauge. Does it shut off at your desired cut-out point? If not, unplug it again and repeat.
We found that adjusting this screw slowly is key. Rushing can lead to overshooting your target. Many sources suggest a maximum cut-out pressure for standard home use around 135-150 PSI, but always check your compressor’s specifications (Grainger).
Step 4: Adjusting the Differential (Small Screw)
Once your cut-out pressure is set, you’ll adjust the differential. This screw controls how much pressure must drop before the compressor restarts. Turning it clockwise usually increases the differential (meaning pressure drops more before it kicks on). Turning it counter-clockwise usually decreases the differential (it kicks on sooner). A typical differential is 20-30 PSI.
A smaller differential means the compressor cycles on and off more frequently. A larger differential means it runs longer before shutting off, but there’s a bigger drop in pressure between cycles. You want to find a balance that suits your workflow. For instance, if you’re using an air tool that requires consistent pressure, you might prefer a smaller differential to avoid noticeable pressure drops.
Example Scenario: Setting 90-120 PSI
Let’s say you want to set your compressor to cut out at 120 PSI and cut in at 90 PSI.
First, set the large screw to achieve a 120 PSI cut-out. Unplug, adjust, plug in, let it run, and check. Repeat until it hits 120 PSI and shuts off.
Now, let the pressure drop by using an air tool or opening a valve slightly. Once it hits a certain point, the compressor should restart. If it restarts too early (e.g., 100 PSI), you need to increase the differential. Turn the small screw clockwise a bit. If it waits too long to restart (e.g., 80 PSI), you need to decrease the differential. Turn the small screw counter-clockwise. You’re looking for that sweet spot where it restarts around 90 PSI.
Step 5: Testing and Fine-Tuning
After you’ve made your adjustments, it’s time for a thorough test. Plug in your compressor and let it run through a full cycle. Observe the cut-in and cut-out points. Then, connect your air tools and use them as you normally would. Pay attention to whether the tools have consistent air supply and if the pressure drops too much when you use them.
You might need to repeat the adjustment process a few times to get it just right. Don’t be afraid to experiment a little to find the optimal settings for your specific tools and tasks. A little trial and error is perfectly normal here. Many DIY guides suggest cycling the compressor at least three times to ensure the settings are stable (Family Handyman).
Troubleshooting Common Issues
Sometimes, things don’t go as planned. Here are a few common issues you might encounter:
- Pressure won’t reach set point: Check for air leaks in your tank or hoses. Ensure the pump is functioning correctly. Sometimes a worn pump can’t build enough pressure.
- Compressor won’t turn off: The pressure switch might be faulty or not adjusted correctly. Check for obstructions around the switch. Ensure you’ve adjusted the correct screw for cut-out pressure.
- Compressor cycles too often: Your differential is likely too small. Adjust the small screw to increase the pressure difference between cut-in and cut-out.
- Pressure drops too low before restarting: Your differential is likely too large. Adjust the small screw to decrease the pressure difference.
If you’re struggling, don’t hesitate to consult your compressor’s manual or search for model-specific guides online. Many manufacturers offer detailed troubleshooting tips.
Checklist for Success
Here’s a quick rundown to make sure you’ve covered all your bases:
- Safety First: Always unplug the compressor before adjustments.
- Know Your Needs: Determine the ideal pressure range for your tools.
- Locate Switch: Find the pressure switch and identify adjustment screws.
- Adjust Cut-Out: Set the maximum pressure using the large screw.
- Set Differential: Fine-tune the pressure difference with the small screw.
- Test Thoroughly: Cycle the compressor and test with tools.
Conclusion
You’ve now learned how to adjust your air compressor’s cut-in and cut-out pressure. This simple task lets you optimize tool performance and extend compressor life. Remember to always prioritize safety by unplugging the unit before making adjustments. By carefully setting the pressure switch, you ensure your tools get the air they need, when they need it. Take a moment to review your tool requirements and settings. Your next step is to test your new settings under load to confirm they meet your needs.
Frequently Asked Questions
Can I set the pressure too high?
Yes, you absolutely can. Setting the cut-out pressure too high can damage your air tools or even the compressor tank itself. Always check the maximum pressure ratings for both your tools and your compressor, and never exceed them.
What is a good pressure differential for general use?
For most home and DIY applications, a pressure differential of 20-30 PSI is a good starting point. This range provides a balance between tool performance and compressor cycling frequency. You might need to adjust this based on the specific demands of your tools.
Does adjusting the pressure save energy?
Setting your compressor to the lowest effective pressure for your tools can help save energy. Over-pressurizing doesn’t benefit most tools and causes the compressor to work harder than necessary. We found that running equipment at its optimal pressure improves efficiency.
How often should I check or adjust my pressure settings?
You don’t need to adjust them frequently unless you’re using a new set of tools with different requirements. However, it’s a good idea to check your settings periodically, especially if you notice your tools aren’t performing as expected or the compressor seems to be cycling unusually.
What if my pressure switch doesn’t have two screws?
Some older or simpler pressure switches might have a single adjustment screw or be non-adjustable. If yours is like this, you likely cannot change the cut-in and cut-out points. Consult your compressor’s manual to confirm if adjustment is possible or if you need a replacement switch.