How to Assemble Air Compressor Accessories: Step-by-Step Guide
Assembling air compressor accessories is usually a straightforward process. Most attachments simply screw or clip onto your air compressor’s hose or tool. You’ll typically need minimal tools, often just your hands or a simple wrench. Taking a few moments to connect them properly ensures they work efficiently and safely.
Properly connecting your air compressor accessories is key to getting the most out of your tool. This includes things like air hoses, tire inflators, blow guns, and sprayers. Each accessory has a specific job, and getting the connection right means better performance and avoiding leaks. We found that understanding the connection type is the first big step.
- Most air compressor accessories connect easily.
- Connections often involve screwing or clipping parts together.
- Simple tools like wrenches may be needed sometimes.
- A good connection prevents air leaks and ensures efficiency.
Let’s walk through exactly how to connect your air compressor accessories, ensuring you’re set up for success with every tool.
Connecting Your Air Compressor Accessories: A Simple Guide
Hooking up accessories to your air compressor is usually a breeze. Most parts just screw or click into place. You won’t need a huge toolbox for this. Usually, your hands or a basic wrench are all you need. Getting these connections right means better performance and no air leaks.
Understanding Different Connector Types
Before you start attaching things, it’s good to know what you’re working with. Air compressor accessories connect in a few standard ways. Knowing these types will make the whole process much smoother.
Threaded Fittings: The Screw-On Method
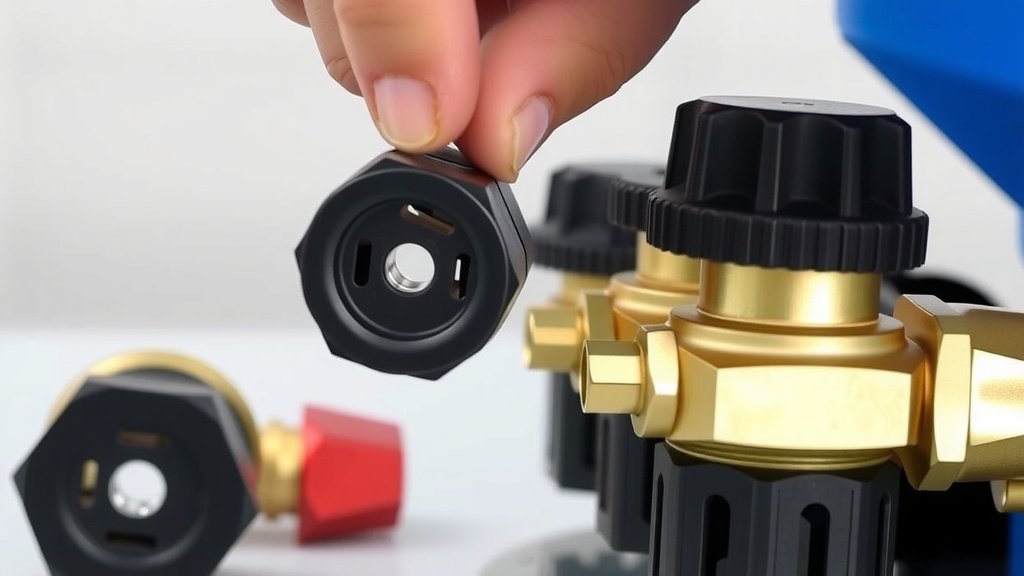
Many air tools and accessories use threaded fittings. Think of them like plumbing pipes. They have a male (sticking out) or female (hollow) thread. You simply screw the accessory onto the air hose or the compressor outlet. Make sure you match the thread size correctly. A tight seal is key here.
Quick-Connect Couplers: The Snap-On System
These are super popular for a reason. Quick-connect couplers let you attach and detach accessories very quickly. You’ll see them on air hoses and many tools. There’s usually a sleeve you pull back, insert the male end (called a plug), and then release the sleeve. It snaps securely into place. They are a real time-saver.
Common Quick-Connect Sizes
We found that the most common sizes in the US are 1/4-inch and 3/8-inch. It’s important to match the coupler on your hose to the plug on your accessory. Trying to force a different size can damage the fitting. Always check the size markings on your equipment.
Clamps and Latching Mechanisms
Some heavier-duty or specialized accessories might use clamps or other latching systems. These often provide an extra secure connection. For example, some industrial blowguns might have a robust clamp that locks the hose in place. Always make sure any clamps are fully tightened and latched securely before use.
Step-by-Step Assembly Process
Now that you know the connection types, let’s get down to actually putting things together. This process is designed to be user-friendly.
Preparing Your Compressor and Accessory
First, ensure your air compressor is turned OFF and unplugged. This is a critical safety step. Also, check that both the compressor fitting and the accessory fitting are clean and free of debris. Dirt can prevent a good seal and cause leaks. You can wipe them with a clean cloth.
Attaching a Threaded Accessory
For threaded fittings, start by aligning the threads. Turn the accessory clockwise to tighten. Don’t force it if it feels stiff; you might be cross-threading it. Many experts recommend using a bit of plumber’s tape (PTFE tape) on the male threads. This helps create an airtight seal and makes future removal easier. Wrap the tape around the threads 2-3 times in the direction of the threads. Then, screw the accessory on snugly. You might need a wrench for the final tightening, but avoid over-tightening, which can strip the threads. We found that a gentle snug plus a quarter turn is often enough.
Connecting a Quick-Connect Accessory
For quick-connects, pull back the sleeve on the coupler. Insert the plug from your accessory straight into the coupler. Release the sleeve, and you should hear or feel it lock into place. Give the accessory a gentle tug to ensure it’s secure. To disconnect, simply pull back the sleeve again and remove the accessory. It’s designed to be a one-handed operation.
Troubleshooting Quick-Connects
If a quick-connect isn’t locking, check for damage or debris in the coupler or plug. Sometimes, the spring in the coupler can get stuck. Gently wiggling the sleeve or tapping the coupler lightly can help. If it still won’t connect, the fitting might be worn out and needs replacement. A good connection should feel positive and secure.
Using a Table for Quick Reference
To help you remember, here’s a quick look at common accessories and their typical connectors. Many home garages and workshops use these standards.
| Accessory Type | Common Connector | Typical Use |
|---|---|---|
| Tire Inflator | Quick-Connect (1/4-inch) | Inflating car, bike, and sports ball tires. |
| Blow Gun | Quick-Connect (1/4-inch) | Blowing dust and debris off surfaces. |
| Airbrush/Sprayer | Threaded (1/8-inch or 1/4-inch) or Quick-Connect | Painting, coating, and detailed finishing. |
| Air Hammer/Chisel | Quick-Connect (3/8-inch or 1/2-inch) | Demolition, metal cutting, and auto repair. |
Final Checks and Safety
Once everything is connected, it’s wise to do a final check. Turn on your air compressor. Listen for any hissing sounds that could indicate leaks. You can also spray a little soapy water on the connection points; bubbles will form where there’s a leak. If you find a leak, turn off the compressor immediately and re-seat or tighten the connection. Many safety guidelines recommend this simple leak check. Keeping your connections tight ensures efficient operation and prevents wasted air.
Here’s a quick checklist to make sure you’re good to go:
- Ensure compressor is OFF and unplugged before connecting.
- Match connector types and sizes precisely.
- Clean all fittings before assembly.
- Tighten threaded fittings snugly, using PTFE tape if needed.
- Confirm quick-connects are fully engaged.
- Perform a leak check with the compressor running.
Conclusion
You’ve now learned the essentials of connecting your air compressor accessories. Remember, most attachments use simple threaded fittings or quick-connect couplers that require minimal effort. By ensuring you match the connector types and sizes correctly, and by always performing a quick leak check, you’re set for success. This attention to detail means your tools will perform better and last longer. Your next step is to confidently connect the right accessory for your task, ensuring a secure and efficient setup every time.
Frequently Asked Questions
What happens if I use the wrong size quick-connect fitting?
Using the wrong size quick-connect fitting can prevent a secure connection or even damage the coupler or plug. If it’s too small, it won’t engage properly. If you try to force a larger one, you risk bending or breaking the internal mechanism, leading to leaks or a fitting that won’t work at all.
Do I really need plumber’s tape for threaded connections?
Plumber’s tape, or PTFE tape, is highly recommended for threaded fittings. It acts as a sealant to create an airtight connection, preventing air leaks. We found it also makes it much easier to unscrew the accessory later without damaging the threads, which is a big help.
How tight should I make threaded fittings?
You want to tighten threaded fittings until they are snug, and then give them a little extra turn, perhaps a quarter turn, using a wrench if needed. The goal is a secure seal, but avoid over-tightening. Overtightening can strip the threads on either the accessory or the hose, making them difficult or impossible to connect properly in the future.
My quick-connect coupler isn’t locking. What should I do?
First, check for any debris or dirt inside the coupler or on the plug. Clean both thoroughly. Sometimes, the spring-loaded sleeve can get stuck; try gently wiggling it or tapping the coupler lightly. If it still won’t lock, the fitting might be worn out and could need to be replaced.
Can I use my accessories while the compressor is still running and connected?
No, it’s always safest to turn off and unplug your air compressor before connecting or disconnecting accessories. This prevents accidental startup and potential injury. Once everything is securely attached, you can then turn the compressor on and perform your leak check with the air flowing.