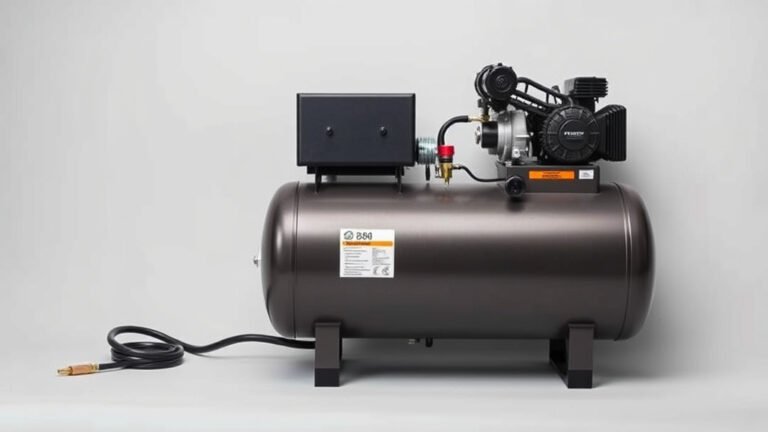
How to Assemble Your Air Compressor: Step-by-Step Guide
Assembling your new air compressor might seem a little daunting, but it’s usually a straightforward process. You can generally assemble an air compressor in under an hour with basic tools and by following the manufacturer’s instructions carefully. Most units come with detailed diagrams to help you connect the motor, tank, and accessories.
Getting your air compressor ready for use involves a few key steps. This typically includes attaching the wheels or base, connecting the air filter, and making sure all bolts are secure. Ensuring proper assembly is vital for both safety and performance.
- Unpack and inspect all parts.
- Attach wheels or mounting hardware.
- Connect the air intake filter.
- Securely tighten all fittings and bolts.
- Check the oil level if required.
Ready to get this done? Let’s walk through the assembly process step by step, so you can get your air compressor up and running in no time.
Putting Your New Air Compressor Together
You’ve unboxed your air compressor, and now it’s time to get it ready for action. Assembling your new air compressor is usually a pretty simple task. We found that most units are designed for straightforward setup. Your manufacturer’s manual is your best friend here. It will have specific diagrams and steps tailored to your exact model. Following these instructions carefully is the quickest way to get your compressor operational.
Step 1: Unpacking and Inventory Check
Before you start twisting bolts, take everything out of the box. Lay out all the components. You want to make sure nothing is missing or damaged. Your manual should have a parts list. Compare what you have against that list. This is your first line of defense against assembly headaches. If something’s off, contact the manufacturer right away. Catching this early saves you a lot of potential hassle.
Step 2: Attaching the Wheels or Base
Most portable air compressors come with wheels. This makes moving them around your garage or workshop much easier. Find the mounting holes on the tank and the wheel brackets. You’ll typically use bolts, washers, and nuts for this. Insert the bolts through the holes and secure them tightly with the nuts. Make sure the wheels are oriented correctly before tightening everything. You want them to roll smoothly, not get stuck. Some larger or stationary units might have a mounting base instead of wheels. The process is similar – use the provided hardware to secure the base firmly to the tank.
Step 3: Installing the Air Intake Filter
The air intake filter is super important. It prevents dust and debris from getting into the compressor’s motor. This keeps your machine running efficiently and prolongs its life. You’ll usually find the filter attachment point near the motor housing. It might be a threaded fitting or a clamp-on style. Screw or clamp the filter securely in place. Don’t over-tighten if it’s a plastic component. A snug fit is all you need. Keeping this filter clean is also key for performance.
Step 4: Securing Connections and Hardware
Once the main components are in place, it’s time for a thorough check. Go over all the bolts and fittings you’ve tightened. Give them an extra snug turn to ensure they are secure. Loose connections can cause vibrations and reduce efficiency. Think of it like checking your lug nuts on a car tire; you don’t want anything rattling loose. Ensure any hoses or electrical connections are also firmly attached, if applicable at this stage.
Step 5: Checking the Oil Level (If Applicable)
Some air compressors require oil to function. These are often called oil-lubricated or piston compressors. If your unit is one of these, you’ll need to add oil before the first startup. Your manual will specify the type and amount of oil needed. You’ll find an oil fill cap, often with a dipstick attached. Remove the cap and add the recommended oil. Be careful not to overfill. Use a funnel to avoid spills. Many experts recommend checking the oil level before each use, not just during assembly (Cleveland Clinic).
Why Oil is Important for Some Compressors
Oil in these compressors acts as a lubricant for the moving parts, like the piston and cylinder. It also helps to cool the motor and reduce wear and tear. Think of it like oil in your car’s engine; it’s essential for smooth operation and longevity. Without proper lubrication, the metal parts can grind against each other, causing damage and overheating. Many manufacturers suggest checking the oil level regularly, especially after the first few hours of operation.
Step 6: Connecting Accessories and Lines
Depending on your compressor, you might have accessories to attach. This could include pressure regulators, gauges, or quick-connect fittings for air hoses. These usually screw into designated ports on the tank or a manifold. Hand-tighten these first, then use a wrench for a final snug turn. Avoid using excessive force. If you plan to connect it to a power source, ensure the power is off. Make sure the cord is in good condition and plugged into an appropriate outlet.
Understanding Pressure Gauges and Regulators
Your compressor might come with one or two pressure gauges. One typically shows the tank pressure, while another might show the output pressure after the regulator. The regulator lets you control the air pressure going to your tool. This is important because different tools require different pressures. For example, a brad nailer needs much less pressure than an impact wrench. Using the correct pressure ensures your tool works properly and doesn’t get damaged. Many tool manufacturers provide specific pressure recommendations.
Final Checklist Before First Startup
Let’s do a quick final check. This ensures you’re ready for that first burst of compressed air.
- All bolts and fittings are tight and secure.
- Wheels or base are firmly attached.
- Air intake filter is properly installed.
- Oil level is correct (if applicable).
- No tools or parts are left inside or on the compressor.
- Power cord is undamaged and accessible.
Conclusion
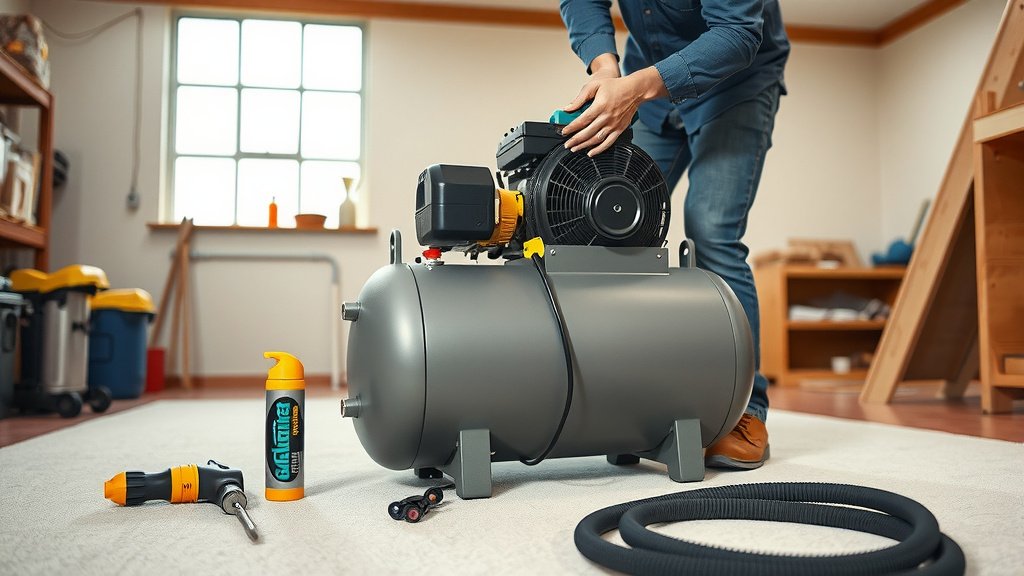
You’ve successfully navigated the steps to assemble your air compressor! By carefully unpacking, securing the wheels, installing the filter, and double-checking all connections, you’ve set yourself up for reliable performance. Remember, paying attention to details like the oil level (if your model requires it) and understanding your pressure gauges can make a big difference. Now that your compressor is assembled, you’re ready to power your tools. Your next step is to connect your air hose and test it out on a simple task. Enjoy the newfound capability your assembled compressor brings to your projects!
Frequently Asked Questions
How long does it typically take to assemble an air compressor?
Most users find they can assemble a standard air compressor in under an hour. This timeframe assumes you have all parts ready and are following the manufacturer’s instructions. It’s not a complex job for most portable models.
Do all air compressors need oil?
No, not all air compressors require oil. Some models, known as oil-free compressors, are designed without the need for lubrication. Always check your owner’s manual to determine if your specific compressor needs oil and what type to use.
What’s the most common mistake people make when assembling an air compressor?
A common oversight is not tightening all bolts and fittings securely. Loose connections can lead to vibrations and reduced efficiency. Double-checking every connection, as we covered, helps prevent this.
Can I assemble an air compressor without the owner’s manual?
While some steps might seem intuitive, we strongly advise against it. The owner’s manual provides model-specific instructions and diagrams vital for correct assembly and safety. Skipping it could lead to improper setup or damage.
What should I do if a part is missing or damaged upon unboxing?
If you discover a missing or damaged part, stop assembly immediately and contact the manufacturer’s customer support. They will guide you on how to get the necessary replacement parts. It’s best to address this before proceeding further.