Blow Out RV Water Lines with Air Compressor: Easy Guide
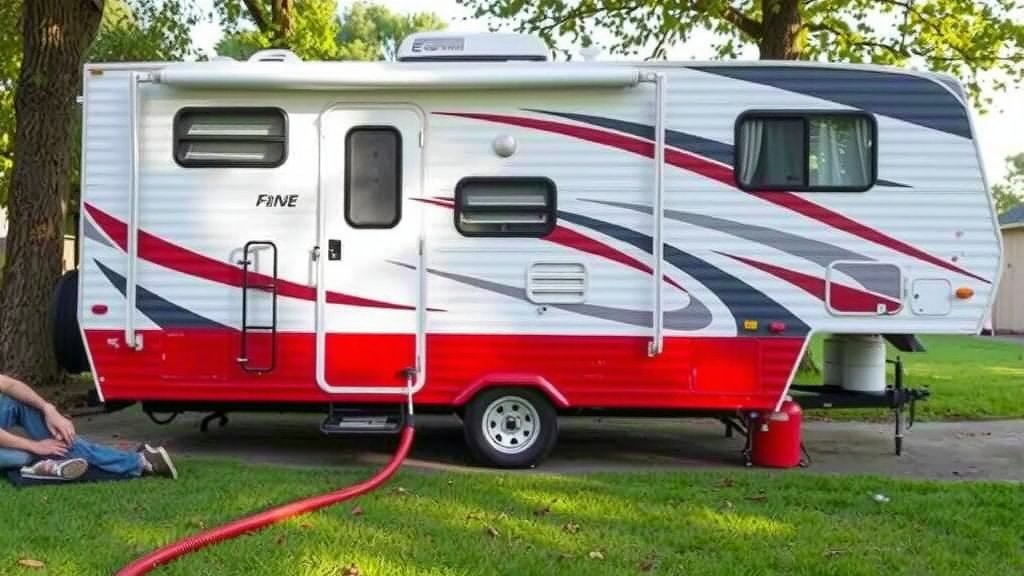
Yes, you can absolutely blow out your RV water lines with an air compressor. This is a common and effective method for winterizing your RV’s plumbing system before cold weather hits. It helps prevent costly damage from frozen and burst pipes.
Properly clearing water from your RV’s pipes is essential. Doing this prevents freezing and the potential for pipes to crack. Many RV owners choose air compression because it’s efficient and thorough. It pushes water out of every nook and cranny.
- Use an air compressor to winterize your RV.
- It helps prevent frozen pipes and damage.
- A clean system means fewer repairs later.
- Always use the right tools and settings.
Let’s walk through exactly how to use an air compressor to safely clear your RV’s water lines step by step.
Clearing Your RV Water Lines With Compressed Air
Using an air compressor is a fantastic way to ensure your RV’s plumbing is completely **free of water** before winter arrives. This prevents potentially **expensive damage** from freezing pipes. Let’s get your system prepped and protected.
What You’ll Need to Winterize Your RV
Before you start, gather everything you’ll need. Having your tools ready makes the process smooth and efficient. You don’t want to be searching for things mid-job.
Essential Tools and Materials
You’ll need a few key items. Make sure they are all in good working order. This ensures you can do the job right the first time.
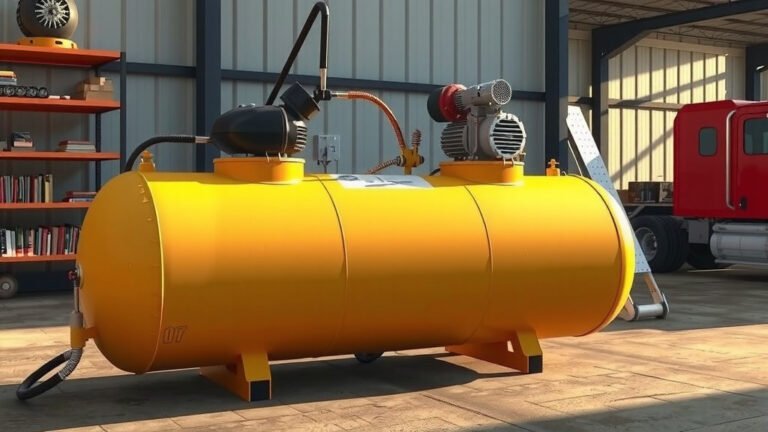
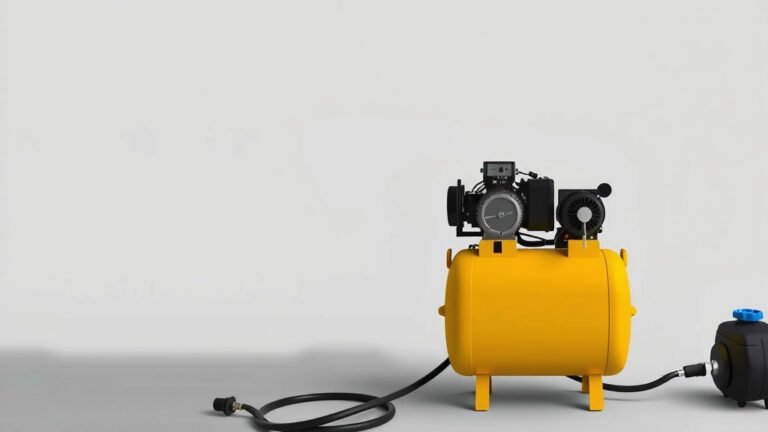
- Air compressor: A standard portable compressor works well.
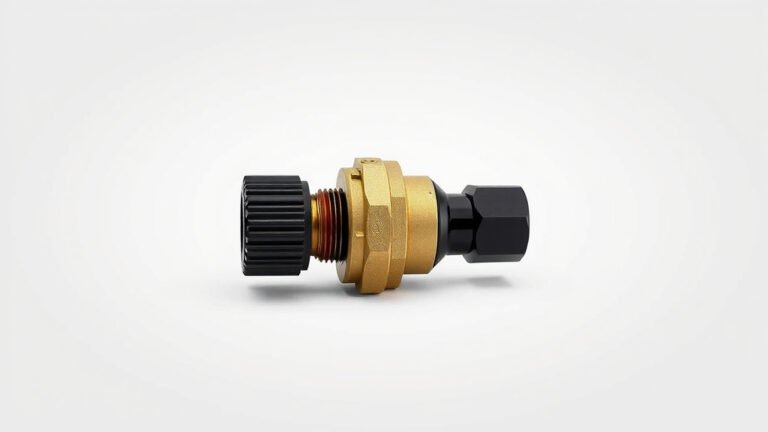
- Hose adapter: This connects your compressor hose to the RV’s water inlet.
- Water pump converter kit: If you plan to use the RV’s pump, this is necessary.
- Fresh water hose: A short one will do the job.
- Pliers: For hose clamps.
- Towels and rags: For inevitable drips and spills.
- RV antifreeze: (If you choose this method, but we’re focusing on air here).
Understanding Your Air Compressor Settings
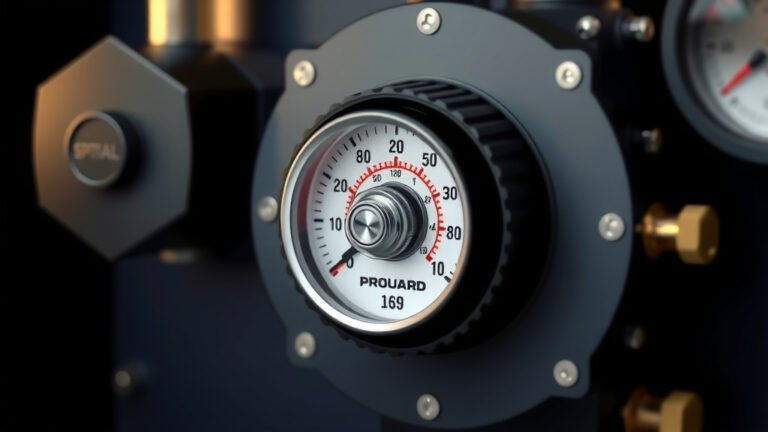
The **pressure setting** on your air compressor is critical. Too much pressure can damage your RV’s plumbing. Too little might not get all the water out.
Recommended PSI for RV Lines
Most RV water systems can handle around 30-50 PSI. It’s best to check your RV’s manual for the exact maximum pressure. We found that keeping it on the lower end is generally safer. Many experts recommend starting around 30 PSI and slowly increasing if needed.
Avoiding Over-Pressurization
Always use a compressor with a **pressure regulator**. This allows you to set and maintain the desired PSI. Never hook the compressor directly to the inlet without regulation. This is a common mistake that leads to costly repairs. Research and found data suggest that exceeding 50 PSI is risky for most RV plumbing (RVIA).
Step-by-Step Guide to Blowing Out RV Water Lines
Now, let’s walk through the process. Follow these steps carefully for a successful winterization. Each step is important for a complete job.
Preparation is Key
Before you connect the air, you need to prepare your RV. This includes draining as much water as possible first.
Draining Your Freshwater Tank
Start by draining your **freshwater tank**. Locate the drain valve, usually near the tank. Open it up and let all the water flow out. This removes a large volume of water before you even start using air.
Opening Faucets and Drains
Next, go inside your RV and open **all the faucets**. Turn on both hot and cold water handles. Don’t forget the showerhead and any outdoor spigots. Also, open the drain valves on your sinks and shower. This allows water to escape as the air pushes it through. Keep them open throughout the process.
Connecting the Air Compressor
This is where the air compressor comes into play. You need a secure connection to prevent leaks.
Using the Right Adapter
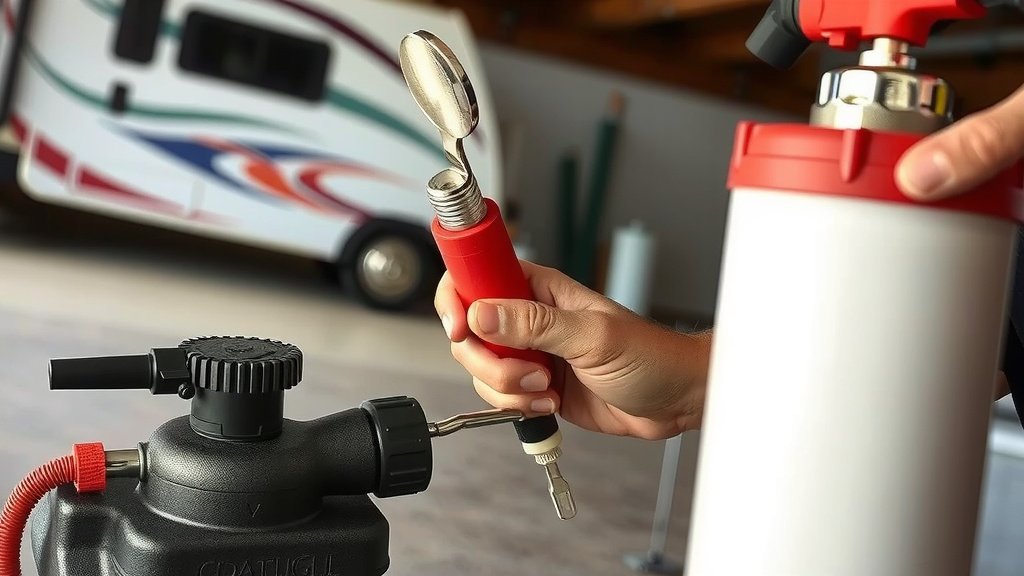
You’ll typically connect your air compressor hose to the RV’s **freshwater inlet**. Use the appropriate adapter for a tight seal. Some people use a short piece of fresh water hose with the correct fittings on each end. This can make the connection easier.
Setting Your Compressor
Set your air compressor’s regulator to the **recommended PSI**, around 30-50 PSI. Double-check that it’s set correctly. It’s better to be a bit low than too high. We found that 40 PSI is a good starting point for most RVs.
Blowing Out the Lines
Now it’s time to introduce air into the system. Work systematically to clear all sections.
Starting with the Cold Water Lines
Turn on your air compressor. Slowly open the valve to let air into the RV’s system. Start with the **cold water lines** first. Go to each faucet and let the air run until you no longer see water or hear sputtering. You’ll hear a steady stream of air when all the water is out.
Moving to the Hot Water Lines
Once the cold lines are clear, move on to the **hot water lines**. You’ll need to activate the hot water side of each faucet. This process is the same: let the air blow through until only air comes out. Don’t forget the shower and any outdoor hot water spigots.
Don’t Forget the Toilet and Water Heater
It’s crucial to **flush the toilet** with air as well. Hold down the pedal to allow air to pass through the flush mechanism. If you have a water heater, you’ll need to bypass it if it’s not a tankless model. If it is a tankless heater, ensure you follow the manufacturer’s specific instructions for winterization. Many manufacturers suggest bypassing traditional water heaters to avoid blowing air directly into the tank. Research and found that bypassing is a common recommendation.
Checking for Any Remaining Water
After you’ve gone through all the lines, walk around and check for any potential low points where water might have settled. You can sometimes hear a slight gurgle if there’s still water.
Protecting Your RV’s Water System
Once the air process is complete, you’ve taken a big step in winterizing. However, there are a couple more things to consider.
Bypassing the Water Heater (If Applicable)
For RVs with a traditional water heater, it’s vital to **bypass it**. This prevents damage to the heater itself. Most RVs have a bypass valve system. Consult your RV manual to locate and operate these valves correctly. This ensures air doesn’t force its way into the water heater tank.
Dealing with Ice Makers and Filters
If your RV has an ice maker or water filter, these also need special attention. You’ll need to **blow air through these components** separately. For water filters, it might be best to remove them and store them indoors to prevent them from cracking. Many filter housings can hold water and freeze.
A Quick Winterizing Checklist
Here’s a handy checklist to make sure you’ve covered all your bases:
- Drain freshwater tank.
- Open all faucets and drains.
- Connect air compressor with proper adapter and settings (30-50 PSI).
- Blow out cold and hot water lines until only air flows.
- Flush toilet with air.
- Bypass water heater (if applicable).
- Check for any remaining water pockets.
Conclusion
You’ve now learned the essential steps to safely blow out your RV’s water lines using an air compressor. This method is your best defense against freezing temperatures and the damage they can cause. By following these guidelines, especially regarding air pressure and preparation, you protect your investment. Remember to always check your RV’s manual and make sure all faucets and fixtures are open. Taking these precautions will give you peace of mind and save you potential repair bills down the road. Now, go ahead and secure your RV’s plumbing for the winter!
Frequently Asked Questions
What is the maximum PSI I should use when blowing out RV water lines?
Most RV water systems can safely handle between 30-50 PSI. It’s always best to start on the lower end, around 30 PSI, and slowly increase if needed. Over-pressurizing can lead to burst pipes or damaged fixtures, so never exceed 50 PSI and always use a regulator.
Do I need to drain my freshwater tank before using the air compressor?
Yes, you should drain your freshwater tank as much as possible before connecting the air compressor. This removes a large volume of water, making the air process more efficient and ensuring less water is pushed through your lines. Locate the drain valve near the tank and open it completely.
Can I use a shop vac to blow out my RV water lines instead of an air compressor?
While a shop vac might seem like an option, it’s generally not recommended. Air compressors provide consistent, regulated pressure that’s necessary for effectively clearing the lines. Most shop vacs don’t offer precise PSI control and may not generate enough steady airflow to do the job thoroughly, potentially leaving water behind.
How do I know when all the water has been blown out of the lines?
You’ll know the water is gone when only a steady stream of air comes out of each faucet, showerhead, and toilet flush. You should no longer hear sputtering or see any water spitting out. Continue blowing air until you achieve this consistent air-only flow at every outlet.
What about my RV’s water filter and ice maker? Do they need special attention?
Yes, your RV’s water filter and ice maker need to be addressed separately. You’ll need to blow air through these components to clear them of water. For water filters, it’s often recommended to remove them and store them indoors, as the filter housing itself can hold water and crack when frozen.