How to Change Air Compressor Oil: Step-by-Step Guide
Changing an air compressor filter is a **straightforward DIY task** that most homeowners can handle in under 30 minutes. You’ll primarily need basic tools like a screwdriver or wrench, and of course, the **correct replacement filter**. This simple maintenance helps your compressor run **efficiently** and last longer.
Why is this important? A clogged air filter forces your compressor to work harder. This leads to **increased energy use** and premature wear on your equipment. We found that regular filter changes can prevent costly repairs down the line. It’s a small effort for a big payoff. Regular maintenance, like draining your air compressor, is key to its longevity.
- Always **unplug** your air compressor first. Safety is key.
- Locate the air filter housing.
- Use the right tools to remove the old filter.
- Install the new filter correctly.
- Ensure the housing is sealed tightly.
Ready to get your hands a little dirty? Below, we’ll walk you through the simple steps to successfully change your air compressor filter, step by step.
Performing Your Air Compressor Filter Change
Changing your air compressor filter is an essential maintenance task. It keeps your compressor running smoothly and efficiently. We found that a clogged filter can really make your machine work harder than it needs to. This often leads to higher energy bills and can even shorten the lifespan of your compressor. Let’s get this done!
Gathering Your Tools and Supplies
Before you start, it’s wise to have everything ready. This makes the process go much faster. You won’t want to stop halfway through to find a missing tool. It’s usually pretty simple, but being prepared is key.
What You’ll Need
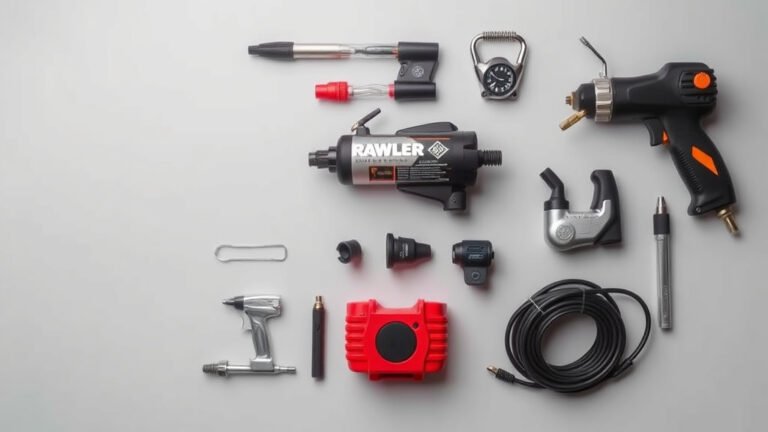
- The correct replacement air filter for your specific compressor model.
- A screwdriver (flathead or Phillips, depending on your compressor’s housing).
- A clean rag or shop towel.
- Gloves (optional, but recommended for keeping your hands clean).
- Possibly a wrench if your housing uses bolts.
Finding the Right Replacement Filter
This is arguably the most important step. Using the wrong filter can prevent your compressor from working correctly. It might not filter out dust and debris effectively. It’s best to consult your compressor’s owner’s manual. You can also often find the filter model number printed on the old filter itself. Many manufacturers have websites where you can look up parts by your compressor’s serial number.
Locating and Accessing the Air Filter
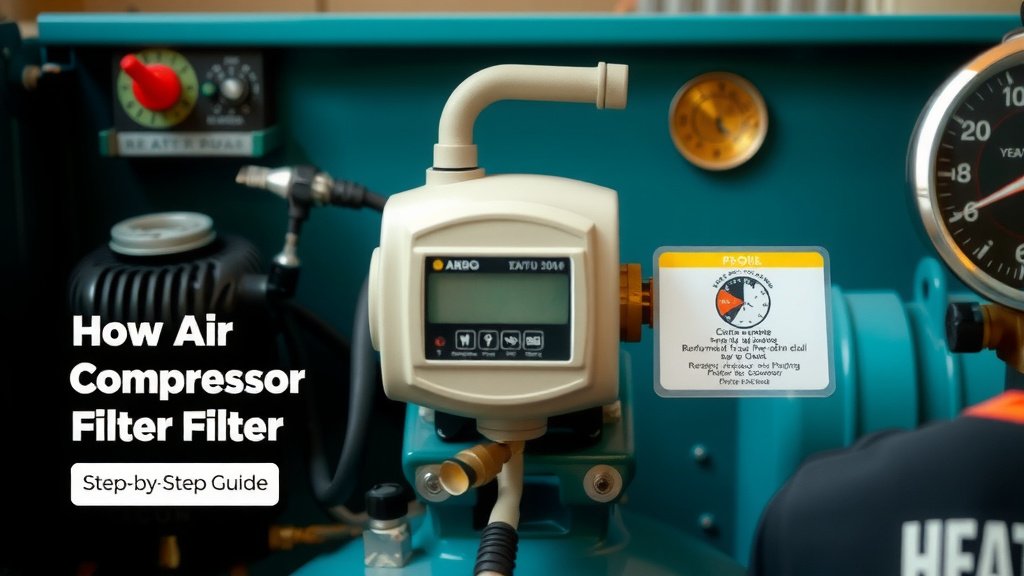
Most air compressors have the air filter in an easily accessible spot. It’s usually on the side or top of the unit. You’re looking for a small plastic or metal housing. It might have clips or screws holding it in place.
Identifying the Air Filter Housing
The housing is often cylindrical or rectangular. It’s attached to the intake pipe where the compressor draws in air. You might see the word “FILTER” printed on it. Sometimes, it’s just a simple cover that twists or pulls off. We found that referring to your manual is the quickest way to pinpoint its exact location if you’re unsure.
Opening the Filter Housing
Once you’ve found it, you’ll need to open the housing. This usually involves removing a few screws or releasing some clips. For screw-on types, you’ll likely just need to twist it counter-clockwise. If there are bolts, a wrench will be your friend. Many experts say to be gentle here; you don’t want to strip screws or break plastic clips.
Dealing with Stubborn Housings
If the housing feels stuck, don’t force it too hard. Sometimes, a bit of tapping with the handle of your screwdriver can loosen it. Avoid using excessive force, as this could damage the unit. We found that a little patience often goes a long way.
Removing the Old Filter and Cleaning the Housing
With the housing open, you’ll see the old air filter. It might look quite dirty or even black with soot. This is a good sign that it was doing its job!
Taking Out the Old Filter
Simply pull the old filter straight out. Note how it was positioned. This will help you install the new one correctly. If it’s really lodged in there, a slight wiggling motion might help. Make sure not to drop any debris into the intake port.
Cleaning the Housing Interior
Now, take your clean rag and wipe out the inside of the filter housing. You want to remove any dust, dirt, or oil that may have accumulated. This ensures the new filter will seal properly. Many guidelines suggest making sure the housing is completely dry before inserting the new filter (CDC).
Installing the New Air Filter
This is where your compressor gets its fresh “breath.” Make sure you have the correct new filter ready. It should fit snugly into the housing.
Proper Filter Placement
Carefully slide the new filter into place. Ensure it’s oriented the same way the old one was. Some filters have a specific direction they need to face. If you’re unsure, look for arrows on the filter or housing. A good seal is vital for effective filtration. We found that a slightly tight fit is usually a good sign.
Securing the Filter Housing
Once the new filter is in, close up the housing. Reattach any screws, clips, or twist the cover back on securely. Make sure it’s tight. You don’t want air leaking around the seal. This would defeat the purpose of the new filter. Many mechanics recommend giving it a firm but not overly forceful tighten.
Final Checks and Next Steps
You’re almost done! A few final checks will ensure everything is good to go.
Double-Checking the Seal
Gently try to wiggle the housing cover. It shouldn’t move much if it’s sealed correctly. This confirms that your compressor will now draw air only through the new filter. This simple check prevents a lot of potential issues.
When to Change Your Filter Next
How often should you change it? It really depends on your usage and the environment where your compressor operates. In dusty conditions, you might need to change it more frequently. As a general rule, checking it every few months is a good idea. Many experts recommend inspecting it monthly and replacing it as needed or at least annually (US Department of Energy).
A Quick Checklist for Success
- Unplugged the compressor? Check!
- Located the filter housing? Check!
- Removed the old filter carefully? Check!
- Cleaned out the housing? Check!
- Installed the new filter correctly? Check!
- Secured the housing tightly? Check!
Congratulations! You’ve successfully changed your air compressor’s air filter. This small act of maintenance will help keep your tools running well and your compressor in good shape for a long time. You’ve just saved yourself some money and gained a bit more know-how!
Conclusion
You’ve successfully navigated the process of changing your air compressor’s air filter. This is a simple maintenance task that pays off big time. By keeping your filter clean, you ensure your compressor runs efficiently, uses less energy, and avoids premature wear. Remember, a clean filter means a longer lifespan for your equipment and more reliable performance for your tools. Your next step is to mark your calendar for a quick check in a few months. Regular checks will keep your compressor in top shape.
Frequently Asked Questions
How often should I check my air compressor filter?
We recommend checking your air compressor filter about once a month, especially if you use your compressor frequently or in a dusty environment. This regular inspection will help you catch a clogged filter before it causes problems. It’s better to check often than to wait too long.
Can I use a generic air filter if I can’t find the exact one for my model?
It’s generally best to use the exact replacement filter recommended by your compressor’s manufacturer. A generic filter might not fit correctly or filter air as effectively. This could lead to reduced performance or even damage to your compressor. Always consult your owner’s manual.
What happens if I don’t change my air compressor filter?
If you don’t change your air compressor filter, it will become clogged. This forces the compressor to work much harder to draw in air. We found that this can lead to increased energy consumption and put a strain on the motor, potentially shortening its lifespan.
Do I need special tools to change an air compressor filter?
Typically, you won’t need many special tools. A common screwdriver (Phillips or flathead) is usually sufficient to open the filter housing. Sometimes, a wrench might be needed if bolts are used. Most of the time, you can handle this task with tools you already have at home.
Is it okay to run the compressor briefly without the filter housing to check something?
It’s best to avoid running your compressor without the filter housing, even briefly. The air intake is designed to be protected by the filter. Running it without the filter can allow dust and debris to enter the compressor, which can cause damage. Always ensure the housing is sealed with a filter in place before operating.