
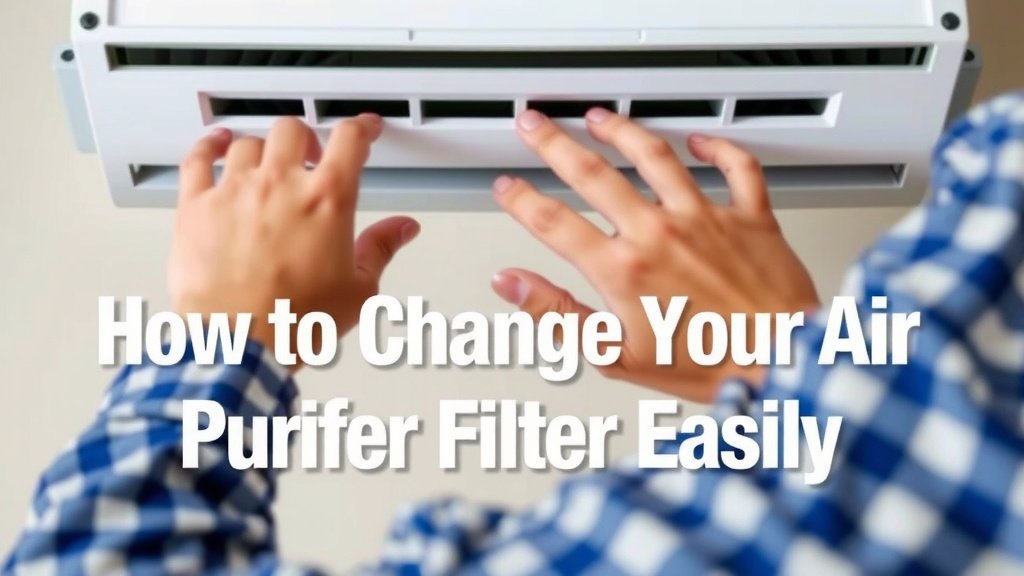
How to Change Your Air Purifier Filter Easily
Changing your air purifier filter is simpler than you think. You’ll typically want to replace it every 6-12 months, depending on your model and air quality. This simple maintenance keeps your air fresh and your purifier working its best.
A dirty filter can’t do its job effectively. It can even reduce airflow and make your purifier work harder. Keeping up with filter changes ensures you’re breathing the cleanest air possible and extends the life of your appliance. We’ve found that regular checks are key.
- Unplug your air purifier first.
- Open the cover to access the old filter.
- Remove the old filter and note its position.
- Insert the new filter, making sure it’s correct.
- Close the cover and plug it back in.
Ready to get your hands a little dusty? Let’s walk through exactly how to change that air purifier filter step by step.
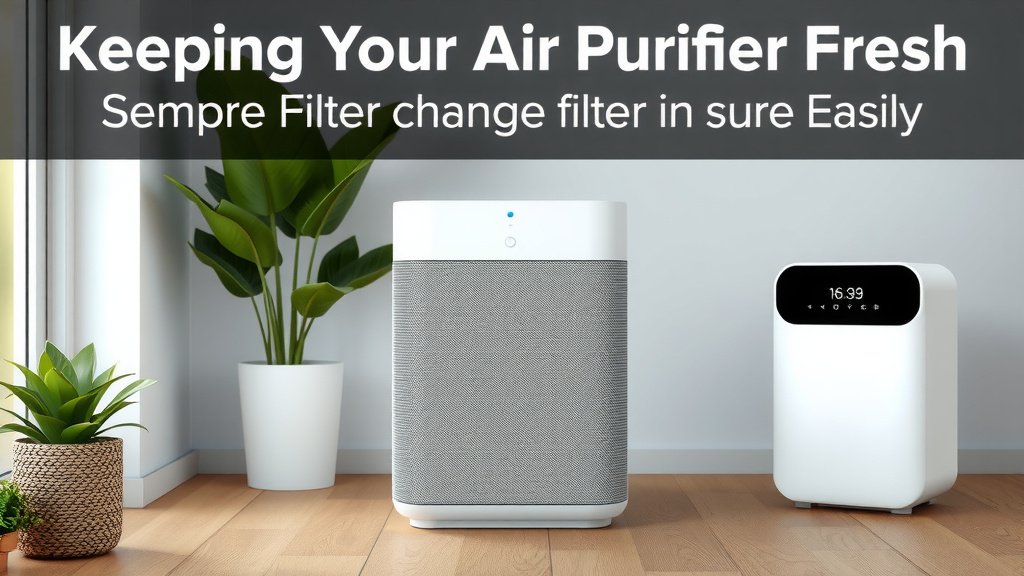
Keeping Your Air Purifier Fresh: A Simple Filter Change Guide
Changing your air purifier’s filter is one of the easiest ways to ensure you’re breathing the cleanest air possible. You might be wondering when and how often this filter needs changing. We found that most manufacturers recommend a filter replacement every 6 to 12 months. However, this can vary based on your specific air purifier model and the air quality in your home. If you live in a busy city, have pets, or suffer from allergies, you might need to change it more often.
Think of your air purifier’s filter like a sponge for your air. Over time, it soaks up dust, pollen, pet dander, and other tiny particles. Once it’s full, it can’t effectively capture new pollutants. It can even start to release trapped particles back into your air. Not ideal, right? We’ve seen that regular maintenance is key to keeping your appliance running at its best and your air pure.
What You’ll Need Before You Start
Gathering your supplies beforehand makes the process a breeze. You don’t want to be halfway through and realize you’re missing something. This will save you a trip and keep you from getting frustrated.
Your New Air Purifier Filter
This is the star of the show! Make sure you have the correct replacement filter for your specific air purifier model. Check your purifier’s manual or the manufacturer’s website if you’re unsure. Using the wrong filter could damage your appliance or simply not work effectively. Many filters are model-specific, so double-check before you buy.
A Clean Cloth or Vacuum Cleaner
A soft cloth is perfect for wiping down the inside of your air purifier once the old filter is out. If you have a vacuum with a brush attachment, that can also work wonders. This helps remove any accumulated dust bunnies or debris that might have settled inside the unit. We found that a quick wipe-down makes a big difference.
Gloves (Optional but Recommended)
While not strictly necessary, wearing gloves can keep your hands clean. Old filters can be dusty and a little grimy. If you’re sensitive to dust or have allergies, gloves are a good idea. They also help prevent transferring any oils from your skin to the new filter, which could slightly reduce its effectiveness. It’s a small step for a cleaner experience.
Step-by-Step: Changing Your Air Purifier Filter
Now that you have your tools ready, let’s get down to business. This process is designed to be straightforward and manageable for anyone. We’ve broken it down into simple steps to guide you.
Step 1: Safety First – Unplug the Unit
Before you do anything else, make sure your air purifier is unplugged from the wall outlet. This is a critical safety step. You don’t want to accidentally trigger the unit or risk an electric shock while you’re working. Always ensure the power is completely off.
Step 2: Locate and Open the Filter Cover
Most air purifiers have a filter compartment that’s easy to access. This is usually on the back, side, or bottom of the unit. You might see latches, clips, or screws holding the cover in place. Consult your user manual if you can’t find it. Gently release these latches or unscrew any fasteners. The cover should then lift or slide off.
Many modern units use simple click-in, click-out mechanisms. Some older models might require a screwdriver. We found that understanding your specific model’s design makes this step very quick. Don’t force anything; if it feels stuck, double-check for hidden latches.
Step 3: Remove the Old Filter
Once the cover is off, you’ll see the old filter. It might look noticeably gray or even black, depending on how long it’s been in there and the air quality. Carefully pull the old filter out. Note how it was positioned inside the unit. Some filters have arrows indicating airflow direction. It’s important to install the new filter the same way.
We recommend placing the old filter directly into a trash bag. This prevents dust from spreading around your room. If the filter is very dirty, you might want to seal the bag immediately. This is the part where you might want those gloves we talked about.
Step 4: Clean the Inside of the Purifier
With the old filter removed, take a moment to clean the inside compartment. Use your clean, dry cloth or the brush attachment of your vacuum cleaner. Gently wipe away any dust or debris that has accumulated. This ensures that your purifier starts with a clean slate. A clean interior helps with optimal airflow and performance.
Many experts suggest cleaning the unit periodically. This isn’t just about looks; it’s about efficiency. Dust buildup can hinder the motor’s performance and even lead to overheating. A quick clean here can go a long way for your appliance’s longevity.
Step 5: Insert the New Filter Correctly
Now, take your new filter out of its packaging. Remember to check for any arrows indicating the correct airflow direction. Slide the new filter into the compartment, ensuring it fits snugly and is oriented correctly. It should slide in smoothly, just like the old one came out. Make sure it’s seated properly.
If your filter has a plastic wrap, ensure you remove it before inserting it. Some people forget this step, and the filter won’t work at all! We’ve heard stories about this happening, so a quick check is always wise. The goal is to allow air to pass through the filter media freely.
Step 6: Replace the Cover and Plug In
Once the new filter is securely in place, reattach the filter cover. Make sure all latches, clips, or screws are fastened correctly. You should hear a click or feel it secure. Now, plug your air purifier back into the electrical outlet. Your unit is now ready to purify your air again!
Step 7: Reset Your Filter Indicator (If Applicable)
Many air purifiers have a filter replacement indicator light or message. After changing the filter, you’ll need to reset this indicator. The method for resetting varies by model. Often, you’ll need to press and hold a specific button for a few seconds. Check your user manual for exact instructions. This ensures you get accurate reminders for future changes.
When to Consider a Filter Change Sooner
While 6-12 months is a general guideline, several factors might prompt you to change your filter earlier. Being aware of these can help you maintain the best possible air quality.
- Increased Allergies or Asthma Symptoms: If you or someone in your household notices a rise in allergy or asthma flare-ups, your filter might be overloaded.
- Visible Dust Buildup: If you see dust settling on surfaces more quickly than usual, your purifier might be struggling.
- Reduced Airflow: If your air purifier seems to be blowing less air than it used to, the filter is likely clogged.
- Unpleasant Odors: A clogged filter can trap odors. If you notice musty smells returning, it’s time for a new filter.
- High Pollution Areas: Living in an area with significant air pollution, like near a busy highway or industrial zone, requires more frequent changes.
Filter Types and What They Mean
Air purifiers use different types of filters. Understanding them helps you appreciate the maintenance involved.
| Filter Type | What It Does | Lifespan |
|---|---|---|
| Pre-filter | Captures larger particles like pet hair and lint. Protects the main filters. | Often washable or needs frequent replacement (monthly to quarterly). |
| HEPA Filter | Captures 99.97% of airborne particles 0.3 microns in size, including pollen, dust mites, and mold spores. | Typically 6-12 months. |
| Activated Carbon Filter | Adsorbs odors, gases, and VOCs (volatile organic compounds) from smoke, cooking, and chemicals. | Often combined with HEPA or used as a separate layer; lifespan is usually 6-12 months. |
Most standard air purifiers use a combination of these. For example, a common setup is a pre-filter, a true HEPA filter, and an activated carbon filter. This layered approach tackles a wide range of air pollutants. We found that knowing your filter type helps you choose the right replacements.
Your Quick Filter Change Checklist
Want a super-quick reminder before you dive in? Here’s a handy checklist:
- Confirm you have the correct new filter.
- Unplug your air purifier completely.
- Open the unit to access the old filter.
- Remove the old filter and seal it in a bag.
- Clean the inside of the purifier compartment.
- Install the new filter in the correct orientation.
- Close the unit, plug it back in, and reset the indicator.
Conclusion
You’ve now seen just how straightforward changing your air purifier filter can be. This simple maintenance task is key to keeping your air clean and your appliance running efficiently. Remember that regular filter changes prevent dust buildup, improve airflow, and ensure you’re breathing the freshest possible air. Make a habit of checking your filter’s condition and replacing it as recommended.
Your next step? Schedule a reminder for your next filter change based on your purifier’s manual and your home environment. Your lungs will thank you!
Frequently Asked Questions
How often should I really change my air purifier filter?
Most manufacturers suggest changing your air purifier filter every 6 to 12 months. This general guideline can change based on your specific model and how much pollution your home experiences. If you have pets or allergies, you might need to replace it more often than the average user.
What happens if I don’t change my air purifier filter?
If you skip filter changes, your purifier’s effectiveness will decrease significantly. A clogged filter can’t capture new pollutants and may even start releasing trapped particles back into your air. This can also strain your unit’s motor, potentially shortening its lifespan and increasing energy use.
Can I wash my air purifier filter instead of replacing it?
Some pre-filters are washable, designed to catch larger particles like pet hair. However, HEPA and activated carbon filters cannot be washed. They are designed to trap very fine particles and gases, and washing them would damage their structure and render them ineffective.
My air purifier has a “filter reset” button. Do I need to press it every time?
Yes, you should press and hold the filter reset button (or follow your model’s specific instructions) after installing a new filter. This indicator light or message is there to remind you when it’s time for a change. Resetting it tells the unit you’ve performed the maintenance.
Where can I buy the correct replacement filter for my air purifier?
You can typically purchase replacement filters directly from the air purifier manufacturer’s website. Many online retailers, like Amazon, also carry a wide variety of filters. Always check your air purifier’s model number to ensure you’re buying the exact, correct filter to maintain its performance.

![What Is The Best Air Purifier for Eczema [In 2026]](https://homeunderstandable.com/wp-content/uploads/2025/05/best-air-purifier-for-eczema.jpg)