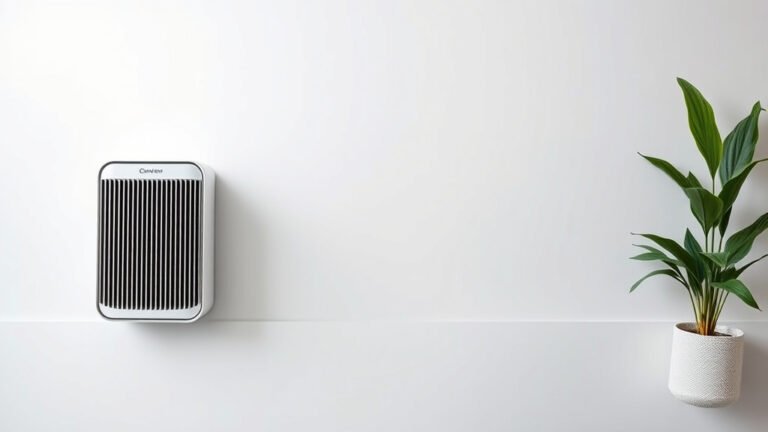
How to Change Filter on Hunter HP125 Air Purifier
Changing the filter on your Hunter air purifier HP125 is a straightforward process. You’ll want to do this every 6-12 months for best performance. A clean filter means cleaner air for your home. This simple maintenance helps your purifier run efficiently and effectively capture allergens and pollutants.
Regular filter replacement is key to maintaining your air purifier’s ability to circulate fresh, clean air. Neglecting this can lead to reduced airflow and less effective purification. Many users find that replacing the filter makes a noticeable difference in their home’s air quality. It’s a small task that offers big benefits for your health and comfort.
TL;DR:
- Change your Hunter HP125 filter every 6-12 months.
- A clean filter ensures better air purification.
- This maintenance keeps your purifier running efficiently.
- It helps capture allergens and pollutants effectively.
- Expect fresher, cleaner air at home.
Ready to get your air purifier back in top shape? Let’s walk through exactly how to change that filter step by step.
Swapping Your Hunter HP125 Air Purifier Filter: A Simple Guide
Replacing the filter in your Hunter HP125 air purifier is a task that keeps your home’s air fresh and clean. You’re looking to do this about every six to twelve months. Think of it like changing the oil in your car; it keeps the whole system running smoothly.
Why Regular Filter Changes Matter for Your HP125
An air purifier is only as good as its filter. Over time, the filter traps dust, pollen, pet dander, and other tiny particles. When it gets clogged, the purifier struggles to pull air through it. This means less clean air circulates in your room. You might notice a drop in performance or even a slight odor.
Research from sources like the Cleveland Clinic highlights the importance of good indoor air quality. Poor air can affect people with allergies and asthma. A clean filter is your best defense against these common indoor pollutants. It ensures your Hunter HP125 continues to do its job effectively.
What You’ll Need Before You Start
Before you dive in, gather a few simple items. This makes the filter change quick and easy. You won’t need any special tools, which is great news!
- A new, compatible Hunter air purifier filter (check your model number!).
- A soft cloth or vacuum cleaner with a brush attachment.
- A trash bag for the old filter.
Step-by-Step: Changing Your Hunter HP125 Filter
Ready to get your hands a little dusty? We’ll guide you through the process. It’s designed to be user-friendly, so don’t stress!
Step 1: Power Down and Unplug
Safety first! Always ensure your air purifier is unplugged from the wall outlet. This prevents any accidental startups while you’re working. Find the power cord and pull it gently from the socket. Make sure no power is flowing to the unit.
Step 2: Accessing the Filter Compartment
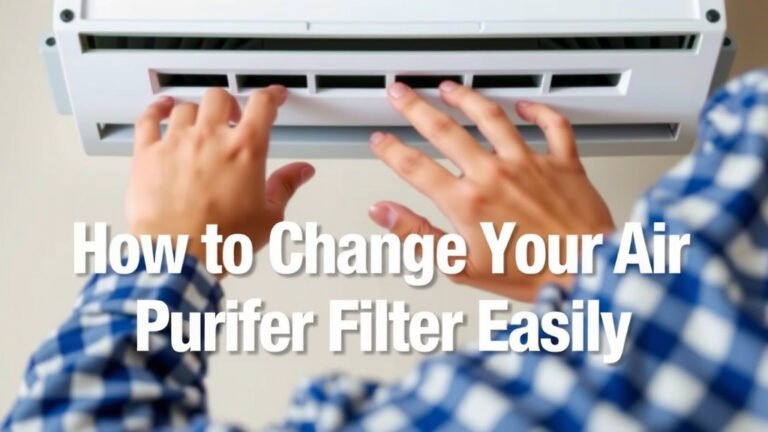
Your Hunter HP125 likely has a cover or grille that needs to be removed. On this model, the filter is usually accessed from the back or side. You’ll typically find clips or latches holding the grille in place.
Locate these latches. They often have a slight indentation you can press or slide. Gently release them. The grille should then come off easily. If it feels stuck, double-check for any missed clips. Don’t force it, as you could damage the plastic.
Removing the Old Filter
Once the grille is off, you’ll see the old filter. It might look a bit grimy, which is a good sign it’s been working hard! Carefully slide the old filter out of its housing. It might be a snug fit. Pull it straight out.
Step 3: Cleaning the Air Purifier Interior (Optional but Recommended)
While you have the filter out, take a moment to clean the inside of the unit. Dust can accumulate here too. Use a dry, soft cloth to wipe down the interior surfaces. A vacuum cleaner with a soft brush attachment works well for harder-to-reach spots.
This is also a good time to wipe down the inside of the grille you removed. A clean interior helps the purifier function better overall. It’s a small step that makes a difference.
Step 4: Inserting the New Filter
Unwrap your brand-new Hunter HP125 filter. Check for any directional arrows on the filter or housing. Most filters need to be inserted in a specific way to allow for proper airflow. Line up the new filter with the empty space inside the purifier.
Slide the new filter in gently until it’s seated correctly. It should fit snugly, just like the old one did. Ensure it’s fully in place and not at an angle. This is where proper airflow is key.
Step 5: Reattaching the Grille and Powering Up
Carefully place the grille back onto the air purifier. Line up the clips or latches you released earlier. Press firmly until they click back into place, securing the grille. Once the grille is secure, you can plug your air purifier back into the wall outlet.
Turn on your Hunter HP125. You should notice the fan sounds normal, and the air should start circulating. Congratulations, you’ve successfully changed your filter!
Tips for Keeping Your Hunter HP125 Running Smoothly
Changing the filter is the most important maintenance, but a few other practices help too. They ensure your purifier lasts and performs its best for your home environment.
Filter Lifespan and Indicators
As mentioned, aim to change your filter every 6-12 months. This can vary based on your home’s air quality and how often you run the purifier. If you have pets, live in a dusty area, or have family members with allergies, you might need to change it more frequently.
Some air purifier models have a filter change indicator light. Check your Hunter HP125 manual to see if yours does. If it has one, pay attention to it! This light is designed to alert you when it’s time for a swap.
Choosing the Right Replacement Filter
Using the correct filter is vital. Hunter offers specific filters for their HP125 model. Using a filter that isn’t designed for your purifier could lead to poor performance or even damage the unit. Always purchase filters recommended by the manufacturer for your specific model.
Creating a Filter Change Checklist
To make filter changes a breeze, consider setting up a simple reminder system. This ensures you never forget this essential maintenance task.
- Mark your calendar for 6 months from today.
- Keep a spare filter in a clean, dry place.
- Check the filter’s appearance periodically.
- Listen for any changes in your purifier’s noise.
- Note down when you last changed it.
By following these steps, you’re keeping your Hunter HP125 in top condition. This means you can continue to enjoy cleaner, fresher air in your home for a long time to come.
Conclusion
You’ve successfully learned how to change the filter on your Hunter HP125 air purifier. This simple maintenance task is key to ensuring you consistently breathe cleaner air. Remember, a fresh filter means your purifier works efficiently to trap those pesky allergens and pollutants. Keeping up with this routine will help maintain optimal air quality in your home, benefiting everyone’s health and comfort. Don’t wait for a change indicator; make a note now to schedule your next filter replacement in 6 to 12 months to keep your air purifier performing at its best.
Frequently Asked Questions
How often should I really change the filter on my Hunter HP125?
You should aim to change your Hunter HP125 filter every 6 to 12 months. This timeframe can vary depending on your home’s air quality. If you have pets, allergies, or live in a dusty environment, you might need to replace it more frequently.
What happens if I don’t change the filter on my Hunter HP125 often enough?
If you don’t change the filter regularly, it can become clogged with dust and debris. This reduces airflow, making your air purifier less effective at cleaning your air. You might also notice a decrease in performance or even a slight odor.
Can I use a generic filter instead of an official Hunter filter for my HP125?
It’s best to use filters specifically designed for your Hunter HP125 model. Using a generic or incompatible filter could lead to poor purification performance or potentially damage your air purifier. Always check that the replacement filter is compatible.
My Hunter HP125 doesn’t have a filter change indicator light. How can I remember when to change it?
If your model lacks an indicator light, the best approach is to mark your calendar. Set a reminder for 6 months from the date of your last filter change. You can also make a habit of checking the filter’s appearance periodically.
Is it okay to just vacuum the old filter instead of replacing it?
While you can vacuum dust off the exterior of some filters, it’s not a substitute for replacement. Air purifier filters are designed to trap very fine particles that vacuuming cannot fully remove. Over time, the filter material itself becomes saturated and needs to be replaced to maintain effectiveness.