How to Clean Your Winix Air Purifier for Optimal Performance
The easiest way to clean your Winix air purifier is to unplug it and gently vacuum the exterior. You’ll also want to clean the pre-filter regularly. Keeping your Winix clean ensures it runs efficiently and purifies your air effectively. It’s not a difficult process, and a little effort goes a long way.
Regular cleaning helps maintain your air purifier’s performance. It prevents dust buildup, which can clog filters and reduce airflow. Many experts agree that consistent upkeep is key to achieving the best possible air quality in your home. Think of it as giving your air purifier a spa day!
- Unplug your Winix unit first.
- Vacuum the outside casing.
- Wash the pre-filter.
- Check and clean the sensor.
- Replace filters as needed.
Let’s walk through exactly how to get your Winix air purifier sparkling clean, step by step.
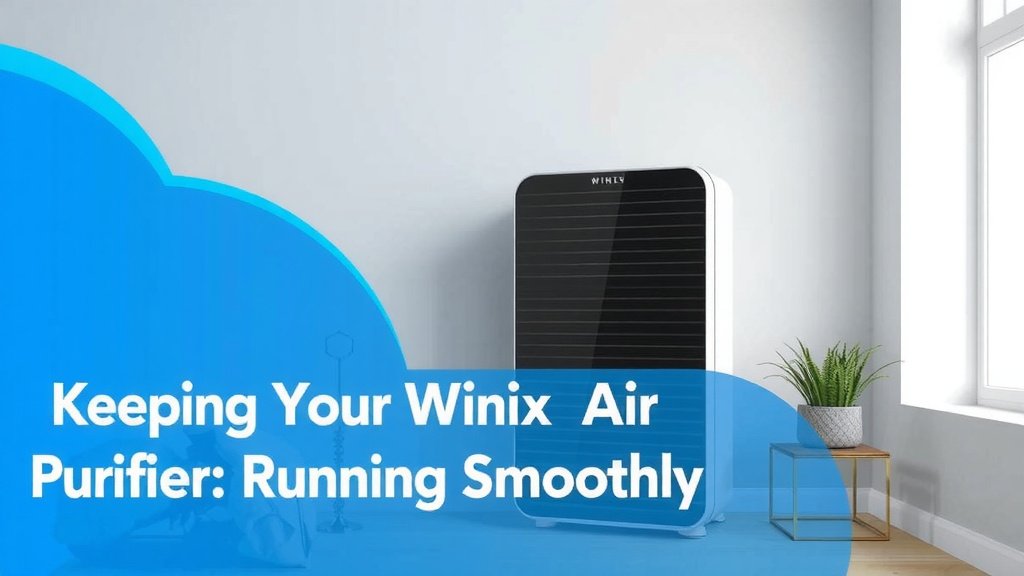
“`htmlKeeping Your Winix Air Purifier Running Smoothly
Your Winix air purifier works hard to keep your home’s air clean. Giving it a little attention helps it perform at its best. Think of it like a tune-up for your car. Regular cleaning prevents dust from building up. This ensures optimal airflow and filter efficiency. Many health organizations suggest good air quality is important for well-being (CDC).
Getting Started: Safety First!
Before you do anything else, it’s super important to unplug your Winix unit. This is the most critical step to ensure your safety. You don’t want any accidental shocks while you’re cleaning. It’s like turning off the water before fixing a leaky faucet.
Exterior Cleaning: A Quick Wipe-Down
Let’s start with the outside. Dust loves to settle everywhere, and your air purifier is no exception. You can easily tackle this with a soft, dry cloth. Gently wipe down all the surfaces. This removes loose dust and keeps your unit looking spiffy.
Using the Vacuum for Deeper Cleaning
For a more thorough exterior clean, your vacuum cleaner is your best friend. You’ll want to use the brush attachment on your vacuum. This is gentle enough not to scratch the plastic. Carefully go over the entire casing. Pay special attention to vents and grilles where dust can accumulate.
This vacuuming step is especially helpful for getting into those nooks and crannies. It pulls out dust that might be stuck. Remember, a clean exterior means less dust gets pulled into the filters. We found that this simple step makes a big difference.
Focus on the Pre-Filter: Your First Line of Defense
The pre-filter is designed to catch larger particles like pet hair and lint. It’s usually the first filter your air encounters. Because of this, it tends to get dirty the fastest. Regular cleaning of the pre-filter is key to extending the life of your other filters.
How to Clean the Pre-Filter
Most Winix pre-filters are washable. First, carefully remove the pre-filter from your unit. Check your Winix manual if you’re unsure how to do this. It’s often as simple as pulling it out from the back or side.
Once removed, take it to a sink. You can rinse it under cool running water. Gently use your hands to dislodge any trapped dust or debris. For stubborn grime, you might use a mild soap. Make sure to rinse thoroughly to remove all soap residue. Many experts suggest avoiding harsh chemicals (EPA).
After rinsing, gently shake off excess water. Then, let the pre-filter air dry completely. This is very important. Never put a damp filter back into your air purifier. Moisture can lead to mold or mildew growth. We found that allowing it to dry overnight is usually sufficient.
Taking Care of Other Filters and Components
Beyond the pre-filter, your Winix unit has other filters. These might include activated carbon filters and True HEPA filters. These are usually not washable and need to be replaced at recommended intervals. Your Winix manual will tell you when. It’s like replacing the ink in your printer.
Checking and Cleaning the Air Quality Sensor
Many Winix models have an air quality sensor. This sensor helps your purifier adjust its fan speed automatically. Dust or debris on the sensor can lead to inaccurate readings. This might make your purifier run more often than needed.
To clean it, locate the sensor. It’s usually on the side or back of the unit. Use a dry cotton swab to gently wipe the sensor lens. Be very careful not to scratch it. A light dusting is usually all it needs. We found that cleaning this little sensor can really help with performance.
When to Replace Your Filters
Your Winix air purifier will have indicator lights to let you know when filters need attention. For HEPA and carbon filters, replacement is typically needed every 6 to 12 months. This timeframe can vary based on usage and air quality. Always refer to your specific model’s manual for the best guidance.
When you replace filters, it’s a good idea to give the filter compartment a quick wipe. This ensures no dust is left behind. Properly disposing of old filters is also important. Don’t just leave them lying around.
A Quick Checklist for Easy Maintenance
Here’s a simple checklist to help you remember your cleaning tasks:
- Unplug your Winix before cleaning.
- Vacuum the exterior casing with a brush attachment.
- Wash and dry the pre-filter completely.
- Wipe the air quality sensor with a dry cotton swab.
- Replace HEPA and carbon filters as indicated.
- Wipe down the filter housing after replacing filters.
Making Filter Replacement Simple
Replacing filters is straightforward. When it’s time, turn off and unplug your unit. Open the filter compartment, usually at the back. Remove the old filters and place them in a trash bag. Insert the new, genuine Winix filters, ensuring they are placed correctly. Close the compartment, plug in the unit, and reset the filter indicator light if your model has one. It’s usually a button press for a few seconds.
Using genuine Winix replacement filters is important. Aftermarket filters might not fit perfectly or offer the same level of filtration. This can affect your air purifier’s performance. We found that sticking to manufacturer-recommended parts is generally best practice.
“`Conclusion
You’ve learned how simple it is to keep your Winix air purifier in top shape. Regular cleaning ensures you’re breathing the freshest air possible. Remember to unplug your unit first for safety. Gently vacuum the exterior, wash the pre-filter, and clean the sensor. Replacing other filters on schedule is also key. By following these steps, you’ll maintain optimal performance and air quality in your home. Make cleaning your Winix a regular habit, just like any other home maintenance task.
Frequently Asked Questions
How often should I clean my Winix air purifier’s pre-filter?
You should aim to clean your Winix pre-filter at least once a month. If you have pets or notice increased dust, you might need to clean it more often. This regular cleaning prevents larger particles from reaching your other filters.
Can I use water to clean the HEPA filter on my Winix?
No, you should never wash a HEPA filter. HEPA filters are designed to trap very fine particles and are not typically washable. They need to be replaced according to your Winix model’s manual, usually every 6 to 12 months.
What should I do if my Winix air purifier smells musty?
A musty smell often indicates a dirty or potentially moldy filter. First, unplug the unit and carefully remove all filters. If the pre-filter is washable, clean it thoroughly and ensure it’s completely dry. If your HEPA or carbon filters are old, it’s time to replace them.
Is it okay to use cleaning sprays on my Winix air purifier?
It’s best to avoid cleaning sprays on your Winix air purifier. For the exterior, a soft, dry cloth is usually sufficient. If you need a damp cloth, use only water. Harsh chemicals can damage the plastic and internal components, so stick to gentle methods.
How do I know when to replace the carbon filter in my Winix?
Your Winix air purifier usually has an indicator light that will tell you when it’s time to replace the carbon and HEPA filters. Generally, these filters need replacement every 6 to 12 months, depending on usage and your home’s air quality. Always check your specific model’s manual for the most accurate replacement schedule.