
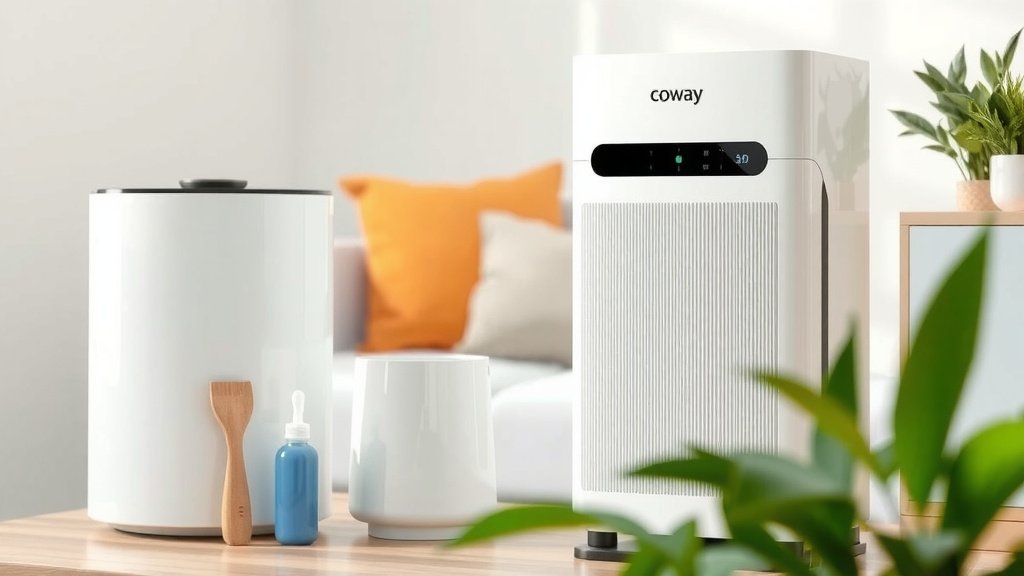
How to Clean Your Coway Air Purifier for Best Results
The best way to clean your Coway air purifier is to regularly wash the pre-filter and replace the other filters as recommended. This simple process will ensure your Coway keeps your air fresh and clean. We found that consistent cleaning is key for optimal performance.
Keeping your air purifier in top shape means more than just running it. It involves a bit of maintenance to ensure you’re breathing the purest air possible. Proper cleaning can also extend the life of your unit and save you money in the long run. Many users report better air quality with just a little effort.
- Unplug your purifier first.
- Wash the washable pre-filter.
- Replace HEPA and carbon filters on schedule.
- Wipe down the exterior.
- Check your manual for specifics.
Let’s walk through exactly how to get your Coway air purifier sparkling clean, step by step.
Keeping Your Coway Air Purifier Running Smoothly
A clean Coway air purifier is a happy Coway air purifier. Think of it like your car; regular oil changes and a wash keep it running at its best. Your air purifier needs similar attention. We found that consistent, simple maintenance ensures it keeps filtering out those pesky allergens and odors. This guide will walk you through cleaning your Coway so you can keep enjoying fresher air.
Understanding Your Coway’s Filters
Your Coway air purifier uses a multi-stage filtration system. Each filter has a specific job to do. Knowing what each filter does helps you understand why and how to clean them. We’ve found this understanding makes the whole process much clearer.
The Washable Pre-Filter
This is your first line of defense. The pre-filter catches the big stuff – pet hair, dust bunnies, and lint. It’s usually a mesh screen. Because it catches the largest particles, it gets dirty the fastest. Regular cleaning here is super important for the other filters.
The Activated Carbon Filter
Next up is the carbon filter. This layer is fantastic for absorbing odors. Think cooking smells, pet odors, or smoke. It doesn’t get washed; it needs replacement over time. We found that a worn-out carbon filter won’t tackle smells effectively.
The True HEPA Filter
This is the powerhouse filter. A True HEPA filter captures 99.97% of airborne particles down to 0.3 microns. This includes pollen, mold spores, and fine dust. Like the carbon filter, it’s designed for replacement, not washing. Many experts say this is the key component for allergy sufferers (CDC).
Specialty Filters (If Applicable)
Some Coway models might have additional filters. These could target specific issues like strong odors or certain VOCs. Check your model’s manual to see if you have these and understand their maintenance needs. Often, these are also for replacement.
Step-by-Step Cleaning Guide
Ready to get your hands a little dirty for cleaner air? It’s not as daunting as it sounds. We’ve broken it down into simple, manageable steps. Remember to always unplug your unit before you begin any cleaning or filter maintenance. Safety first!
Unplugging Your Unit
Before you do anything else, make sure your air purifier is unplugged from the wall. This prevents any accidental starts and ensures your safety. It’s a simple step, but a critical one. Don’t skip it!
Cleaning the Pre-Filter
This is the part you can clean yourself! Most Coway pre-filters are washable. You’ll typically need to remove the filter first. This might involve unclipping or sliding it out. Check your specific model’s guide for the exact method.
Washing Instructions
Once removed, you can rinse the pre-filter under cool or lukewarm water. Gently scrub away any visible dust or debris with your hands or a soft brush. Avoid using harsh soaps or detergents, as these can damage the filter material. Rinse thoroughly until all soap residue is gone.
Drying the Pre-Filter
It’s crucial that the pre-filter is completely dry before you put it back. Placing a damp filter back can lead to mold or mildew growth. We found that air-drying is the best method. Place it in a well-ventilated area away from direct sunlight or heat. This can take several hours, so plan accordingly.
Replacing Other Filters
This is where you’ll need new filters. Your Coway will likely have indicator lights to let you know when it’s time to change the HEPA and carbon filters. The frequency depends on your usage and air quality, but a good rule of thumb is every 6-12 months for the carbon and HEPA filters, according to many manufacturer recommendations.
Accessing the Filters
Usually, the carbon and HEPA filters are located behind the pre-filter. You’ll need to open the main cover of your air purifier. Again, consult your manual for the precise steps for your model. Take note of the order in which the filters are installed.
Installing New Filters
Remove the old filters and discard them properly. Then, unwrap your new Coway-certified filters. Place them into the unit in the correct order. Ensure they fit snugly and securely. Many new filters come with protective plastic wrapping that you must remove.
Resetting the Filter Indicator
After replacing the filters, you’ll need to reset the filter indicator light. This tells the unit that fresh filters have been installed. The method for resetting varies by model, but it often involves pressing and holding a specific button for a few seconds. Your manual is the best source for this information.
Cleaning the Exterior and Interior Casing
Don’t forget the outside! Dust can accumulate on the purifier’s housing. Use a soft, dry cloth to wipe down the exterior. For stubborn marks, you can slightly dampen the cloth with water. Ensure the unit is unplugged and dry before plugging it back in.
Cleaning the Air Vents
Dust can also get into the air intake and outlet vents. Use a vacuum cleaner with a brush attachment on a low setting. Gently vacuum the vents to remove any accumulated dust. You can also use a long, slender brush or a microfiber cloth wrapped around a stick for harder-to-reach spots.
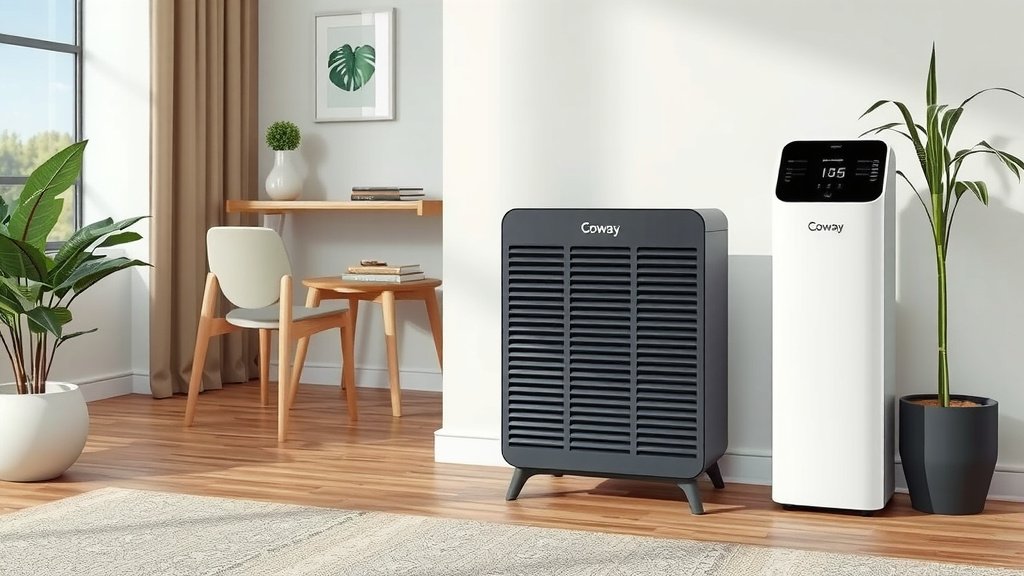
Maintenance Checklist
Here’s a quick rundown to keep your Coway in top shape. We found that following a routine makes this maintenance a breeze.
- Unplug your air purifier.
- Wash and thoroughly dry the pre-filter weekly or bi-weekly.
- Replace the HEPA and carbon filters as indicated by your unit (typically 6-12 months).
- Wipe down the exterior with a dry cloth regularly.
- Vacuum air vents to remove dust buildup.
- Always refer to your specific Coway model manual for detailed instructions.
Conclusion
You’ve now got the know-how to keep your Coway air purifier in tip-top shape. Remember, a little regular cleaning goes a long way. Washing the pre-filter and replacing the other filters on schedule ensures you’re always breathing the freshest air possible. This maintenance not only improves air quality but also helps your purifier last longer.
So, your next step is to check your filter replacement schedule. Make a quick note to do it when the indicator light comes on. Your lungs will thank you for it!
Frequently Asked Questions
How often should I wash the pre-filter?
We found that washing the pre-filter every two weeks is a good starting point. If you have pets or live in a dusty environment, you might need to do it more often. This simple step prevents dust buildup from clogging the other filters.
Can I use soap to wash the pre-filter?
It’s best to avoid harsh soaps or detergents when washing the pre-filter. We recommend using only cool or lukewarm water and gently rinsing or using your hands to remove dust and debris. This prevents damage to the filter material.
Where can I buy replacement filters for my Coway?
You can typically purchase genuine Coway replacement filters directly from the Coway website or authorized retailers. We recommend buying Coway-certified filters to ensure compatibility and optimal performance for your unit.
What does the filter indicator light mean?
The filter indicator light on your Coway purifier signals that it’s time to replace the HEPA and carbon filters. Most models also have a separate indicator for the pre-filter, which needs washing. Always refer to your specific model’s manual for the exact meaning of each light.
How do I know if my Coway needs cleaning?
Besides the filter indicator lights, you might notice a decrease in air quality or a musty smell. Visibly dirty pre-filters or dust accumulating on the exterior are also clear signs it’s time for maintenance. A quick visual check can tell you a lot.
![5 Best Hepa Air Purifier for Viruses [In 2026]](https://homeunderstandable.com/wp-content/uploads/2025/05/best-hepa-air-purifier-for-viruses-top-picks-for-clean-air-768x512.jpg)
![5 Best Hepa Air Purifier for Viruses And Bacteria [In 2026]](https://homeunderstandable.com/wp-content/uploads/2025/05/best-hepa-air-purifier-for-viruses-and-bacteria.jpg)