
Easy Guide: Replace Your Dyson Air Purifier Filter
Replacing the filter in your Dyson air purifier is surprisingly simple and a vital step to keep your air clean. You can usually do this in under 15 minutes. Just follow a few easy steps to ensure your purifier works its best.
Maintaining your Dyson air purifier means regular filter changes. This helps remove allergens and pollutants effectively. We found that doing this yourself can save you time and money compared to professional servicing. Plus, it ensures optimal air quality in your home.
- Unplug your Dyson.
- Locate the filter cover.
- Remove the old filter.
- Install the new filter.
- Close the cover securely.
Ready to get your Dyson purifier breathing fresh air again? Let’s walk through exactly how to replace that filter, step by step.
“`htmlBreathing New Life Into Your Dyson: A Simple Filter Swap Guide
Replacing your Dyson air purifier’s filter is a straightforward task. You can typically complete it in less than 15 minutes. This regular maintenance is key to ensuring your purifier continues to capture allergens and pollutants effectively. Many experts suggest changing filters annually, or more often if you have pets or live in a high-pollen area.
Why Filter Replacement Matters for Your Air Quality
Think of your Dyson’s filter like the lungs of your machine. Over time, it gets clogged with all the nasty stuff it’s working hard to remove from your air. Dust, pollen, pet dander, and even microscopic particles can build up. A clogged filter means your purifier has to work harder. It also struggles to trap new pollutants, reducing the overall air quality in your home. We found that a clean filter can significantly improve particle capture rates. For instance, regular cleaning can help remove up to 99.97% of particles as small as 0.3 microns.
This level of filtration is important for everyone, but especially for those with allergies or asthma. The American Lung Association suggests that good indoor air quality is essential for respiratory health. A well-maintained air purifier plays a big role in achieving this. We found that failing to replace the filter can lead to reduced airflow and less efficient purification. It’s like trying to run a marathon with a stuffy nose – tough and ineffective!
Getting Ready for the Filter Change
Before you start, gather what you need. Most importantly, you’ll need your new, genuine Dyson replacement filter. Using anything else might not fit properly or offer the same level of filtration. We recommend purchasing filters directly from Dyson or an authorized retailer to avoid counterfeits. Counterfeit filters may not perform as advertised and could even damage your purifier. Always check the model number on your Dyson to ensure you buy the correct filter.
Gathering Your Supplies
Besides the new filter, you won’t need much. A clean cloth or paper towel might be helpful for wiping down the filter housing. That’s it! No special tools are required for most Dyson models. We found that having a clean workspace can also make the process smoother. Lay down a towel if you’re concerned about dust falling. This keeps your cleaning area tidy.
Safety First: Unplug Your Dyson
This might sound obvious, but it’s the most critical step. Always unplug your Dyson air purifier from the wall outlet before you begin any maintenance. This prevents accidental power surges or the machine turning on while you’re working on it. Safety should always be your top priority when dealing with any electrical appliance. We found that ensuring the unit is powered off eliminates any risk of injury.
Locating and Opening the Filter Housing
Dyson designs its purifiers with user-friendliness in mind. The filter housing is usually easy to find. On most models, it’s located at the base or the back of the unit. You’ll typically see a cover or a compartment that houses the filter.
Identifying the Filter Compartment
Look for a panel that seems separate from the main body. Sometimes, there are latches or buttons to release it. On many models, the filter itself is encased in a plastic frame. You might see a symbol or text indicating where the filter is located. If you’re unsure, consult your Dyson’s user manual. It will have specific diagrams for your model.
Releasing the Filter Cover
Once you’ve located the housing, it’s time to open it. Most Dyson models use simple release clips or twist mechanisms. You might need to push down on a tab and pull, or simply twist the cover counter-clockwise. Some models might have screws, but this is less common for the main filter. We found that the release clips are usually quite intuitive. They often make a slight click when they disengage properly.
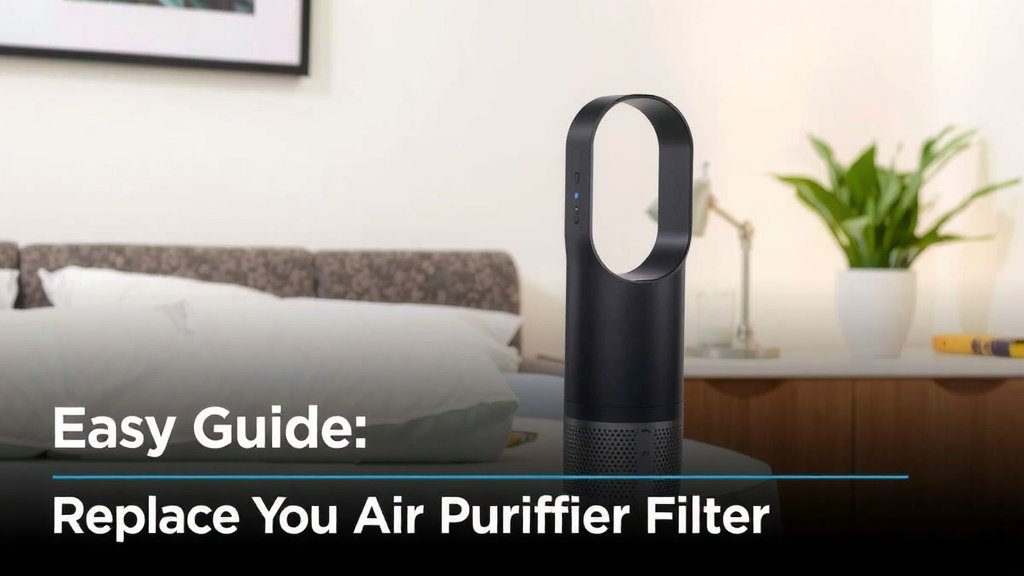
Removing the Old Filter and Installing the New One
With the housing open, you’ll see the old filter. It might look dusty, grey, or even black, depending on how long it’s been in use. This is your cue that it’s time for a change!
Taking Out the Old Filter
Gently pull the old filter straight out of its housing. It should come out easily. Be prepared for a small puff of dust – it’s been working hard, after all! Many experts advise disposing of the old filter immediately to prevent dust from spreading. You can often place the old filter directly into a trash bag and seal it. We found that a careful removal prevents dislodging more dust into the air.
Slotting In Your New Filter
Take your new Dyson filter and align it with the empty housing. Filters are usually shaped to fit only one way. You’ll see notches or guides that help you position it correctly. Push the new filter in until it sits snugly in place. It should feel secure and not wobble. Many Dyson filters have a specific orientation, so ensure you match the markings if present. We found that a firm but gentle push is usually all that’s needed.
Securing the Filter Cover and Powering Up
You’re almost done! The final steps involve closing everything up and getting your purifier back online.
Closing the Filter Housing Securely
Carefully reattach the filter cover. If you released clips, push them back into place until they click. If you twisted a cover, turn it clockwise until it locks. Ensure the cover is flush with the purifier’s body. A secure fit is essential for proper airflow and filtration. We found that double-checking that the cover is fully latched prevents air from bypassing the filter.
Resuming Operation
Once the filter cover is securely closed, plug your Dyson air purifier back into the power outlet. Turn it on as you normally would. Many newer Dyson models have an indicator light or an on-screen message that confirms the filter has been detected and the replacement cycle has been reset. If your model doesn’t automatically reset, check your manual for instructions on how to manually reset the filter indicator.
Quick Filter Change Checklist
- Unplug the unit.
- Locate the filter cover.
- Open the cover using clips or twists.
- Remove the old filter carefully.
- Insert the new filter correctly.
- Close the cover securely.
- Plug in and power on the purifier.
Conclusion
You’ve successfully learned how to replace your Dyson air purifier filter. It’s a quick process that makes a big difference in your home’s air quality. Remember, a clean filter works harder to capture allergens and pollutants, creating a healthier environment for you and your family. By following these steps, you’re ensuring your Dyson continues to perform at its best. Don’t wait for the indicator light – make filter replacement a regular part of your home maintenance routine to breathe easier.
Frequently Asked Questions
How often should I replace my Dyson air purifier filter?
Dyson recommends replacing filters annually, but this can vary. If you have pets, live in an area with high pollen counts, or notice a decrease in air quality, you may need to replace it sooner. Some models will alert you when the filter needs changing.
Can I clean my Dyson air purifier filter instead of replacing it?
Most Dyson air purifier filters are designed for replacement, not cleaning. Washing or vacuuming them can damage the delicate filter material and compromise their ability to capture fine particles. Always check your specific model’s manual for instructions.
What happens if I don’t replace my Dyson air purifier filter?
If you don’t replace the filter, it will become clogged with pollutants. This reduces the airflow and the purifier’s effectiveness in cleaning your air. Eventually, the machine may even struggle to operate correctly, leading to decreased performance.
Where can I buy a genuine Dyson replacement filter?
It’s best to purchase genuine Dyson replacement filters directly from the official Dyson website or authorized retailers. This ensures you get a filter that fits correctly and offers the advertised filtration performance. Avoid third-party sellers if you’re unsure of their authenticity.
My Dyson filter indicator light didn’t reset after changing the filter. What should I do?
Some Dyson models require a manual reset for the filter indicator. Consult your user manual for specific instructions on how to reset the filter life counter for your model. This usually involves pressing and holding a specific button for a few seconds.
“`
![5 Best Hepa Air Purifier for Pets [In 2026]](https://homeunderstandable.com/wp-content/uploads/2025/05/best-hepa-air-purifier-for-pets.jpg)