How to Clean Your Austin Air Purifier Effectively
The easiest way to clean your Austin Air purifier is by regularly vacuuming the exterior and wiping down the casing. You’ll also need to clean the pre-filter monthly to ensure peak performance. This simple maintenance will help your purifier keep your air as fresh as possible, so you can breathe easier.
Keeping your Austin Air purifier clean is key to its effectiveness. Over time, dust and debris can build up, reducing airflow and impacting the unit’s ability to filter pollutants. Following a consistent cleaning schedule means you’re getting the most out of your investment in cleaner air for your home. Many users find that a clean unit operates quieter and more efficiently.
- Clean the outside of your Austin Air purifier often.
- Vacuum the exterior vents to remove dust buildup.
- Wash or replace the pre-filter every month for best results.
- Consult your manual for specific filter replacement guidance.
Below, we’ll walk you through exactly how to clean your Austin Air purifier step by step, so you can get back to enjoying cleaner air.
Keeping Your Austin Air Purifier in Top Shape
Your Austin Air purifier is a champion at keeping your home’s air clean. To make sure it keeps fighting the good fight against dust, allergens, and other airborne nasties, a little regular care goes a long way. We’re going to walk you through exactly how to keep your unit humming along efficiently. Think of it like giving your car an oil change – it just runs better when it’s cared for.
Understanding Your Austin Air Purifier’s Components
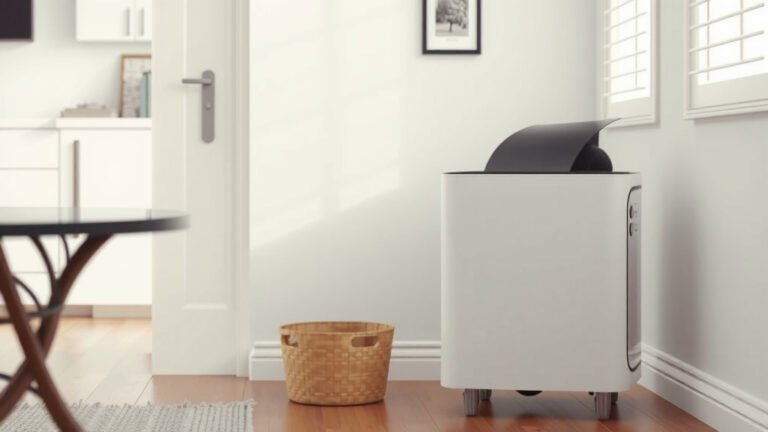
Before we dive into cleaning, let’s briefly touch on what makes your Austin Air purifier tick. Most models have a metal casing, a fan system, and several layers of filters. You’ve got your pre-filter, which catches the big stuff, and then the main filters (often HEPA and activated carbon) that trap smaller particles and odors. Knowing these parts helps you understand why certain cleaning steps are important.
The All-Important Pre-Filter
This is your first line of defense. The pre-filter is like a net for larger particles. You’ll find it attached to the main filter or as a separate layer. Its job is to catch things like pet hair, lint, and larger dust bunnies. If this gets clogged, your purifier struggles to pull air through efficiently. We recommend checking it at least once a month.
Cleaning or Replacing Your Pre-Filter
For many Austin Air models, the pre-filter is a washable cloth. To clean it, simply remove it from the unit (consult your manual if you’re unsure how). You can then rinse it under cool water. Let it air dry completely before putting it back. If your pre-filter is a different material or looks damaged, you might need to replace it. Your user manual is the best guide for this. Many experts say a clean pre-filter can extend the life of your main filters (Consumer Reports).
Caring for the Main Filters
The heart of your air purifier is its main filter set. These typically include HEPA filters for fine particles and activated carbon for odors and gases. Unlike the pre-filter, these are generally not washable. They work by trapping microscopic particles. Trying to clean them can damage their delicate structure and reduce their effectiveness. The CDC suggests that HEPA filters are designed for filtration, not for washing (CDC).
When to Replace Main Filters
This is a critical step. Main filters have a lifespan, usually measured in months or years. Your Austin Air manual will specify the recommended replacement schedule. It’s often based on usage hours and the air quality in your home. When filters are old, they become saturated with trapped pollutants. This means they can’t filter new air effectively and might even release trapped particles back into the room. Replacing them on schedule ensures you’re always breathing the cleanest air possible. Many users find that replacing filters can significantly improve airflow and reduce noise.
Step-by-Step Cleaning Guide for Your Austin Air Unit
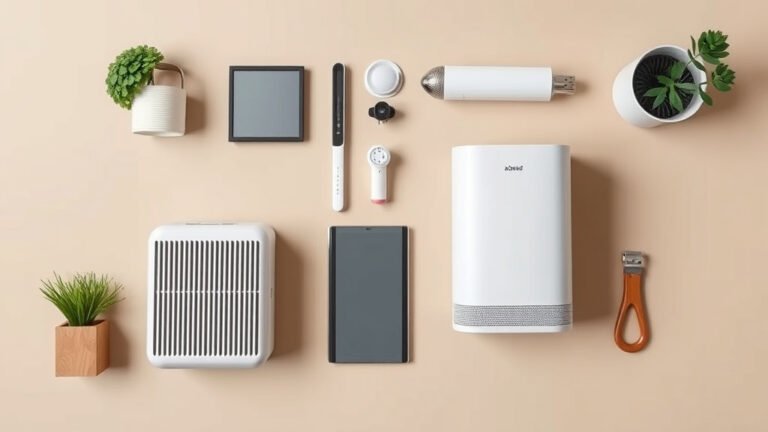
Let’s get down to the nitty-gritty. Cleaning your Austin Air purifier doesn’t take long, especially if you do it regularly. Having your tools ready makes the process smoother. You’ll likely need a vacuum cleaner with a brush attachment, a soft cloth, and possibly some mild soap and water for the casing.
Exterior Cleaning: Keeping it Looking Sharp
This is the easiest part! Dust can settle on the outside of your unit just like anywhere else in your home. A quick wipe-down can make a big difference.
Dusting the Casing
Use a soft, dry cloth to wipe down the exterior surfaces. If you have stubborn smudges or marks, slightly dampen the cloth with water. For tougher spots, a mild soap solution can work. Always make sure the unit is unplugged before you start wiping. Never spray cleaning solutions directly onto the unit. You don’t want any moisture seeping into the internal components. Dry the casing thoroughly after cleaning.
Vacuuming the Vents
The vents are where the magic happens, but they can also be a dust magnet. Use your vacuum’s hose with a brush attachment. Gently go over all the vents on the outside of your unit. This helps to remove any accumulated dust that could impede airflow. Be careful not to push the brush too hard, as you don’t want to scratch the casing.
Interior Cleaning: A Gentle Touch
Once the exterior is clean, you might want to give the inside a quick check. Remember, the goal is to remove loose dust, not to scrub.
Checking the Fan Area
With the unit unplugged and the filters removed, you can look inside. You might see some dust settled on the fan blades or housing. Use a soft brush or a vacuum cleaner’s crevice tool on a low setting to gently remove this dust. Again, be very careful. You don’t want to damage the fan motor or any wiring. If you’re not comfortable with this step, it’s perfectly okay to skip it. The main focus should be on the filters and the exterior.
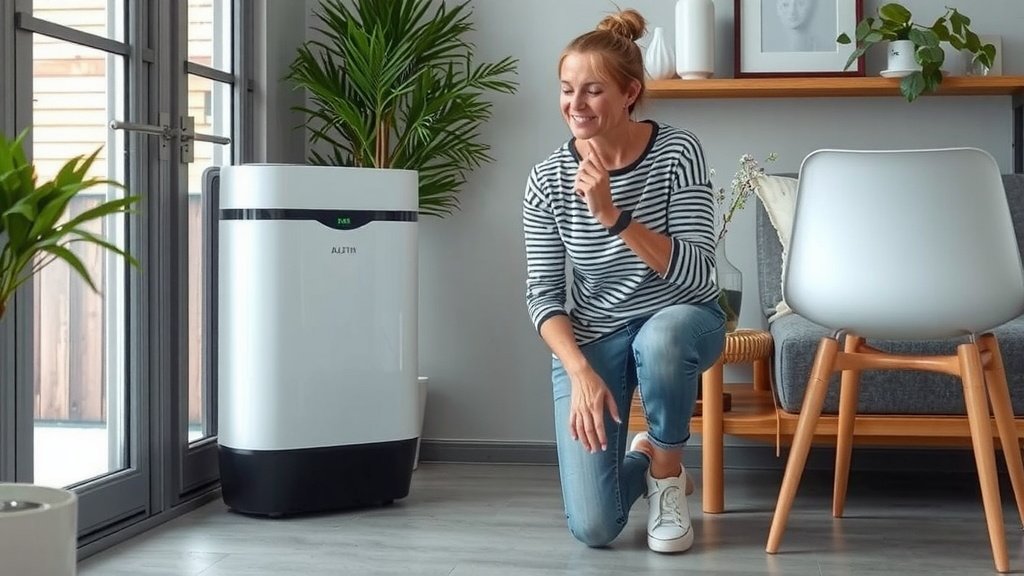
Maintenance Checklist for Your Austin Air Purifier
To make it simple, here’s a quick checklist you can use:
- Unplug the unit before starting any cleaning.
- Check and clean/replace the pre-filter monthly.
- Wipe down the exterior casing weekly or as needed.
- Vacuum the exterior vents monthly.
- Replace main filters according to your manual’s schedule.
- Keep your user manual handy for specific instructions.
A Note on Filter Replacement Schedules
We can’t stress this enough: your user manual is your best friend when it comes to filter replacements. Factors like where you live, the presence of pets, and how often you run your purifier all play a role. Some sources suggest that heavy allergen seasons might mean earlier replacement is beneficial (American Lung Association).
| Maintenance Task | Frequency | Notes |
|---|---|---|
| Exterior Wipe Down | Weekly | Dust buildup |
| Vacuum Vents | Monthly | Improve airflow |
| Check Pre-Filter | Monthly | Wash or replace |
| Replace Main Filters | Refer to Manual | Typically 1-5 years |
By following these simple cleaning and maintenance steps, you’re ensuring your Austin Air purifier continues to provide you and your family with the cleanest air possible. It’s a small investment of time for a big return in a healthier home environment. If your unit ever seems to be making unusual noises or not performing as expected, always refer to your manual or contact the manufacturer for support.
Conclusion
You’ve learned that keeping your Austin Air purifier clean is simple but essential. Regular dusting of the exterior and vacuuming the vents prevent dust buildup. Most importantly, don’t forget to check and clean or replace your pre-filter monthly. This consistent care ensures your purifier runs efficiently, quietly, and effectively removes pollutants from your air. Taking these steps now means you’ll continue to enjoy fresher, healthier air in your home for years to come. Your next step is to schedule a reminder to check your pre-filter this week!
Frequently Asked Questions
How often should I vacuum the outside of my Austin Air purifier?
You should vacuum the exterior vents of your Austin Air purifier at least monthly. This helps remove dust that can clog the unit and reduce airflow. For the general casing, a quick wipe-down weekly or whenever you notice dust is also a good idea.
Can I wash the main HEPA filter in my Austin Air purifier?
No, you should never wash the main HEPA or activated carbon filters. These filters are designed to trap microscopic particles and washing them can damage their delicate structure. Replacing them according to your manual’s schedule is the only way to maintain their effectiveness.
What kind of soap can I use to clean the casing?
For stubborn spots on the casing, use a soft cloth slightly dampened with water and a tiny amount of mild soap. Always ensure the unit is unplugged before cleaning and never spray solutions directly onto the purifier. Dry the casing thoroughly afterward.
My Austin Air purifier is making a strange noise, what could be wrong?
Unusual noises might indicate dust buildup in the fan area or an issue with the filters. First, ensure the unit is unplugged and check if the pre-filter needs cleaning or if main filters need replacing. If the noise persists, consult your user manual or contact Austin Air for support.
How do I know when it’s time to replace the main filters?
Your Austin Air purifier’s user manual will provide the specific recommended replacement schedule for your model, often based on hours of use and your home’s air quality. Generally, main filters need replacing every 1 to 5 years. Replacing them on time is vital for continued clean air.