How to Clean Your Honeywell Air Purifier Filter
The easiest way to clean your Honeywell air purifier filter is with a vacuum cleaner and a damp cloth. Regular cleaning keeps your purifier running efficiently. This helps ensure you’re always breathing the cleanest air possible.
Did you know a dirty filter can actually make your air quality worse? It forces your purifier to work harder. We found that keeping your filter clean is key to effective air purification and extending the life of your appliance. It’s a simple step with big benefits for your home’s air.
- Vacuum the filter gently.
- Wipe down with a damp cloth.
- Allow it to dry completely.
- Reinstall it in the purifier.
- Check your manual for specific model instructions.
Below, we’ll walk you through the simple steps to get your Honeywell air purifier filter sparkling clean and ready to go. Let’s get your air purifier back in top shape!
Maintaining Your Honeywell Air Purifier Filter: A Simple Guide
Keeping your Honeywell air purifier filter clean is easier than you might think. A little regular maintenance ensures your purifier keeps working hard for you. This process helps remove dust, allergens, and other particles. It’s a simple habit that makes a big difference in your home’s air quality.
Why Regular Filter Cleaning Matters
Your air purifier works diligently to capture airborne pollutants. Over time, these captured particles can build up. This buildup can clog the filter. A clogged filter struggles to pull air through efficiently. This forces the motor to work harder, consuming more energy. We found that a dirty filter can reduce the effectiveness of your air purifier. It may even recirculate dust back into your room.
Many experts suggest that clean filters are essential for optimal performance (American Lung Association). Think of it like a clogged drain. Water can’t flow freely, causing backups. Your air purifier is similar. Pollutants can’t pass through easily, reducing the clean air output. This is why we recommend a quick cleaning routine.
What You’ll Need to Clean Your Filter
Gathering your supplies beforehand makes the cleaning process smooth. You likely have most of these items already at home. This makes it convenient to tackle filter cleaning whenever needed.
- Vacuum Cleaner: A standard household vacuum with a brush attachment works best.
- Damp Cloth: Use a soft, slightly damp cloth. Avoid soaking the filter.
- Your Honeywell Air Purifier Manual: This is your best friend for model-specific instructions.
Step-by-Step Filter Cleaning Instructions
Let’s get your filter cleaned up and ready to purify your air again. We’ll break it down into simple, manageable steps.
Step 1: Safely Remove the Filter
First things first, unplug your air purifier. Safety is always our top priority. You don’t want the unit to turn on accidentally. Most Honeywell models have an easily accessible filter compartment. You might need to unclip a cover or slide out a panel. Consult your manual if you’re unsure where to find it.
Locating the Filter Compartment
Look for a rear panel or a front grill that seems removable. Sometimes, a gentle push or a specific latch will release it. We found that the filter is usually a large, rectangular piece inside. It should slide out with minimal effort. If it feels stuck, double-check your manual for the correct release mechanism.
Step 2: Gentle Vacuuming is Key
Once the filter is out, it’s time to tackle the dust. Use your vacuum cleaner with the soft brush attachment. Gently glide the brush attachment over the filter’s surface. This helps lift and remove loose dust and debris. You want to be thorough but also gentle.
Technique for Best Results
Work your way across the entire surface of the filter. Pay attention to the pleats, as dust can accumulate there. Some people find it helpful to vacuum both sides of the filter. We found that applying light pressure is enough. You’re not trying to scrub it; you’re just removing surface dust. This step helps free up the filter’s pores.
Step 3: A Light Wipe-Down
For any remaining surface grime, a damp cloth is your next tool. Use a soft cloth that you’ve lightly dampened with water. Wring it out very well. The cloth should be damp, not wet. You don’t want to saturate the filter material.
Cleaning Stubborn Spots
Gently wipe down the filter surfaces. This can help remove any slight stickiness or residue. If you encounter a spot that’s a bit more stubborn, a gentle circular motion might help. Remember, the goal is to clean, not to scrub hard. Many sources advise against using harsh chemicals (CDC). Stick to plain water for the safest approach.
Step 4: Thorough Drying is Non-Negotiable
This is a critical step that many people overlook. Your filter MUST be completely dry before you put it back into the air purifier. A damp filter can lead to mold or mildew growth. This would defeat the purpose of purifying your air and could damage your appliance. Allow ample time for air drying.
Best Drying Practices
Place the filter in a well-ventilated area. You can set it on a clean towel or a drying rack. Avoid placing it in direct sunlight or using heat to speed up the drying process. These methods can sometimes warp or damage the filter material. We found that letting it air dry naturally for at least 24 hours is often sufficient. Always check that it feels completely dry to the touch.
Step 5: Reassemble and Power Up
Once you’re absolutely certain the filter is bone dry, it’s time to reassemble. Carefully slide the clean, dry filter back into its compartment. Make sure it’s seated correctly. Secure any covers or panels you removed earlier. Now, you can plug your air purifier back in and turn it on.
When to Consider Filter Replacement
While cleaning is great, filters don’t last forever. Eventually, they wear out. How often should you replace your filter? This depends on usage and air quality.
Signs Your Filter Needs Replacing
There are a few tell-tale signs that it’s time for a new filter, even after cleaning. If you notice a persistent musty odor, it might be time. Reduced airflow from the purifier is another indicator. If your air quality doesn’t seem to be improving, a worn-out filter could be the culprit. Check your manual for the manufacturer’s recommended replacement schedule.
The Lifespan of a Honeywell Filter
Many Honeywell filters are designed to last between 6 to 12 months with regular cleaning. However, if you live in an area with high pollution or have pets, you might need to replace them more often. We found that keeping a spare on hand is a good idea. This way, you’re never without clean air for too long.
Quick Checklist for Filter Care
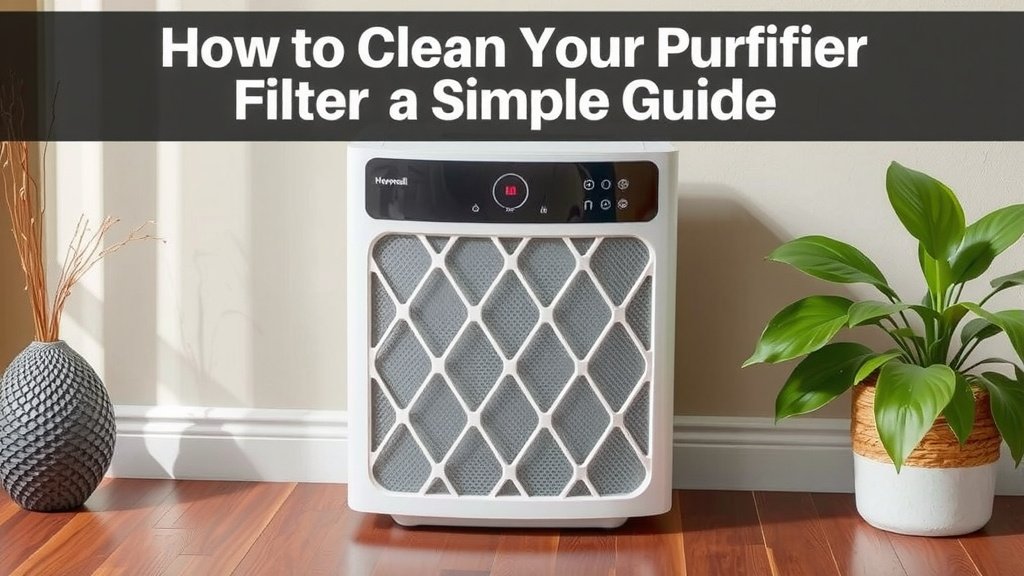
Here’s a handy checklist to keep your filter in top shape:
- Unplug the unit before starting.
- Gently vacuum both sides of the filter.
- Wipe with a well-wrung-out damp cloth if needed.
- Allow the filter to dry completely for at least 24 hours.
- Reinstall only when fully dry.
- Consult your manual for specific model details.
Conclusion
You’ve now learned how simple it is to keep your Honeywell air purifier filter clean. Regular vacuuming and a light damp wipe are your best tools. This routine ensures your purifier works efficiently. It also helps maintain the cleanest air possible in your home. Remember, a clean filter means better air quality and a longer lifespan for your appliance. Your next step is to schedule your filter cleaning today!
Frequently Asked Questions
How often should I vacuum my Honeywell air purifier filter?
We found that vacuuming your filter once a month is a good general guideline. If you have pets or live in a dusty area, you might need to do it more often. Always check your filter visually for dust buildup.
Can I use soap or detergent to clean my Honeywell filter?
No, it’s best to avoid soap or detergents. Harsh chemicals can damage the filter material. We recommend using only water for a gentle wipe-down if needed.
Is it okay to put a slightly damp filter back in my air purifier?
Absolutely not. A damp filter can encourage mold and mildew growth. Always ensure your filter is completely dry before reinstalling it. This can take 24 hours or more.
My Honeywell air purifier still smells musty after cleaning the filter. What should I do?
A persistent musty smell could indicate the filter is too old and needs replacing. Check your manual for its recommended lifespan. If it’s over 6-12 months old, it’s likely time for a new one.
Where can I find the specific cleaning instructions for my Honeywell model?
Your Honeywell air purifier manual is the best resource. It contains detailed, model-specific instructions for removing and cleaning your filter. If you’ve lost it, you can often find a digital copy on the Honeywell website.
![What Is The Best Air Purifier for Fire [In 2026]](https://homeunderstandable.com/wp-content/uploads/2025/05/best-air-purifier-for-fire-top-choices-for-clean-indoor-air-768x512.jpg)
![What Is The Best Air Purifier for Elderly [In 2026]](https://homeunderstandable.com/wp-content/uploads/2025/05/best-air-purifier-for-elderly-enhance-comfort-breathe-easy-768x513.jpg)
![What Is The Best Dyson Air Purifier for Smoke [In 2026]](https://homeunderstandable.com/wp-content/uploads/2025/05/best-dyson-air-purifier-for-smoke.jpg)