How to Clean Your Mila Air Purifier Easily
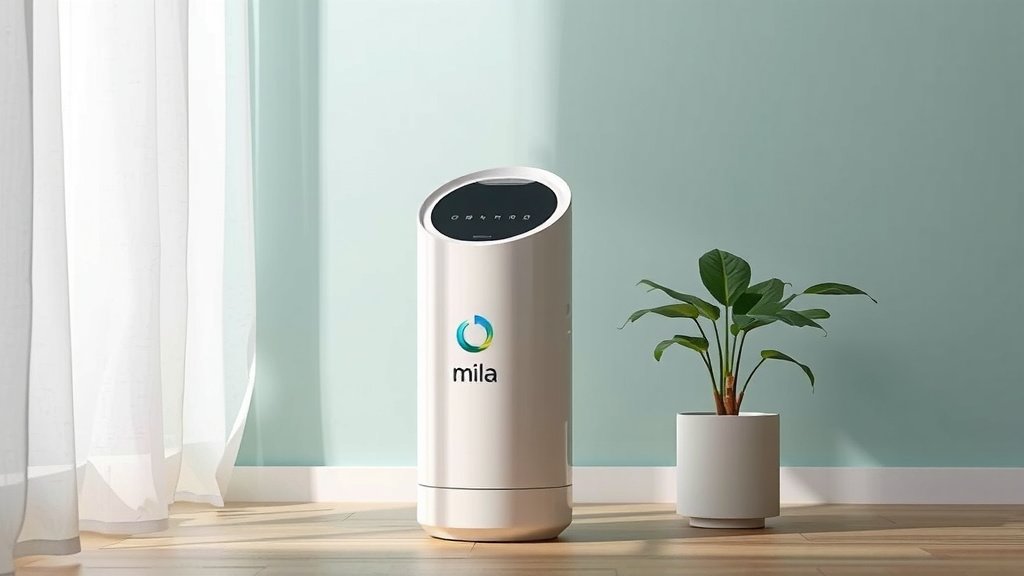
The easiest way to clean your Mila air purifier involves wiping down the exterior with a damp cloth and vacuuming the pre-filter. Regular cleaning helps your purifier run efficiently and ensures you’re breathing the cleanest possible air. Think of it like giving your diligent air cleaner a much-needed spa day.
Keeping your Mila clean isn’t just about appearances. It directly impacts its ability to capture dust, pollen, and other airborne irritants. We found that a well-maintained unit means better air quality and a longer lifespan for your device. It’s a simple step with a big payoff for your home’s environment.
- Wipe the exterior with a damp cloth.
- Vacuum the pre-filter regularly.
- Check the HEPA filter for replacement needs.
- Ensure all parts are dry before reassembly.
Let’s walk through exactly how to get your Mila looking and working its best, step by step.
“`htmlKeeping Your Mila Air Purifier Sparkling Clean
Wondering how to keep your Mila air purifier in tip-top shape? You’re in the right place. Regular cleaning is key to ensuring your device performs at its best. We found that a clean unit can significantly improve your home’s air quality. It also helps extend the life of your purifier. Let’s get started on making your Mila shine.
A Step-by-Step Guide to Cleaning Your Mila
Gathering Your Cleaning Supplies
Before you begin, let’s make sure you have everything you need. Having your supplies ready will make the cleaning process smooth and efficient. You won’t have to stop mid-task to find something. This preparation helps ensure you don’t miss any steps.
- A soft, damp cloth (microfiber works best).
- A vacuum cleaner with a brush attachment.
- A dry, lint-free cloth for drying.
- Perhaps a mild soap for tougher spots, if needed.
Cleaning the Exterior of Your Mila
The outside of your Mila can gather dust just like any other surface in your home. Keeping it clean is simple and quick. A clean exterior is more than just about looks. It also ensures that no dust gets pushed back into the air you breathe.
Start by unplugging your Mila air purifier. Safety first, always! Then, take your damp cloth and gently wipe down the entire outer casing. You want the cloth to be damp, not dripping wet. Too much water could potentially damage the electronics inside. For any stubborn smudges, a tiny bit of mild soap on the cloth can help. Just be sure to wipe away any soap residue with a clean, damp cloth afterward.
Addressing the Pre-Filter: Your First Line of Defense
The pre-filter is the very first layer of protection for your Mila. It’s designed to catch larger particles like dust bunnies and pet hair. Because it catches the biggest offenders, it’s the part that will get dirty the fastest. Regular cleaning of the pre-filter is essential for optimal performance.
How Often Should You Clean the Pre-Filter?
We found that cleaning the pre-filter at least once a month is a good general rule. If you have pets that shed a lot or live in a particularly dusty environment, you might need to do it more often. Pay attention to your Mila; if you notice a visible buildup of dust or hair on the exterior intake grilles, it’s likely time for a pre-filter clean.
Vacuuming Your Pre-Filter
This is the easiest part! Simply remove the pre-filter from your Mila. Most models have a simple way to detach this layer. Consult your Mila’s specific manual if you’re unsure. Once removed, use your vacuum cleaner with a brush attachment. Gently vacuum the surface of the pre-filter. This will lift away all the accumulated dust and debris. You want to be thorough but gentle. We found that going over it a couple of times usually does the trick.
Checking and Maintaining the HEPA Filter
The HEPA filter is the heart of your Mila’s air purification system. It’s responsible for capturing the really tiny stuff – allergens, mold spores, and fine particles. Unlike the pre-filter, the HEPA filter itself is not meant to be washed or vacuumed. It needs to be replaced periodically.
When to Replace Your HEPA Filter
Your Mila will typically let you know when it’s time to replace the HEPA filter. Many models have indicator lights or app notifications. Generally, HEPA filters need replacing every 6 to 12 months, depending on usage and air quality. Many experts say that using a clogged filter dramatically reduces its effectiveness (CDC). If your Mila isn’t indicating a need but you suspect it’s been a while, it’s worth checking the filter itself for excessive dust buildup.
Replacing the HEPA Filter: A Simple Swap
Replacing the HEPA filter is usually a straightforward process. Always unplug your unit first. Open the housing where the HEPA filter is located. Carefully remove the old filter and dispose of it properly. Then, insert the new HEPA filter, making sure it’s seated correctly. Close up the housing securely. You’ll likely need to reset your filter indicator light afterward.
Don’t Forget the Carbon Filter
Your Mila likely also has a carbon filter. This filter is designed to capture odors and gases. Like the HEPA filter, the carbon filter is usually a replacement part, not a washable one. Check your Mila’s manual for specific instructions on its care and replacement schedule.
Many sources suggest that the carbon filter often works in tandem with the HEPA filter. Its lifespan can vary, but it’s typically replaced at the same time as the HEPA filter. If you notice lingering odors that your Mila isn’t tackling, it might be time to consider replacing the carbon filter.
Drying and Reassembly Checklist
After cleaning any external parts, it’s absolutely vital that everything is dry before you put your Mila back together. Reassembling a damp unit can lead to mold growth or damage. Here’s a quick checklist to ensure you don’t miss a step:
- Ensure the exterior is completely dry with a lint-free cloth.
- Confirm that any removable parts, like the pre-filter, are bone dry.
- Double-check that no moisture remains on any surfaces.
- Make sure the HEPA and carbon filters (if applicable) are properly seated.
- Securely close all access panels and covers.
- Plug the unit back in only after confirming everything is dry and reassembled.
Troubleshooting Minor Issues
Sometimes, even with regular cleaning, you might encounter small issues. If your Mila seems louder than usual, double-check that the pre-filter is securely in place. A loose pre-filter can sometimes cause vibrations. If you notice any unusual smells, it’s a strong indicator that your filters, particularly the carbon filter, might be due for a replacement.
“`
Conclusion
You’ve now learned how to keep your Mila air purifier in top-notch condition. Remember, a clean Mila means cleaner air for your home. Regularly wiping the exterior and vacuuming the pre-filter are simple tasks. Replacing the HEPA and carbon filters as needed ensures optimal performance. By following these steps, you’re not just maintaining a device; you’re investing in your home’s health. Make a habit of these quick cleanings, and your Mila will continue to serve you well for years to come.
Frequently Asked Questions
How often should I really vacuum the pre-filter?
We found that once a month is a good starting point for vacuuming your Mila’s pre-filter. If you have pets or live in a dusty area, you might need to clean it every two weeks. Check your Mila’s intake grilles; if you see a lot of dust or hair, it’s time for a vacuum.
Can I wash the HEPA filter on my Mila?
No, you should never wash the HEPA filter. It’s designed to trap very fine particles. Washing it would damage its structure and reduce its effectiveness. Always replace the HEPA filter when indicated or when it appears heavily soiled.
My Mila smells a bit musty. What should I do?
A musty smell often indicates it’s time to replace your filters, especially the carbon filter. This filter captures odors and gases. If your HEPA filter is also very old, it could contribute to smells too. Check your Mila’s manual for the recommended replacement schedule.
What’s the best way to dry the exterior after wiping it down?
After wiping the exterior with a damp cloth, use a clean, dry, lint-free cloth to gently dry the surface. Ensure all parts are completely dry before plugging your Mila back in. This prevents any potential moisture damage to the internal components.
Do I need to reset anything after changing the HEPA filter?
Yes, you’ll likely need to reset your Mila’s filter indicator light or notification. Consult your specific Mila model’s user manual for the exact procedure. This tells your purifier that a new filter is installed and helps you track its lifespan accurately.

![What Is The Best Air Purifier for Ceramic Studio [In 2026]](https://homeunderstandable.com/wp-content/uploads/2025/06/best-air-purifier-for-ceramic-studio-enhance-air-quality-creativity-768x320.jpg)