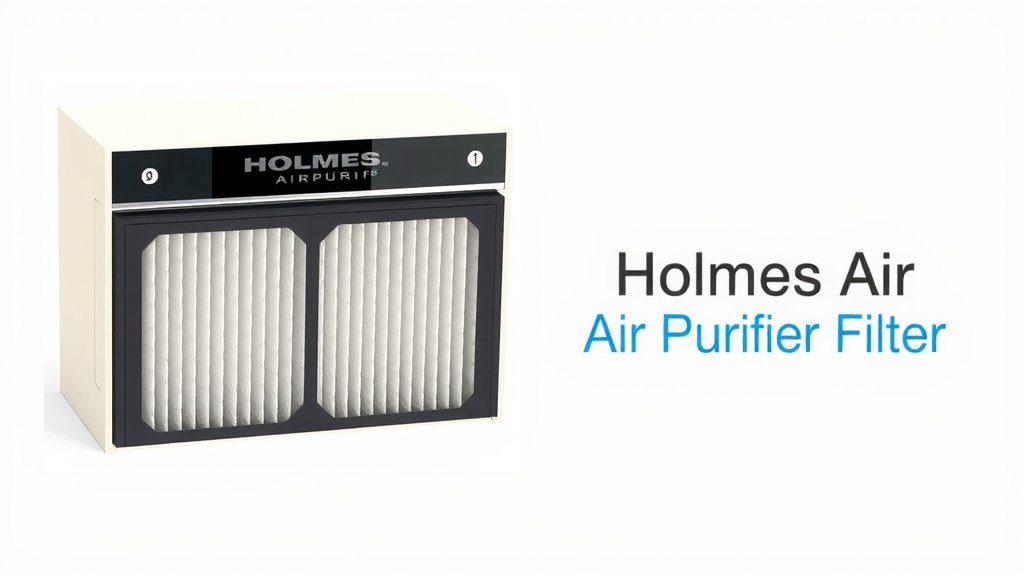
Holmes Air Purifier Filter Replacement Guide
Replacing your Holmes air purifier filter is a simple process. You can do it yourself in under 10 minutes. We’ll guide you through the easy steps to get your purifier working like new again. No special tools are usually needed.
Keeping your air purifier filter clean is important for air quality. A dirty filter can make your purifier less effective. It might even recirculate dust and allergens. We found that regular filter changes improve performance significantly. It’s a small task with a big impact on your home’s air.
- Turn off and unplug your air purifier.
- Locate and open the filter compartment.
- Remove the old filter and insert the new one.
- Close the compartment and plug the unit back in.
Let’s walk through exactly how to replace your Holmes air purifier filter step by step. You’ll be breathing cleaner air in no time!
Swapping Out Your Holmes Air Purifier Filter: A Simple Guide
You’re probably here because your Holmes air purifier is telling you it’s time for a new filter. Or maybe you’ve noticed your air quality isn’t what it used to be. Whatever the reason, swapping out that old filter is a straightforward task. We’ll walk you through each step. You’ll have your purifier running efficiently again in no time. It’s a maintenance task that makes a real difference in the air you breathe.
Preparing for the Filter Change
Before you dive in, let’s gather what you need. Most Holmes air purifiers don’t require any special tools for a filter change. You’ll primarily need your new replacement filter. Make sure you have the correct model for your specific Holmes air purifier. Using the wrong filter might not fit properly or provide adequate filtration. It’s like trying to fit a square peg in a round hole – it just won’t work well!
Finding the Right Replacement Filter
This is a critical first step. Your air purifier’s manual is the best place to find the exact filter model number. You can often find this information on the back or side of your unit as well. Many users find that ordering filters directly from the manufacturer or reputable online retailers ensures authenticity. We found that keeping a spare filter on hand can save you a trip later on. It’s a good idea to check your filter’s condition periodically, even if it’s not actively signaling for a change.
Gathering Your Supplies
You’ve got your new filter – fantastic! What else? A soft cloth or damp paper towel is useful for wiping down the inside of the filter compartment. This helps remove any accumulated dust bunnies. Some people like to have a vacuum with a brush attachment handy for a quick clean around the unit. But honestly, for most Holmes models, just the new filter and a cloth will do the trick. We found that a clean workspace makes the process smoother.
The Step-by-Step Filter Replacement Process
Ready to get your hands a little dusty? Don’t worry, it’s not that bad! This is where we get your Holmes air purifier back to its peak performance. Following these steps will ensure a smooth and successful filter change.
Step 1: Power Down and Unplug
Safety first, always! Before you do anything else, make sure your air purifier is turned off. Then, unplug it from the wall outlet. This might seem obvious, but it’s an important step to prevent any electrical hazards. You don’t want any unexpected surprises while you’re fiddling with the unit. Think of it as giving your purifier a little nap before its makeover.
Step 2: Locate and Open the Filter Compartment
Now, you need to find where the filter lives. On most Holmes air purifiers, the filter is located at the back or the bottom of the unit. You’ll typically see a cover or panel that needs to be removed. Some models have clips or latches that you’ll need to gently press or lift. Others might have screws. Consult your manual if you’re unsure. We found that older models might require a bit more wiggling, but patience is key.
Accessing the Filter Chamber
Once you’ve located the compartment, it’s time to open it. If there are latches, press them firmly but carefully. If it’s a screw-on cover, use the appropriate screwdriver. The goal is to expose the old filter without forcing anything. Many users report that the covers come off quite easily once you find the release mechanism. If it feels stuck, double-check that you’ve disengaged all the clips or removed all the screws. We don’t want to risk breaking anything!
Step 3: Remove the Old Filter
With the compartment open, you’ll see the old, likely dusty, filter. Gently pull it out. Be prepared – it might be coated in dust and debris. Try to avoid shaking it too much, as you don’t want to release that trapped gunk back into the air. Some people like to place the old filter directly into a plastic bag to contain the mess. This is where that damp cloth comes in handy. Wipe down the inside of the filter housing to remove any loose dust. Many experts suggest this simple cleaning step can improve airflow. It’s like clearing out the cobwebs before decorating!
Step 4: Insert the New Filter
Take your brand-new filter and carefully slide it into the empty compartment. Make sure it’s oriented correctly. Most filters have an indicator or a specific way they need to sit to ensure proper airflow. You should see arrows or markings indicating the airflow direction. Don’t force the filter into place. If it’s not sliding in smoothly, it’s likely not aligned correctly. We found that a little adjustment usually does the trick. It should fit snugly, but not with excessive pressure.
Step 5: Close and Secure the Compartment
Once the new filter is in place, it’s time to close everything up. Reattach the cover or panel. Make sure all clips click into place or tighten any screws you removed. You want to ensure the compartment is sealed properly. This is vital for your air purifier to function correctly. A good seal means the air is being drawn through the filter as intended. Give it a gentle tug to confirm it’s secure. You’ve just performed a vital maintenance task!
Step 6: Plug In and Power On
You’re almost done! Plug your Holmes air purifier back into the electrical outlet. Turn it on. You should notice a difference in how quietly and efficiently it’s running. Some models have a filter indicator light. You might need to reset this light according to your manual’s instructions. This lets the purifier know it has a fresh filter installed. We found that resetting the indicator is a common step many users overlook.
Tips for Maintaining Your Holmes Air Purifier Filter
Regular filter replacement is the cornerstone of good air purification. But there are a few extra things you can do to keep your Holmes air purifier running at its best between changes.
- Check your manual: Always refer to your specific Holmes model’s manual for detailed instructions and recommended replacement intervals.
- Note the date: Write the date you replaced the filter on the new filter itself or on a piece of tape near the compartment. This helps you track when it’s due for its next change.
- Pre-filters: Some Holmes models have washable pre-filters. Check if yours does and clean it regularly as per the manufacturer’s instructions. This can extend the life of your main HEPA filter.
- Monitor performance: Pay attention to how your air purifier is working. If you notice reduced airflow or strange noises, it might be time for a filter change sooner than expected.
- Wipe it down: Occasionally, when you change the filter, wipe down the exterior of your air purifier too. A clean unit is a happy unit!
When to Consider a Filter Change
Holmes typically recommends changing filters every 6 to 12 months, depending on usage and air quality. However, several signs might indicate it’s time for a swap sooner:
| Indicator | What It Means |
|---|---|
| Filter Indicator Light | Many models have a built-in light that illuminates when the filter needs changing. This is your most reliable cue. |
| Reduced Airflow | If you notice less air coming from the vents, the filter is likely clogged and restricting flow. |
| Increased Noise | A struggling motor trying to push air through a dirty filter can result in louder operation. |
| Visible Dirt/Discoloration | If the filter appears visibly dirty, dark, or matted with dust, it’s past its prime. |
| Lingering Odors | A clogged filter can’t trap odors effectively. If smells persist despite the purifier running, the filter might be saturated. |
We found that environmental factors, like living in a dusty area or having pets, can also necessitate more frequent changes. Many guidelines point to regular visual inspection as a smart practice (CDC). Staying on top of this simple task ensures your Holmes air purifier continues to deliver the clean air you expect.
Conclusion
You’ve successfully navigated the simple process of replacing your Holmes air purifier filter! Remember, this straightforward task under 10 minutes makes a real difference in your home’s air quality. By following these steps, you’ve ensured your purifier runs efficiently, trapping more dust and allergens. Keeping up with filter changes is key to breathing healthier air. So, your actionable next step? Make a note to check your filter’s condition regularly and schedule your next replacement soon. Your lungs will thank you!
Frequently Asked Questions
How often should I really replace my Holmes air purifier filter?
Holmes generally recommends changing your filter every 6 to 12 months. However, we found that factors like pets, dust levels, and how often you run the purifier can mean you need to replace it sooner. Always check your specific model’s manual for the best guidance.
What happens if I don’t replace my Holmes air purifier filter?
If you don’t replace your filter, it will become clogged with dust and debris. This means your air purifier won’t be able to pull air through it effectively. We’ve seen this lead to reduced airflow, louder operation, and ultimately, poorer air quality in your home.
Can I clean my Holmes air purifier filter instead of replacing it?
Some Holmes models have washable pre-filters that can be cleaned. However, the main HEPA filter is typically designed for single use and cannot be effectively cleaned. Trying to wash it might damage the filter media and make it less effective, so we advise against it.
My Holmes air purifier filter light isn’t on, but I think it’s dirty. What should I do?
While the filter indicator light is a great cue, it’s not the only sign. We recommend visually inspecting your filter periodically. If it looks visibly dirty, dark, or matted with dust, it’s likely time for a change even if the light hasn’t come on yet.
Is it okay to use a generic or off-brand filter for my Holmes air purifier?
We strongly advise against using generic filters. It’s crucial to use the correct, manufacturer-recommended filter for your specific Holmes model. Using the wrong filter might not fit properly or provide the necessary filtration, potentially impacting your purifier’s performance and even causing damage.