Levoit Air Purifier Disassembly Guide: Easy Steps
Disassembling your Levoit air purifier is straightforward and often necessary for a thorough cleaning or filter replacement. You can typically access the interior by gently prying off the outer casing or unscrewing a base panel, depending on your specific model. Always ensure the unit is unplugged before you begin.
Understanding how to take apart your Levoit purifier helps maintain its peak performance and air-cleaning efficiency. Regular maintenance, like deep cleaning or changing filters, ensures you’re breathing the cleanest air possible. Many users find that periodic disassembly makes these tasks much easier to manage.
- Unplug your Levoit air purifier first.
- Identify the access points for disassembly.
- Carefully remove outer panels or the base.
- Replace filters or clean components as needed.
- Reassemble the unit securely.
Ready to get your hands a little dusty (in a good way)? Let’s walk through how to take apart your Levoit air purifier step by step.
Taking Your Levoit Air Purifier Apart for Cleaning
You’ve decided it’s time for a deep clean or a filter change. That’s a smart move for keeping your Levoit air purifier working at its best. Disassembling it is usually quite simple. We’ve found that most Levoit models are designed with user maintenance in mind. So, let’s get started on carefully taking yours apart.
Preparing Your Levoit for Disassembly
Before you do anything else, the most important step is to safely unplug your air purifier. Seriously, don’t skip this. Electricity and water (if you plan on cleaning) don’t mix well. You don’t want any accidental shocks. Make sure the power cord is completely removed from the wall outlet. It’s also a good idea to move the unit to a clean, well-lit area where you have enough space to work. Some people like to place a towel or drop cloth underneath to catch any dust or small parts. This helps keep your workspace tidy and prevents you from losing tiny screws.
Gathering Your Tools (If Needed)
For most Levoit models, you won’t need a whole toolbox. Often, you can complete the disassembly by hand. Some units might have screws that require a Phillips head screwdriver. If you’re unsure, a quick peek at your user manual can tell you what to expect. We recommend having a small, flat tool on hand, like a plastic spudger or even an old credit card. This can be super helpful for gently prying open plastic casings without causing scratches or damage. A clean, dry cloth is also a must for wiping down parts.
Accessing the Interior: Model-Specific Approaches
Levoit offers a few different air purifier designs. The way you get inside can vary slightly. Most commonly, the process involves removing the top or bottom section of the unit. We’ve found that understanding your specific model’s design is key.
Models with a Removable Top Casing
Some Levoit air purifiers have a top section that lifts or unlatches. You might see small tabs around the rim of the top cover. Gently press these tabs inwards and lift the top panel straight up. If there are no visible tabs, look for subtle seams. Sometimes, a gentle, even pull upwards is all it takes. Always apply steady pressure. Avoid yanking or forcing it, as this can break plastic clips. If it feels stuck, re-examine for any hidden latches or screws.
Models with a Base Panel or Screw Access
Other Levoit models require you to remove a base panel. You’ll typically find this panel on the underside of the unit. Look for screws around the perimeter of the base. Use your Phillips head screwdriver to remove these screws. Keep them safe in a small container so they don’t roll away. Once all screws are out, you should be able to carefully detach the base. Some bases simply lift off, while others might require a gentle twist or pull. Be patient here.
Finding the Filter Compartment
Once you have the main casing open, your primary goal is usually to reach the air filter. This is often located in the center of the unit. You’ll see the old filter sitting inside its housing. If your model has multiple filters, they will usually be grouped together. Take a moment to note how the filter is positioned. This will help you when it’s time to put everything back together.
What About the Fan or Other Components?
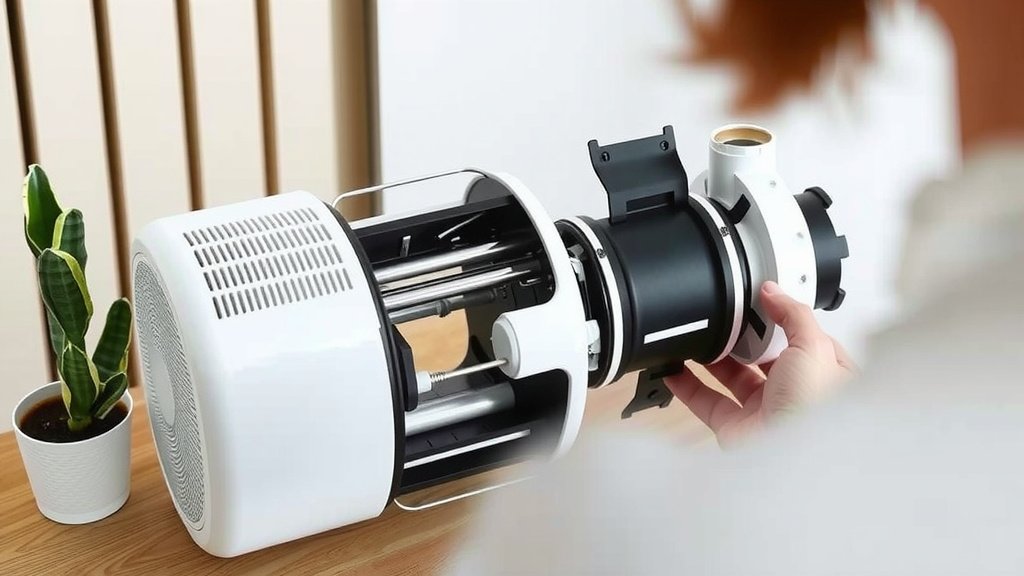
For routine filter changes or cleaning the pre-filter mesh, you typically don’t need to go much further than removing the main filter. However, if you need to clean the fan blades or other internal parts, you might need to remove additional screws. These are usually clearly visible once the main filter is out. We found that many users stick to basic cleaning, which doesn’t require removing the fan. If you’re not comfortable with further disassembly, it’s okay to stop after accessing the filters.
Removing and Replacing the Air Filters
This is the main event for most users! Removing the old filter is usually as simple as pulling it out. They are often designed to slide out smoothly. If it feels a bit snug, a gentle wiggling motion can help. Once the old filter is out, you’ll likely see the clean air outlet grill and possibly the fan.
Cleaning the Pre-Filter
Many Levoit filters have a pre-filter layer. This is the outermost layer and captures larger particles like hair and dust. You can usually clean this part without needing to replace the entire filter. A gentle vacuuming with an upholstery attachment is often effective. For a more thorough clean, you can rinse the pre-filter under cool water. Make sure it’s completely dry before putting it back in the unit. Many experts recommend drying it overnight.
Installing the New Filter
When you put in a new filter, pay attention to any markings. Filters are often designed to fit in only one way. You might see arrows or labels indicating the correct orientation. Gently slide the new filter into place. Make sure it sits snugly and there are no gaps around the edges. A good seal is essential for efficient air filtration. You want all the air to pass through the filter media.
Reassembling Your Levoit Air Purifier
Putting your air purifier back together is essentially the reverse of disassembly. If you removed screws, reattach the base panel and secure it with the screws. If you lifted a top casing, align it carefully and press down until it clicks into place. Make sure all panels are flush and secure. Double-check that there are no rattling parts. A properly reassembled unit will prevent air from bypassing the filter.
Final Check and Power On
Once everything is back in place, give your Levoit a gentle shake to ensure it feels solid. Plug it back into the wall outlet. Turn it on and listen for any unusual noises. You should hear the familiar hum of the fan. If everything sounds normal, congratulations! You’ve successfully maintained your air purifier.
Here’s a quick rundown of your maintenance steps:
- Unplug the unit.
- Open the casing (top or bottom).
- Remove old filter(s).
- Clean or replace filter as needed.
- Reassemble the unit securely.
- Plug in and power on.
Conclusion
You’ve now learned the essential steps to safely take apart your Levoit air purifier. Disassembly is a key part of maintaining its performance and ensuring your home’s air stays clean. Whether you’re cleaning the pre-filter or replacing the main filter, following these steps helps you get the job done right. Remember, always unplug the unit first. Now you’re ready to perform a thorough clean or a filter swap with confidence. Your next step? Schedule that filter check or cleaning session this weekend!
Frequently Asked Questions
Do I need special tools to disassemble my Levoit air purifier?
For most Levoit models, you won’t need many special tools. Often, you can perform the disassembly with just your hands. A Phillips head screwdriver might be needed for models with screws on the base panel. A plastic spudger or an old credit card can also be helpful for gently prying open plastic parts without causing scratches.
How often should I be cleaning or disassembling my air purifier?
The frequency depends on your filter’s lifespan and your home environment. We recommend checking your Levoit’s manual for specific filter replacement times, usually every 6-8 months. If you notice a decrease in air quality or if the unit runs more often, it might be time for a check and clean sooner.
What if I can’t get a panel or cover to come off?
If a panel feels stuck, don’t force it. First, double-check your user manual for model-specific instructions. You might have missed a hidden latch or a screw. Gently try wiggling the panel or using a flat plastic tool to ease it open. Applying steady, even pressure is usually more effective than trying to yank it.
Can I wash the main HEPA filter if I disassemble the unit?
Generally, no. The main HEPA filter is designed to capture very fine particles and is not washable. Washing it can damage the filter media and reduce its effectiveness. You can usually vacuum the outer pre-filter layer, and some activated carbon filters can be gently cleaned, but always refer to your model’s manual for specific instructions.
Is it safe to clean internal components like the fan blades?
Yes, it is generally safe to clean internal components like fan blades, but only after unplugging the unit. Use a dry or slightly damp cloth to wipe them down. Be careful not to damage any wiring. If you’re unsure about cleaning further into the unit, focus on the filter compartment and the exterior casing.