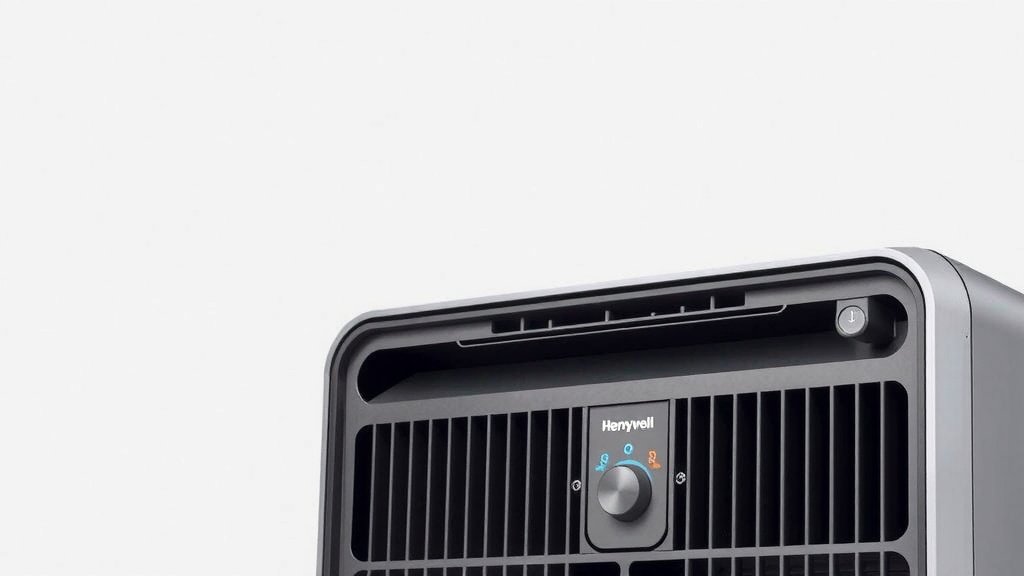
Honeywell Air Purifier Disassembly: Step-by-Step Guide
Disassembling your Honeywell air purifier is surprisingly straightforward. The primary goal is usually to access the filters for cleaning or replacement. Most models allow you to easily remove the outer casing and then the filter compartments with simple latches or clasps. You typically won’t need any special tools for this process.
Taking apart your Honeywell air purifier helps you maintain optimal air quality. Regular filter changes are essential for peak performance. This guide will help you understand the basic steps involved so you can get to those filters quickly and efficiently. It’s a quick maintenance task that makes a big difference.
- Unplug your air purifier first.
- Locate latches or buttons on the casing.
- Gently lift or slide off the outer cover.
- Access the filter compartment.
- Remove filters for cleaning or replacement.
Let’s walk through exactly how to get your Honeywell air purifier apart, step by step, so you can get it breathing clean air again.
Getting Your Honeywell Air Purifier Ready for Maintenance
So, you need to get inside your Honeywell air purifier? Maybe it’s time for a filter change, or perhaps a little dusting is in order. Whatever the reason, taking apart most Honeywell models is designed to be a pretty simple task. You won’t need a toolbox full of gadgets. Think of it like opening a sturdy box with a few smart latches.
The main reason most people need to disassemble their air purifier is to **access the filters**. These are the workhorses of your machine, trapping all those dust bunnies and allergens. Keeping them clean or replacing them regularly is key to making sure your purifier is actually doing its job. We’ll guide you through the common ways these units come apart so you can get to those filters in no time.
Safety First: Always Unplug!
Before you touch anything, the absolute first step is to **unplug your Honeywell air purifier**. Seriously, don’t skip this! It’s like taking the batteries out of a toy before trying to fix it. Electricity and water don’t mix, and while you’re not likely to be using water here, it’s a good habit to get into. Power off means power off.
This prevents any accidental startups while you’re working. It’s also a good idea to unplug it from the wall outlet. This ensures no power is going to the unit at all. Safety is always the number one priority when you’re dealing with any electronic appliance. We want you to be safe while you’re making your air cleaner!
Locating the Access Points
Honeywell designs its air purifiers so that the parts you need to reach, primarily the filters, are easy to get to. For most models, this means the outer casing can be removed. You’ll typically find the opening mechanism on the back or the sides of the unit. Look for **latches, clips, or sometimes buttons**.
These are usually clearly visible and designed for easy manipulation. Some models might have a rear panel that slides up or down. Others will have latches on the sides that you need to press or lift. Take a moment to **circle your purifier and inspect it**. Where does it look like it might open? Often, the seams where the panels meet are your best clue.
Understanding Different Latch Types
The type of latch can vary slightly between Honeywell models. You might encounter **simple push-button latches** that you press inward. Then there are the flip-down or slide-up latches that require a bit of a maneuver. Some units might even use a combination of clips that need to be gently pulled apart.
The key here is to be gentle. These latches are usually made of plastic. Yanking too hard could snap them. If something feels stuck, double-check that you’ve released all the latches. It’s like opening a puzzle box; each piece has its place and way of moving. Many users find that a little wiggling is all that’s needed after the latches are disengaged.
Step-by-Step Disassembly for Filter Access
Now that you know where to look, let’s get into the actual process of taking your Honeywell air purifier apart. Remember, the goal is usually to get to the filters, and this process makes that straightforward. We’ll break it down so it’s easy to follow.
Removing the Outer Casing
Once you’ve located the latches or clips, it’s time to remove the main housing. Depending on your model, this might involve gently pulling the front or back panel away from the unit. For many Honeywell air purifiers, the **main cover lifts straight up** or slides off once the latches are open.
Position yourself so you have a good grip. You might need to use two hands. One hand can stabilize the unit, while the other works on releasing the latches. Once they’re undone, gently pull the panel away. It should come off with minimal force. If it feels like you’re forcing it, pause and re-examine the latches and seams. You might have missed one!
Accessing the Filter Compartment
With the outer casing removed, you should now see the **filter compartment**. This is where your air purifier’s filters are housed. In most Honeywell designs, the filters are arranged in a way that makes them easy to slide out.
You might see one large filter, or multiple smaller ones. Some models have a pre-filter layer that’s accessible first. Take note of how the filters are positioned. This will help you put everything back together correctly later. The placement is usually quite intuitive.
Removing and Replacing Filters
Now comes the part you’ve been waiting for: **removing the old filters**. Typically, you can simply pull them out of their slots. Some filters might have a small tab or handle to help with this. Others you’ll just grasp and slide out.
When you remove the filters, you might be surprised by how much dust and grime they’ve collected. This is a good sign they were doing their job! Place the used filters aside, ready for disposal or cleaning if they are washable pre-filters. Then, take your new filters and **slide them into the empty slots**. Make sure they are oriented correctly – often there’s an arrow indicating airflow direction. Check your manual if you’re unsure. Many experts recommend replacing HEPA filters every 6-12 months, depending on usage and air quality (American Lung Association).
Reassembly: Putting It Back Together
Reassembly is basically the reverse of disassembly. Carefully place the filters back in their correct positions. Then, **realign the outer casing** with the base of the unit. Make sure any tabs or edges line up perfectly. Gently press the casing back into place until you hear or feel the latches click shut.
Give the casing a gentle tug to ensure it’s secure. You don’t want any loose panels that could vibrate or allow air to bypass the filters. If your model had a back panel that slid off, slide it back on until it’s fully seated. Your air purifier should look and feel just like it did before you started.
What If My Model Is Different?
While we’ve covered the most common ways Honeywell air purifiers come apart, some models might have slight variations. If you have a particularly old or specialized unit, the design could be a bit different. In these cases, **referring to your owner’s manual** is your best bet. The manual will have model-specific instructions and diagrams.
If you can’t find your manual, don’t worry! A quick search online for your specific Honeywell model number plus “manual” or “disassemble” will likely bring up a digital copy. Honeywell’s website also has a support section where you can often find manuals. It’s always better to have the official instructions if you can get them. We want to make sure you get it right!
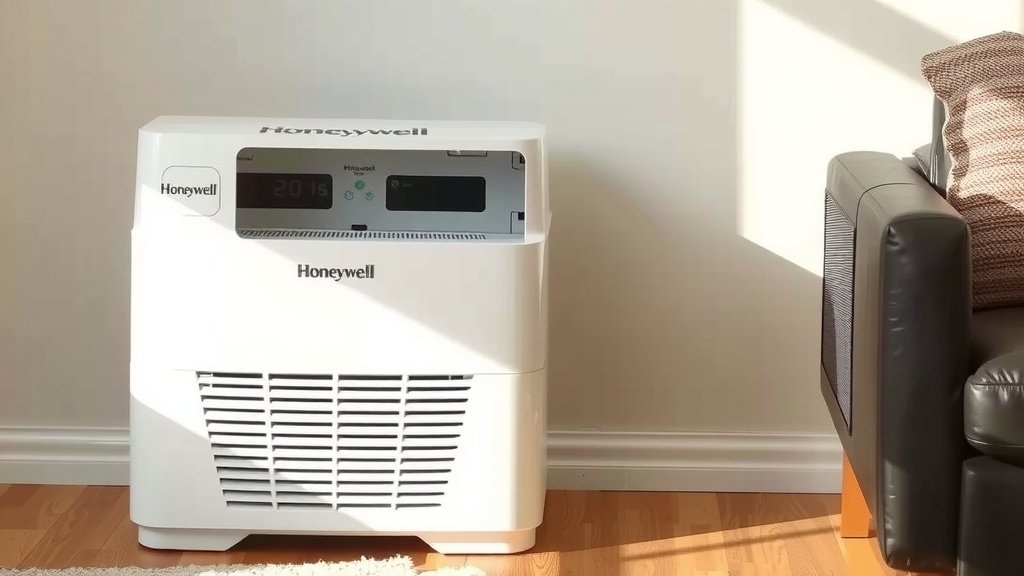
Quick Checklist for Your Air Purifier Maintenance
Here’s a simple checklist to keep handy for your next air purifier tune-up:
- Unplug the unit from the wall outlet before starting.
- Locate and **disengage all latches** or clips on the casing.
- Gently **remove the outer cover**.
- Carefully **remove old filters**.
- Insert **new filters** in the correct orientation.
- Securely **reattach the outer casing** until latches click.
Conclusion
You’ve now learned the simple steps to disassemble your Honeywell air purifier, mainly to get to those essential filters. Remember to always start by unplugging the unit for your safety. Locating and releasing the latches is usually straightforward, and the outer casing often lifts or slides off with ease. Replacing your filters regularly will keep your air purifier working its best. Now that you know how, set a reminder for your next filter change. Keeping your home’s air clean is a manageable task you can handle yourself!
Frequently Asked Questions
Do I need special tools to take apart my Honeywell air purifier?
No, you typically do not need any special tools. Most Honeywell air purifiers are designed for easy access to the filters. You’ll usually only need your hands to find and release latches or clips on the casing.
How often should I replace the filters in my Honeywell air purifier?
Filter replacement frequency varies based on usage and your home’s air quality, but generally, HEPA filters should be replaced every 6 to 12 months. Check your owner’s manual for the specific recommendation for your model.
What if I can’t find the latches to open my air purifier?
If you’re having trouble locating the latches, take a moment to carefully inspect the seams of your air purifier. Look along the sides and back for buttons, clips, or panels that seem designed to open. Your owner’s manual will also have specific diagrams for your model.
Can I clean the filters instead of replacing them?
Some models have washable pre-filters that can be cleaned. However, the main HEPA filters are typically not washable and should be replaced when they are dirty. Always check your manual to confirm if your filters are reusable.
What should I do if a latch breaks while I’m disassembling it?
If a latch breaks, handle the casing very gently. You may need to secure it with tape temporarily if it feels loose. Contact Honeywell customer support or check online for replacement parts or advice specific to your model.
![What Is The Best Air Purifiers for the Home [In 2026]](https://homeunderstandable.com/wp-content/uploads/2025/06/best-air-purifiers-for-the-home-clean-air-solutions-for-large-rooms-1-768x512.jpg)