Clear Water Pipes with Air Compressor: A Step-by-Step Guide
Yes, you can effectively drain water pipes using an air compressor. This method uses pressurized air to push water out of your plumbing. It’s a great way to winterize your pipes and prevent freezing damage.
Using an air compressor is often quicker than gravity draining. It can reach areas that might otherwise hold residual water. Many homeowners find this a reliable DIY solution for pipe maintenance. It helps avoid costly burst pipes in colder weather.
- Drain pipes with an air compressor by forcing water out with air pressure.
- It’s an efficient method for winterizing your home’s plumbing.
- This can prevent frozen pipes and potential water damage.
- Ensure you use the correct pressure settings to avoid harming your pipes.
- Always disconnect the compressor after use and verify pipes are clear.
Below, we’ll guide you through the simple steps of how to drain your water pipes using an air compressor safely and effectively.
Draining Your Home’s Water Pipes With an Air Compressor
Yes, you can effectively drain water pipes using an air compressor. This method uses pressurized air to push water out of your plumbing. It’s a great way to winterize your pipes and prevent freezing damage. Using an air compressor is often quicker than gravity draining. It can reach areas that might otherwise hold residual water. Many homeowners find this a reliable DIY solution for pipe maintenance. It helps avoid costly burst pipes in colder weather.
Why Use an Air Compressor for Draining Pipes?
When you need to get water out of your pipes, gravity draining is the first thing that comes to mind. You open the lowest faucet and let it flow. While this works, it’s not always the most efficient or complete method. You might still have water sitting in your pipes. This is where an air compressor can be a real hero.
An air compressor uses pressurized air to actively push the water out. Think of it like blowing up a balloon – you’re forcing something into a space. In this case, you’re forcing air into the pipe system to force water out. This is especially helpful before the freezing winter months. Frozen pipes can burst, causing major water damage and expensive repairs. Draining them thoroughly is key, and an air compressor can help you achieve that goal.
Benefits Over Traditional Draining
We found that using an air compressor offers several advantages. For starters, it’s much faster. Gravity can be slow, especially if you have a complex plumbing system. The air compressor’s force gets the job done quicker.
It also provides a more thorough drain. Sometimes, small pockets of water can get trapped in low spots or bends in pipes. The consistent air pressure can dislodge and push out this residual water. This is vital for preventing ice buildup. Many plumbing guides recommend this for areas prone to hard freezes (American Society of Home Inspectors).
Finally, it’s a DIY-friendly approach. With the right setup and caution, you can do this yourself without needing a plumber. This can save you money and give you peace of mind.
Getting Your Air Compressor Ready
Before you connect that compressor, there are a few things you need to do. Safety and proper setup are super important here. You don’t want to damage your pipes or create a new problem.
Choosing the Right Air Compressor
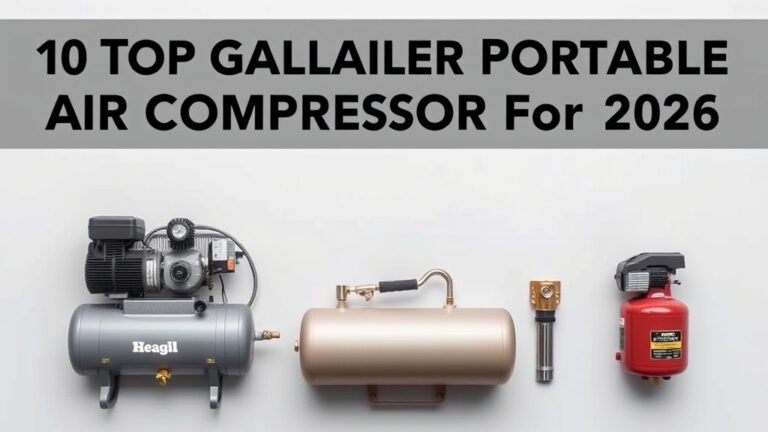
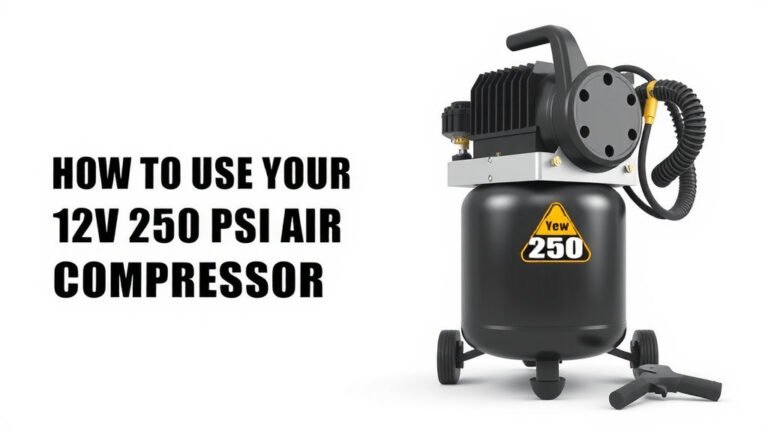
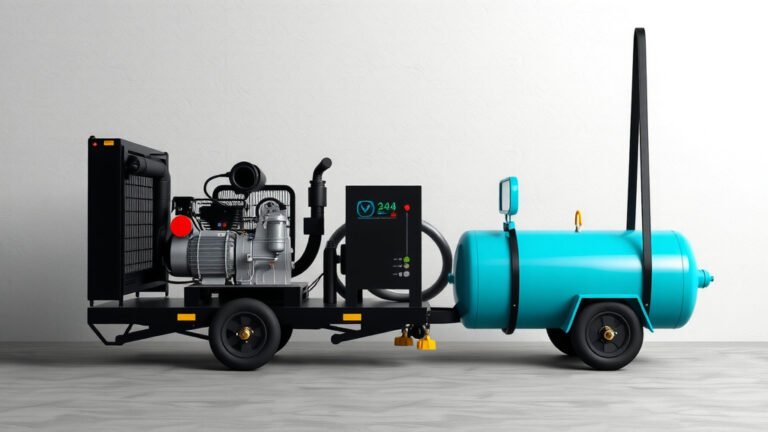
You don’t need a massive, industrial-grade compressor. Most standard homeowner air compressors will do the trick. Look for one with a decent tank size (around 20-30 gallons is usually sufficient) and adjustable pressure settings. The ability to control the air pressure is key, as we’ll discuss later.
Essential Tools and Accessories
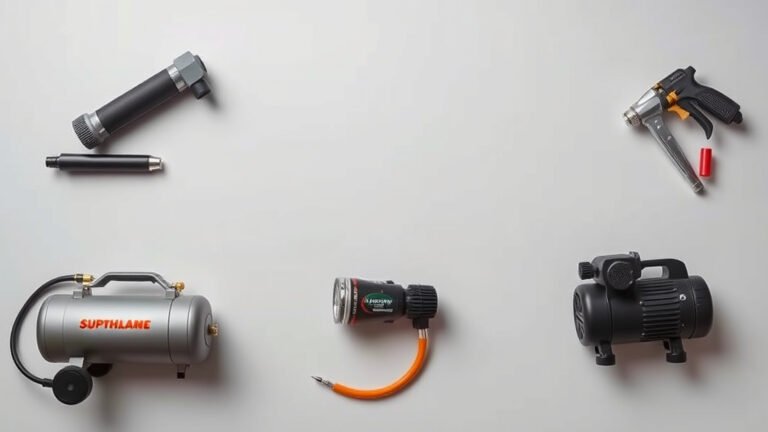
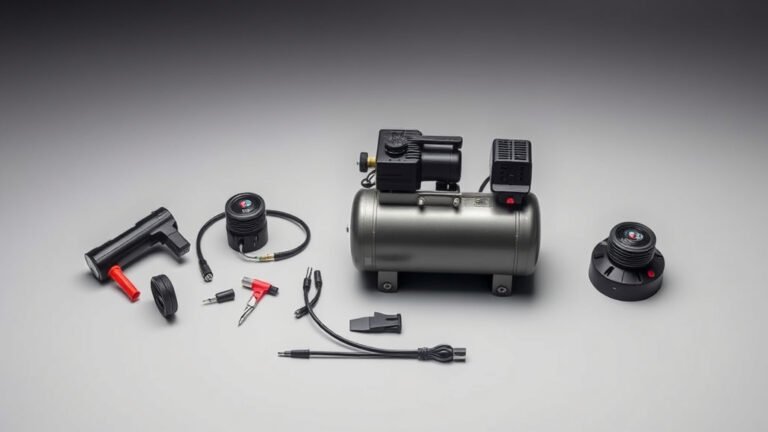
You’ll need a few things to make this work smoothly. First, a good quality air hose is a must. Make sure it’s long enough to reach where you need it without stretching. You’ll also need a way to connect the air hose to your faucet or pipe. This often involves an adapter. A ball valve is also highly recommended. It gives you better control over the airflow and a quick way to shut it off if needed.
Here’s a quick rundown of what you should have ready:
- Air compressor (with adjustable pressure)
- Air hose
- Faucet adapter or pipe fitting
- Ball valve (recommended)
- Wrenches (for fittings)
- Towels or rags
The Step-by-Step Draining Process
Now, let’s get down to business. We’ve researched the most common and effective ways to use your air compressor to drain pipes. Follow these steps carefully for the best results.
Step 1: Shut Off Water Supply
This is the absolute first step. Find your home’s main water shut-off valve. It’s usually located where the water line enters your house, often in the basement, garage, or a utility closet. Turn it completely off. You don’t want any new water entering the system while you’re working. Test a faucet to make sure the water flow has stopped. Some experts advise opening a faucet to relieve any residual pressure before proceeding (Plumbing & Heating Magazine).
Step 2: Open All Faucets and Drains
Go through your house and open every single faucet. Don’t forget those outside spigots, showerheads, and even your washing machine hoses. Open them all to the fullest extent. Also, open the lowest drain in your house, like a basement sink or floor drain. This gives the water and air a place to escape.
Step 3: Connect the Air Compressor
This is where you’ll connect your compressor. The most common method is to connect to a removed faucet aerator. Unscrew the aerator from one of your faucets. Attach your air hose adapter to the faucet threads. If you’re connecting to a specific pipe end (like before winterizing an outdoor faucet), use the appropriate fitting. Ensure a tight, secure connection to prevent air leaks. Leaks will reduce the pressure and make the process much less effective.
Step 4: Set the Right Air Pressure
This is critical. You need enough pressure to push the water, but not so much that you damage your pipes. Most household pipes can handle around 30-50 PSI. Many plumbing codes suggest not exceeding 80 PSI for any extended period (International Residential Code).
Start with a lower setting, say 30 PSI. Gradually increase it if you’re not seeing results, but never go above 50 PSI for standard PEX or copper pipes. If you have older galvanized pipes, be even more cautious and stay on the lower end. You can usually adjust the pressure directly on your compressor’s regulator. It’s better to be safe than sorry here.
Step 5: Introduce Air Pressure Gradually
Turn on your air compressor. Let it build up some pressure. Once you have a stable pressure, slowly open the ball valve (if you’re using one) or let the air flow from the compressor. You should hear the air pushing through the pipes and water starting to come out of the open faucets and drains. You might hear some sputtering as air and water mix. This is normal.
Work your way through the house, section by section if needed. You can isolate sections of plumbing by closing internal shut-off valves. This allows you to focus the air pressure more effectively. For example, drain the hot water system, then the cold. Many find it helpful to have someone help by opening and closing valves.
Step 6: Verify Pipes Are Empty
Continue this process until you hear only air coming out of the faucets and drains, with no more water sputtering. This indicates that the bulk of the water has been expelled. Even then, a small amount might remain, but it should be minimal. You’ve now successfully drained your pipes.
Step 7: Disconnect and Finish Up
Once you’re satisfied that the pipes are clear, turn off the air compressor. Disconnect the air hose from the faucet or pipe. Reinstall any removed faucet aerators or fittings. Make sure all faucets are left in the open position. This helps prevent pressure buildup if any minor water pockets remain. You can then turn your main water supply back on slowly. Check for any leaks.
Important Safety Considerations and Tips
We can’t stress this enough: safety first. Using an air compressor involves pressurized air, which can be dangerous if mishandled. Always follow the manufacturer’s instructions for your air compressor and any fittings you use.
Consider the type of pipes you have. Older, brittle pipes might not withstand as much pressure. If you’re unsure about your pipe material or condition, it’s always best to consult a professional plumber. We found that general guidelines suggest copper and PEX pipes are quite durable, but PVC can be more susceptible to high pressure, especially in freezing temperatures (Consumer Reports).
Here’s a quick checklist for your safety:
- Always wear safety glasses.
- Never exceed recommended PSI for your pipes.
- Ensure all connections are secure and leak-free.
- Turn off and unplug the compressor when not in use.
- If you hear any concerning noises (like creaking pipes), stop immediately.
When to Call a Professional
While draining pipes with an air compressor is a doable DIY project, there are times when you should call in the experts. If you have an older home with unknown plumbing materials, or if you’re uncomfortable at any step, it’s best to get professional help. A plumber has the tools and experience to do the job safely and effectively without damaging your system.
Conclusion
You’ve learned how to effectively drain your home’s water pipes using an air compressor. This method offers a quicker and more thorough drain than gravity alone, which is essential for preventing costly freeze damage. Remember to always prioritize safety by using the correct pressure settings and ensuring secure connections. With a little preparation and careful execution, you can confidently winterize your plumbing system. Now, go ahead and take the next step to protect your pipes before the cold weather hits!
Frequently Asked Questions
How long does it typically take to drain pipes with an air compressor?
The time can vary depending on your system’s size and complexity. Generally, it takes between 15 to 45 minutes to push most of the water out. You’ll know it’s done when you only hear air, not sputtering water, from the open faucets.
Can I use my shop vac to blow air into the pipes instead of an air compressor?
While a shop vac can move air, it typically doesn’t generate enough consistent pressure to effectively push water out of an entire plumbing system. An air compressor is specifically designed for this type of pressurized application.
What if I don’t have a removable faucet aerator?
If your faucet aerator isn’t removable, you’ll need to find a different connection point. Some people adapt a fitting directly to the pipe end, especially when winterizing outdoor spigots. Ensure you have the correct adapters for a secure, leak-proof seal.
How do I know if I’ve removed all the water?
You’ve likely removed the majority of the water when you hear only a consistent stream of air coming from all open faucets and drains. While a tiny residual amount might remain, this method significantly reduces the risk of freezing.
Can I use this method to drain my hot water heater?
This method is generally for draining the pipes themselves. Draining a hot water heater requires a different process, usually involving opening a drain valve at the bottom of the tank and shutting off the power or gas supply to it.