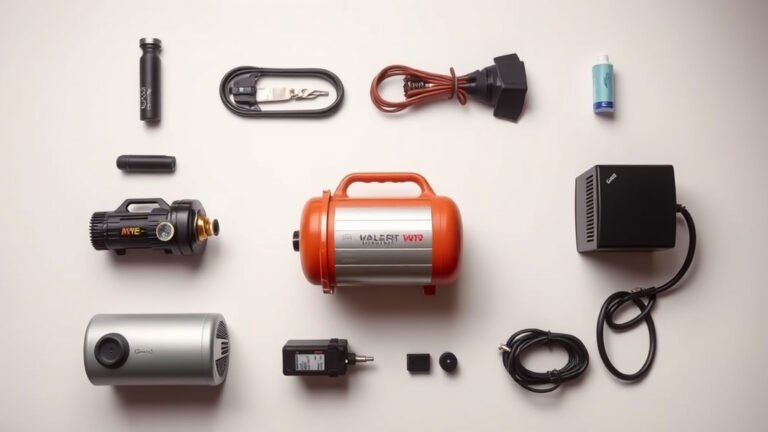
How to Inflate a Basketball with an Air Compressor
Yes, you can absolutely inflate a basketball with an air compressor. It’s a quick and easy method for getting your ball game-ready. Just be sure to use the right needle and a pressure gauge to avoid over-inflation.
Using an air compressor is far more efficient than a hand pump. You’ll save yourself a lot of sweat and time. Many people worry about damaging the ball, but with careful attention to pressure, it’s perfectly safe and a smart choice for ball maintenance.
- Always use a proper inflation needle.
- Check your basketball’s recommended PSI.
- Use your air compressor’s pressure regulator.
- Don’t over-inflate your ball!
So, if your basketball is looking a little deflated, let’s walk through exactly how to bring it back to life with an air compressor.
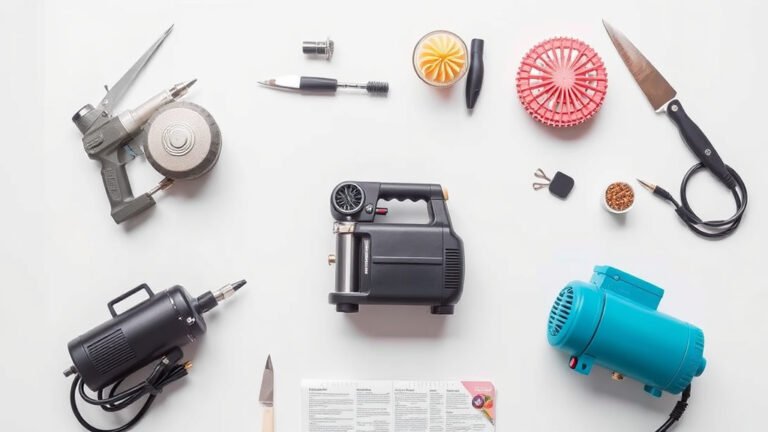
## Using Your Air Compressor for a Perfectly Inflated Basketball Yes, you can absolutely use an air compressor to inflate your basketball! It’s a **fast and efficient** way to get your ball ready for play. You just need a few simple accessories and a little know-how to make sure you don’t over-inflate it. Think of it like this: your compressor is a powerful tool, and we’ll show you how to use it with the finesse of a pro player. ### What You’ll Need to Get Started Before you plug in your air compressor, let’s gather your gear. You wouldn’t try to change a tire with a spoon, right? The same applies here. Having the right tools makes the job **much easier and safer**.The Essential Inflation Needle
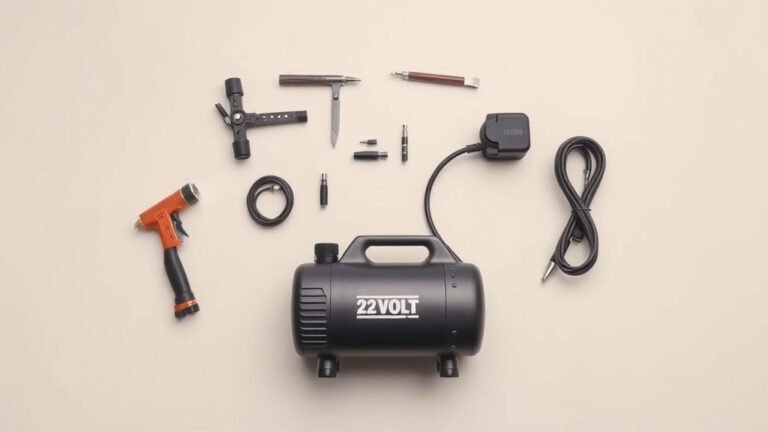
First and foremost, you need a proper **basketball inflation needle**. These are small, metal attachments that screw onto the end of your air hose. They are specifically designed to fit into the valve stem of a basketball. Look for needles made of brass or stainless steel, as they tend to be more durable. A good needle should be **straight and smooth** to prevent damaging the valve.Your Air Compressor Setup
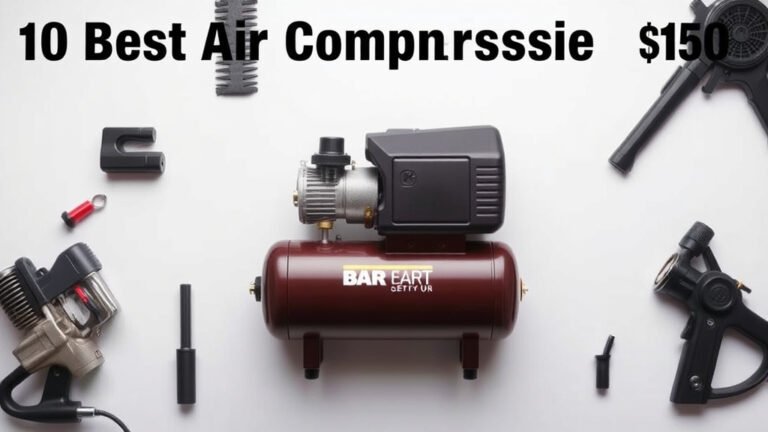
Your air compressor itself needs a few things. Most compressors come with a standard hose. You’ll need an adapter to connect your inflation needle to this hose. Many compressors have a universal quick-connect fitting for hoses, so you’ll just need a compatible adapter that fits your needle. The most important part of your compressor setup for this task is a **pressure regulator**. This device allows you to control and set the exact air pressure coming out of the compressor. It’s your **best friend** in preventing over-inflation.A Reliable Pressure Gauge
While many air compressors have built-in gauges, they aren’t always the most accurate for precise ball inflation. It’s a wise idea to have a separate, **reliable tire pressure gauge** or a dedicated ball pressure gauge. This will be your final check to ensure your basketball is perfectly inflated. You can find these at sporting goods stores or auto parts shops.Checking Your Basketball’s PSI
Every basketball has a recommended inflation pressure, usually printed on the ball itself, often near the valve stem. It’s typically listed as “PSI” (pounds per square inch). For most standard basketballs, this is between **7 and 9 PSI**. It’s vital to know this number before you start inflating. You can also find this information on the manufacturer’s website if it’s worn off your ball. For example, the official NBA rulebook specifies that a basketball should be inflated to a pressure between 7.5 and 8.5 PSI.Step-by-Step: Inflating Your Basketball
Now that you have everything ready, let’s get that ball pumped up! We’ll go through this slowly so you can feel confident at every step.Step 1: Prepare the Inflation Needle and Hose
Begin by screwing your inflation needle firmly into the adapter that connects to your air compressor hose. Make sure it’s **tightly secured**. You don’t want any air escaping at this stage. If your compressor hose has a quick-connect fitting, attach the adapter to it now.Step 2: Set Your Air Compressor’s Pressure Regulator
This is a critical step. Before you even turn on the compressor, locate the pressure regulator on your compressor unit. You’ll want to **set it to a pressure slightly higher** than your target PSI. For example, if your ball needs 8 PSI, you might set the regulator to 10 or 12 PSI. This gives you a small buffer. We’ll use the separate gauge to confirm the final pressure. Some compressors have a dial, while others have a knob you turn and then push down to lock. Consult your compressor’s manual if you’re unsure.Step 3: Slightly Moisten the Needle
To make insertion easier and protect the ball’s valve, lightly **moisten the tip of the inflation needle**. A little bit of water or even saliva works well. This acts as a lubricant. You don’t need to soak it, just a quick swipe is enough.Step 4: Insert the Needle into the Basketball Valve
Carefully and gently insert the moistened needle into the valve stem of the basketball. You should feel a slight resistance, and then it should slide in. **Avoid forcing it**, as this can damage the valve. Once inserted, ensure it’s in straight.Step 5: Begin Inflation with the Compressor
Now you can turn on your air compressor. The air will start flowing through the hose and into the ball. Keep a close eye on the pressure gauge on your compressor. Listen to the sound of the compressor – it will often change pitch as the ball gains pressure.Step 6: Monitor Pressure Closely and Stop Regularly
This is where you need to be attentive. Air compressors can fill a ball very quickly. It’s best to **inflate in short bursts**. Give it a few seconds of air, then stop the compressor.Step 7: Check Pressure with Your Gauge
After each short burst of inflation, remove the air hose. Use your separate pressure gauge to check the PSI of the basketball. Press the gauge firmly against the valve to get an accurate reading. **Do not rely solely on the compressor’s gauge** for the final PSI reading; they can sometimes be inaccurate.Step 8: Repeat Until Target PSI is Reached
Continue the cycle of short inflation bursts, followed by checking with your gauge, until you reach the recommended PSI for your basketball. Remember, it’s always better to be slightly under-inflated than over-inflated. You can always add a little more air. Over-inflating can lead to a ball that is too hard, less bouncy, and potentially even damaged.Step 9: Remove Needle and Final Check
Once you’ve hit the desired pressure, carefully remove the inflation needle from the basketball. You might hear a tiny hiss of air, which is normal. Give the ball a quick bounce to feel its responsiveness. It should feel firm but not rock-hard. A properly inflated ball will rebound about 49-57 inches when dropped from a height of 6 feet (as per FIBA regulations).Common Mistakes to Avoid
Even with a helpful guide, sometimes we all make little slip-ups. Here are a few common pitfalls to watch out for when using an air compressor for your basketball.Over-Inflating Your Ball
This is the **number one mistake**. When a ball is too hard, it loses its natural bounce and can even affect the seams or outer material. Always err on the side of caution. If you’re unsure, check the pressure more frequently. Remember, a little less air is often better than too much.Using the Wrong Needle or Not Lubricating
A bent or damaged needle can easily tear the valve. And if you don’t moisten the needle, you’re making it harder on yourself and potentially stressing the valve. A few drops of water prevent a lot of potential headaches.Not Using a Pressure Regulator or Gauge
Skipping these tools is like driving without a speedometer. You have no idea how fast you’re going (or how much pressure you’re adding). A regulator ensures consistency, and a gauge provides accuracy. Here’s a quick checklist to keep handy: * Gather all your tools before you start. * Moisten the inflation needle before inserting. * Set your compressor’s regulator to a safe level. * Inflate in short bursts, checking often. * Use a separate pressure gauge for accuracy. * Stop at the recommended PSI for your ball.Conclusion
You’ve learned that using an air compressor for your basketball is a smart and speedy way to get back on the court. By grabbing the right needle, understanding your ball’s PSI, and mastering your compressor’s regulator and gauge, you’ve got this! Remember, gentle bursts and frequent checks are your best friends in this process. Don’t let a flat ball keep you from playing. Go ahead and grab your compressor, and get that basketball perfectly inflated for your next game!
Frequently Asked Questions
Can I use any inflation needle with my air compressor?
You should use a dedicated basketball inflation needle designed for sports balls. These needles are made to fit basketball valves without causing damage. Avoid using sharp or bent needles, as they can easily tear the valve or the ball itself.
What’s the biggest risk when inflating a basketball with an air compressor?
The biggest risk is over-inflation. Air compressors can add air very quickly, and too much pressure can make your ball too hard, reduce its bounce, and even damage its internal structure or seams. Always check the pressure frequently.
How often should I check the basketball’s pressure while inflating?
It’s best to check the pressure after every short burst of inflation. Air compressors are powerful, and balls can reach their target PSI faster than you might expect. This frequent checking prevents over-inflation.
Is it okay to use the gauge on my air compressor to check the ball’s PSI?
While your compressor’s gauge gives you an idea, it’s not always the most accurate for small PSI ranges like basketballs. It’s highly recommended to use a separate, reliable tire pressure gauge or a ball-specific gauge for the most precise reading.
What happens if I accidentally over-inflate my basketball?
If you over-inflate your basketball, it will feel very hard and won’t bounce correctly. In severe cases, the excess pressure can damage the seams or even cause the ball to split. If this happens, you’ll need to release some air and re-inflate to the correct PSI.