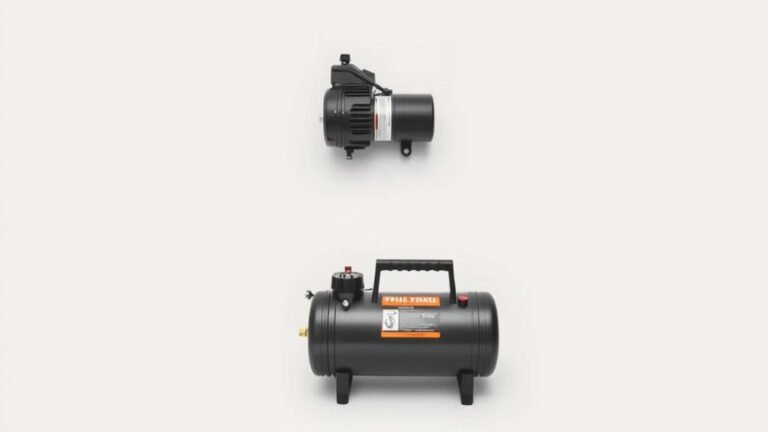
Inflate Your Float Fast with an Air Compressor
Yes, you can absolutely inflate a float with an air compressor, and it’s often much faster and easier than manual methods. Just be sure to use the right adapter and don’t overinflate, or your fun could go flat fast!
Using an air compressor can save you a lot of lung power on a hot day. We found that finding the correct nozzle is key to a good seal. It’s a really practical tool for getting your pool party ready in no time.
- Air compressors are a quick way to inflate floats.
- Always use the right nozzle adapter.
- Don’t overinflate; it can damage the float.
- Check the float’s maximum pressure if listed.
Let’s walk through exactly how to do this safely and effectively so you can get to enjoying the water.
Using an Air Compressor to Inflate Your Float
You’re probably wondering if you can just hook up that handy air compressor to your inflatable float. The short answer is yes, you can! It’s a much faster way to get your float ready for the water than blowing it up yourself. Think of it as a shortcut to fun. We’ve found this method works well for most standard pool floats. It really cuts down on the effort needed, leaving you more energy for swimming.
Choosing the Right Air Compressor and Accessories
Not all air compressors are created equal, and neither are their attachments. You’ll want to make sure your compressor is suitable for the job. Many home-use compressors are perfect for inflating things like tires and floats. The key is having the correct nozzle adapter. This little piece is what connects your compressor’s hose to the float’s valve. Without the right one, you won’t get a good seal, and air will just escape.
Understanding Air Compressor Types
There are different kinds of air compressors. You might have a large shop compressor, or a smaller, more portable one. For inflating floats, a portable air compressor is often the most convenient. These are designed for quick inflation tasks. They usually come with a few different nozzle attachments. Even the smallest ones can get the job done efficiently.
Finding the Perfect Nozzle Adapter
This is where many people run into a bit of a snag. Float valves vary. Some look like a standard tire valve, while others are a bit more specialized. You’ll want to inspect your float’s valve first. If it resembles a Schrader valve (the kind on car tires), a standard tire inflator adapter will likely work. If it’s a different style, you might need a universal inflatable adapter. Many hardware stores and pool supply shops sell these. We found that a multi-tip adapter set is a smart investment for a variety of inflatable items.
The Inflation Process: Step-by-Step
Once you have your compressor and the right adapter, the actual inflation is pretty straightforward. The main goal is to get air into the float without letting it escape. Let’s break it down into simple steps.
Step 1: Prepare Your Float and Compressor
First, lay your float out on a clean, flat surface. This helps you see the valve clearly and prevents accidental punctures. Make sure your air compressor is plugged in and ready to go. Ensure the compressor’s tank (if it has one) has some initial air pressure, or that it’s ready to power up. It’s wise to have the compressor slightly distanced from the float so the noise isn’t too bothersome.
Step 2: Attach the Nozzle Securely
Take your chosen nozzle adapter and firmly attach it to the end of your air compressor’s hose. Now, carefully insert the other end of the adapter into the float’s valve. You want a snug fit. If it feels loose, try a different adapter or an O-ring if one is available. A good seal is absolutely essential here.
Step 3: Inflate Slowly and Monitor
Turn on your air compressor. Start with a low-pressure setting if your compressor has one, or simply release air in short bursts. Keep a close eye on the float as it begins to fill. You’ll see it start to take shape. Many experts recommend inflating until the float is firm but still has a little give. It shouldn’t feel rock-hard or stretched. You’re aiming for a state where it’s supportive for lounging, not rigid.
Step 4: Check for Leaks and Adjust
Once the float looks mostly inflated, turn off the compressor. Listen for any hissing sounds. If you hear air escaping, gently remove the nozzle and re-seat it, or try a different adapter. You might need to add a little more air. A common mistake is over-inflation. Most inflatable manufacturers suggest avoiding this, as it can put too much stress on the seams. We found that checking the float’s firmness by gently pressing on it is a good indicator.
Avoiding Over-Inflation: A Critical Step
This is perhaps the most important part of using an air compressor for your float. Over-inflation can lead to several problems. It can make the float too stiff, which isn’t comfortable for relaxing. More importantly, it can damage the seams. Think of it like a balloon; if you blow it up too much, it’s more likely to pop. Many guidelines for inflatable products advise against over-inflation (Consumer Product Safety Commission).
Understanding Maximum Pressure
Some higher-end inflatable products might actually list a maximum pressure. This is rare for standard pool floats, but if yours does, make sure you stay below that limit. For most common floats, the goal is simply to get them firm and buoyant. We found that if a float feels like a solid board, it’s likely over-inflated. You want it to have a slight give when you push on it.
The “Squeeze Test” for Firmness
A simple and effective way to gauge proper inflation is the “squeeze test.” Gently push on the sides of the float. It should feel firm and supportive, but you should still be able to indent it slightly with your fingers. If you can’t make any impression, it’s probably too full. If it feels very squishy and unsupportive, it needs more air. This method has proven reliable for many users.
Quick Checklist for Compressor Inflation
Here’s a handy list to keep with you:
- Ensure you have the correct nozzle adapter.
- Position the float on a flat, clear surface.
- Attach the adapter to the hose and float valve securely.
- Inflate in short bursts, monitoring the float’s shape.
- Stop when the float is firm but still has slight give.
- Listen for any air leaks after inflation.
Conclusion
You’ve got this! Inflating your float with an air compressor is totally doable and a fantastic time-saver. Remember, the trick is finding that perfect nozzle adapter and paying close attention to firmness. You want your float comfortably inflated, not stretched to its limit. Avoid overfilling to keep your float in great shape for many pool days to come. Now, go ahead and try it out – your next relaxing float awaits!
Frequently Asked Questions
Can any air compressor be used for a pool float?
Generally, yes! Most portable or even larger home compressors can work. The most important thing is having the correct nozzle attachment that fits your float’s valve snugly. A good seal is key to preventing air leaks.
How do I know if I’m over-inflating the float?
A good sign is if the float feels like a hard, stiff board. You should be able to press down slightly with your fingers and feel some give. If it feels rock-hard and doesn’t budge, you’ve likely added too much air.
What if my float’s valve doesn’t look like a tire valve?
Don’t worry, this is common. You might need a universal adapter set. These often come with multiple tips to fit various inflatables. Check your local hardware or pool supply store for these handy accessories.
How long does it usually take to inflate a float with an air compressor?
It’s usually very quick! For most standard pool floats, you can go from flat to fully inflated in just a few minutes. This is a huge time difference compared to manual inflation methods.
Is it safe to use an air compressor if the float doesn’t list a maximum pressure?
Yes, it’s generally safe as long as you don’t over-inflate. Use the “squeeze test” mentioned in the article. You want it firm enough to support you, but not so rigid that it feels like it might burst.