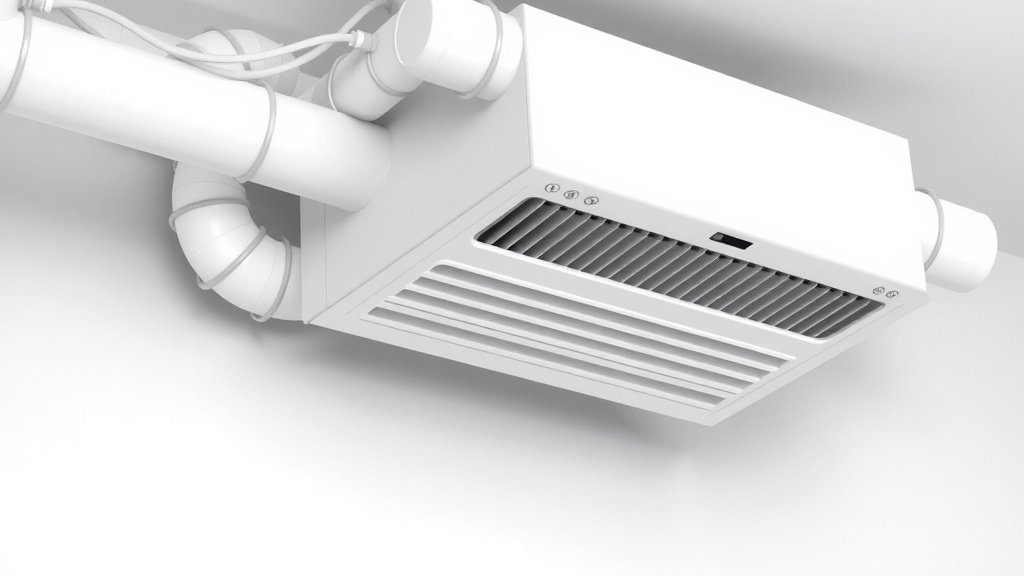
Install Germicidal Air Purifier in AC Duct: A Guide
Installing a germicidal air purifier in your AC duct is a practical way to improve your home’s air quality. These systems help neutralize airborne contaminants like viruses, bacteria, and mold. When properly installed, they work silently within your HVAC system to keep your air cleaner.
You might be wondering if this is a job you can tackle yourself. Many homeowners successfully install these units. It’s important to follow manufacturer instructions carefully. Research and found that proper placement is key for maximum effectiveness, often near the air handler.
- Understand the benefits of germicidal purifiers.
- Know the basic steps for installation.
- Learn about placement and electrical connections.
- Gather the necessary tools and safety gear.
Let’s walk through exactly how to get your germicidal air purifier installed in your AC duct system, step by step.
Installing a Germicidal Air Purifier in Your HVAC Duct
Adding a germicidal air purifier to your AC ductwork can really make a difference in your home’s air. You’re looking to zap germs and improve air quality. This guide will walk you through the process, making it as clear as possible. We’ll cover what you need to know before you start and the actual steps involved.
Understanding Your Germicidal Air Purifier
Germicidal UV lights, often called UV-C lights, are the key component here. They work by emitting a specific wavelength of ultraviolet light. This light is powerful enough to disrupt the DNA of microorganisms. Think of it like a tiny, invisible shield against mold spores, bacteria, and viruses floating in your air. Many health organizations, including the CDC, acknowledge UV-C’s germicidal properties.
How It Works in Your Ductwork
When installed in your AC duct, the UV light shines on the air as it passes through. The air handler blows air over the UV lamp. Any airborne pathogens in the air stream are exposed to the light. This exposure damages their ability to reproduce. It’s a silent, effective way to reduce the microbial load in your home’s air. Research has shown that UV-C irradiation can inactivate a broad spectrum of airborne pathogens (National Library of Medicine).
Benefits You Can Expect
- Reduced airborne viruses and bacteria: This can mean fewer colds and flu for your household.
- Mold and mildew control: UV light helps prevent mold growth in damp areas like your AC coils.
- Odor reduction: It can break down odor-causing compounds.
- Improved overall air purity: Your lungs will thank you!
Preparation: What You Need Before You Start
Before you grab your tools, let’s make sure you’re ready. Proper preparation is key to a smooth installation. You don’t want to be halfway through and realize you’re missing a vital part or tool. Safety first, always!
Gathering Your Tools and Materials
Most germicidal UV air purifier kits come with everything you need for the light unit itself. However, you’ll want to have a few basic tools on hand. You’ll likely need a drill with various bits, a screwdriver set, and possibly a utility knife. A tape measure is also handy. Always check your specific purifier’s manual for a precise list. Most manufacturers recommend a specific type of mounting hardware, so ensure you have that too.
Safety Gear is Non-Negotiable
Working with electrical components and inside your ductwork means safety is your top priority. You absolutely need safety glasses to protect your eyes from dust and debris. Gloves are also a good idea. If you’re working in a tight or dusty space, a dust mask or respirator is highly recommended. And remember, always turn off the power to your HVAC system at the breaker box before you begin any work.
Choosing the Right Location in Your Duct
Placement matters a lot for germicidal purifiers. Experts suggest installing the UV lamp near the air handler or cooling coil. This is where air spends the most time and where moisture can collect, leading to mold. The UV light needs sufficient exposure time to the air. Many units are designed to be mounted on the supply or return side of your ductwork. Consult your purifier’s manual for the manufacturer’s recommended placement. Some installers prefer the supply side just past the coil to keep the coil itself clean.
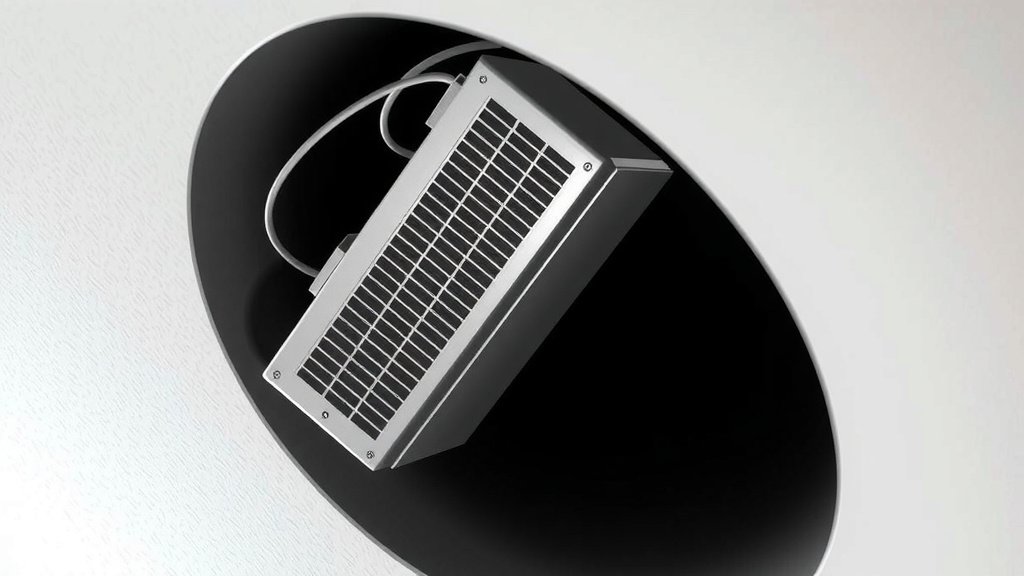
Step-by-Step Installation Guide
Let’s get down to the actual installation. We’ll break this down into manageable steps. Remember, your unit’s manual is the ultimate guide, so keep it handy.
Step 1: Power Off Your HVAC System
This cannot be stressed enough: turn off the power to your entire HVAC system. Go to your home’s electrical panel and find the breaker for your furnace or air handler. Flip it to the ‘off’ position. Double-check by trying to turn on your system’s fan or thermostat to confirm there’s no power. Safety first!
Step 2: Access Your Ductwork
You’ll need to open up a section of your ductwork to install the UV lamp. This might involve removing a few screws from a duct panel or cutting a small access hole. The location chosen in Step 3 will guide where you need to work. If you’re working with metal ductwork, a utility knife or a special duct tool might be needed. Be gentle to avoid damaging the duct.
Step 3: Mount the UV Lamp Fixture
Follow your purifier’s instructions precisely for mounting. Typically, this involves drilling small pilot holes into the ductwork. Then, you’ll use the provided screws or mounting hardware to secure the UV lamp’s housing. Ensure it’s mounted firmly and is securely attached to the duct. The lamp should be positioned to shine directly into the airflow.
Step 4: Install the UV Lamp and Ballast
Carefully insert the UV lamp into its socket within the fixture. It usually just snaps or screws into place. The ballast, which regulates the power to the lamp, often mounts inside the duct or nearby. Again, follow your specific model’s instructions. Make sure all connections are snug and properly seated.
Step 5: Make the Electrical Connections
This is where things get a little technical. You’ll need to wire the UV purifier to your HVAC system’s power. Many units are designed to be wired to the fan circuit or a dedicated 24V transformer. This ensures the UV light only operates when your HVAC fan is running. Some units might require a direct 120V or 240V connection, which may necessitate a qualified electrician if you’re not comfortable. If your unit comes with a plug, you might be able to use an accessible outlet if one is conveniently located and wired to run when the fan is on. Always refer to your manual and local electrical codes.
Step 6: Seal and Reassemble
Once the electrical connections are made and the lamp is installed, you need to seal any openings. Use foil tape specifically designed for HVAC ducts to seal around the mounting fixture and any holes you made. This prevents air leaks, which can reduce your system’s efficiency. Reattach any panels you removed. Make sure everything is airtight and secure.
Step 7: Restore Power and Test
Head back to your breaker box and flip the power back on for your HVAC system. Turn on your thermostat and set the fan to ‘on’ or a temperature that will engage the system. You should hear the fan run. The UV lamp typically has a small indicator light or you might see a faint glow if you can safely look into the duct (though direct viewing of UV light is not recommended). Check that your system is running normally.
Maintenance and Care for Your Purifier
Your new germicidal air purifier needs a little attention to keep working its best. These units are generally low-maintenance, but a little care goes a long way.
Lamp Replacement Schedule
UV lamps don’t last forever. They have a lifespan, usually measured in hours of operation. Most manufacturers recommend replacing the UV lamp once a year. Even if the light is still on, its germicidal effectiveness decreases over time. Check your manual for the specific replacement interval. Keeping a spare lamp on hand can make this an easy yearly task.
Cleaning the Fixture
Periodically, you might want to inspect the UV fixture and the lamp. Dust and debris can accumulate. A soft, dry cloth can usually be used to wipe down the exterior of the fixture. If you need to clean the lamp itself, be very gentle and use a lint-free cloth. Always ensure the power is off before cleaning!
| What to Check | Frequency | Notes |
|---|---|---|
| UV Lamp Function | Monthly | Look for indicator light or check manual for visual cues. |
| Duct Seals | Every 6 Months | Ensure tape is secure and no air leaks. |
| Lamp Replacement | Annually | Replace per manufacturer’s recommendation for peak effectiveness. |
When to Call a Professional
While many homeowners can handle this installation, there are times when it’s best to call a pro. If you’re uncomfortable with electrical work, especially dealing with your home’s main power, it’s wise to hire an HVAC technician or an electrician. Also, if your ductwork is old, complex, or in poor condition, a professional can ensure the job is done correctly without causing damage. Don’t hesitate to get help if you need it.
Conclusion
You’ve successfully learned how to install a germicidal air purifier in your AC duct, a smart move for cleaner indoor air. By following these steps, you’re taking a hands-on approach to improving your home’s environment by neutralizing airborne germs and mold. Remember to always prioritize safety, especially by powering off your HVAC system before starting. Make a plan to perform annual lamp replacements to ensure your system continues to work effectively. Now that you’re equipped with this knowledge, you’re ready to enhance your home’s air quality.
Frequently Asked Questions
Do germicidal air purifiers really work in AC ducts?
Yes, germicidal UV-C lights have been researched and found effective at disrupting the DNA of microorganisms like viruses, bacteria, and mold spores. When placed correctly in your ductwork, they expose the air passing through to this germicidal light, reducing the microbial load in your home.
Can I install a UV air purifier myself, or do I need a professional?
Many homeowners can successfully install a germicidal air purifier with basic tools and by following instructions carefully. However, if you’re uncomfortable with electrical wiring or working with your HVAC system, it’s best to hire a qualified HVAC technician or electrician.
Where is the best place to install a UV germicidal lamp in my ductwork?
Most experts recommend installing the UV lamp near your air handler or cooling coil. This area is often moist and a breeding ground for mold, and placing the UV light here helps keep the coils clean and treats the air as it’s being conditioned.
How often do I need to replace the UV lamp in my air purifier?
Germicidal UV lamps have a limited lifespan. Most manufacturers recommend replacing the lamp annually, even if it still appears to be working. This ensures its germicidal effectiveness remains at its peak for continuous air purification.
What safety precautions should I take before starting the installation?
Safety is critical. Always start by turning off the power to your entire HVAC system at the breaker box. Wear safety glasses to protect your eyes from dust and debris, and consider using gloves and a dust mask, especially if working in a confined or dusty space.