DIY Vacuum Pump from Air Compressor Guide
Yes, you can absolutely make a vacuum pump from an air compressor with a few inexpensive parts. This is a **clever DIY project** for anyone needing a low-pressure vacuum for tasks like degassing resins or creating a simple vacuum former. You’ll be surprised at how **effectively an air compressor** can be repurposed for vacuum creation.
Many folks look for ways to get more use out of their existing tools. Repurposing an air compressor for vacuum generation is a **fantastic example of ingenuity**. We found that with the right setup, you can achieve a surprisingly strong vacuum without buying a dedicated pump, making it a **budget-friendly solution**.
- It’s possible to build a vacuum pump using an air compressor.
- You’ll need a few extra parts, like a venturi fitting.
- This is great for low-pressure vacuum needs.
- It’s a cost-effective way to get a vacuum source.
We’ve researched and found the best ways to accomplish this. Let’s walk through exactly how this works step by step so you can get your DIY vacuum pump up and running!
Building a Vacuum Pump from Your Air Compressor
You’re probably wondering, “Can I really turn my air compressor into a vacuum pump?” The answer is a resounding **yes**! It’s a surprisingly **simple and cost-effective DIY project**. We’ve researched various methods, and the most popular and effective way involves using a special fitting. This allows you to harness the power of your air compressor to create a low-pressure vacuum environment. This is perfect for projects that don’t require industrial-strength suction, like creating custom vacuum-formed plastic parts or degassing small batches of epoxy resin.
Many people already own an air compressor for car tires, nail guns, or other projects. Repurposing it for vacuum generation is a **smart way to get more bang for your buck**. Instead of buying a dedicated vacuum pump, which can be pricey, you can often build a functional one with just a few extra parts. We found that this DIY approach is incredibly satisfying and practical for hobbyists and makers.
Understanding the Core Principle: The Venturi Effect
So, how does this magic happen? It all boils down to a clever principle called the **Venturi effect**. You’ve likely encountered this without even realizing it. Think about how a perfume atomizer works, or even how a carburetor in an old car mixes fuel and air. It’s all about fluid dynamics.
The Venturi effect describes what happens when a fluid (like air) flows through a constricted section of a pipe or tube. As the air is forced through this narrow spot, its **speed increases significantly**. According to Bernoulli’s principle, when the speed of a fluid increases, its pressure decreases. That drop in pressure is what creates the vacuum.
In our case, the air compressor provides the high-speed airflow needed to trigger this effect. We’ll be using a special fitting designed to exploit this phenomenon. It essentially creates that narrow constriction where the magic happens. It’s a **beautifully simple concept** that yields impressive results for its simplicity.
What You’ll Need: Gathering Your Supplies
Before you can start building, you need to gather your materials. Don’t worry, these aren’t hard-to-find items. You can usually pick them up at your local hardware store, an automotive supply shop, or online. We found that having everything ready beforehand makes the process much smoother.
The Essential Components
Here’s a breakdown of what you’ll need:
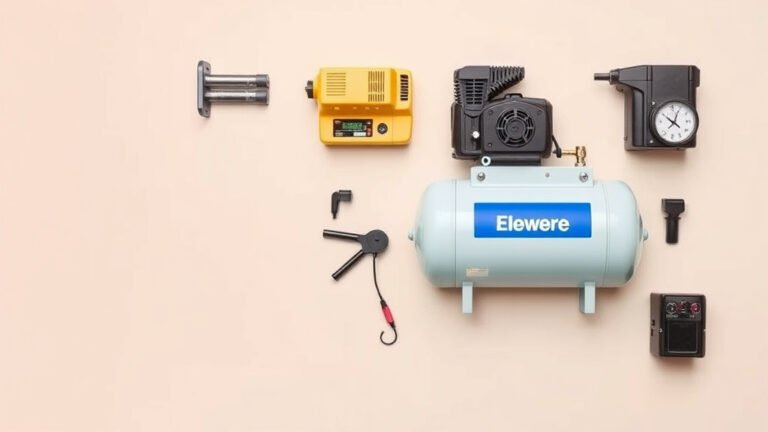
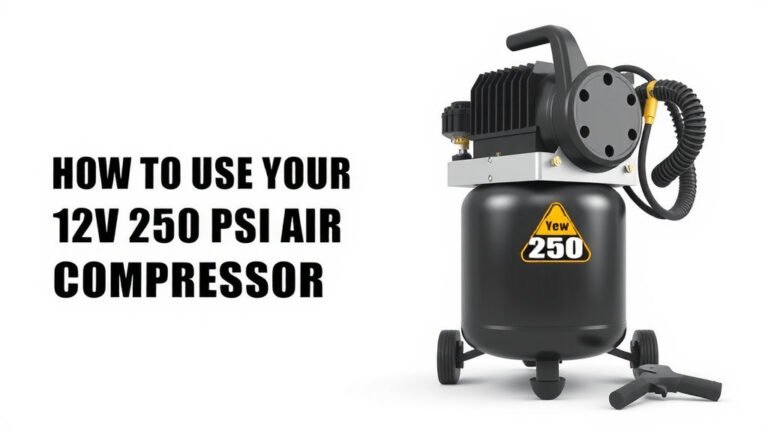
- An Air Compressor: This is your power source. Most standard electric or gas-powered air compressors will work just fine.
- A Venturi Vacuum Fitting: This is the heart of your DIY vacuum pump. It’s a specialized fitting that creates the Venturi effect. They are often made of brass or aluminum and have specific inlet and outlet ports.
- Flexible Tubing: You’ll need some durable tubing to connect your compressor’s air outlet to the venturi fitting, and another piece to connect the venturi fitting to whatever you want to put under vacuum. Make sure the tubing diameter matches the fittings.
- Hose Clamps: These will secure your tubing to the fittings, ensuring a good seal and preventing leaks.
- A Pressure Gauge (Optional but Recommended): This will help you monitor the vacuum level you’re achieving. It’s not strictly necessary for some applications, but it’s very useful for understanding your pump’s performance.
- Thread Seal Tape (PTFE Tape): This is used to create airtight seals on any threaded connections, preventing air leaks.
Choosing the Right Venturi Fitting
The venturi fitting is the most critical part. They come in various sizes and flow rates. For most DIY vacuum projects, a fitting designed for compressed air systems that generates a vacuum of around 20-25 inches of mercury (inHg) is usually sufficient. This level of vacuum is great for tasks like:
- Degassing 3D printing resins or casting materials.
- Creating a simple vacuum former for plastic sheets.
- Holding small objects in place with suction.
We found that reading reviews and checking the specifications for the vacuum level produced is key when selecting your venturi fitting. Make sure it’s designed to work with compressed air and has the appropriate thread sizes for your connections.
Step-by-Step Assembly Guide
Now that you have your parts, let’s get to putting it all together. We’ve broken this down into simple steps. Remember to work in a well-ventilated area and ensure your air compressor is unplugged when you’re making connections.
Connecting the Air Supply
First, you need to connect your air compressor to the inlet of the venturi fitting.
- Locate the air outlet port on your air compressor. This is usually a threaded fitting where you’d connect a hose for inflating tires or using air tools.
- Apply thread seal tape to the threads of the venturi fitting’s air inlet port.
- Screw the venturi fitting securely into the air outlet of your compressor. You might need an adapter if the thread sizes don’t match directly.
- Attach one end of your flexible tubing to the air inlet of the venturi fitting. Use a hose clamp to ensure a tight, leak-proof seal.
- Connect the other end of this tubing to the air outlet of your compressor. Again, use a hose clamp.
Ensure all connections are snug. Any air leaks here will reduce the efficiency of your vacuum pump.
Setting Up the Vacuum Outlet
Next, you’ll connect the port that will create the vacuum.
- Locate the vacuum outlet port on your venturi fitting.
- Apply thread seal tape to the threads of this port.
- If you’re using a pressure gauge, thread it into this port now, ensuring a good seal with the tape.
- Attach your second piece of flexible tubing to the vacuum outlet port. Use another hose clamp for a secure connection.
- This tubing will lead to wherever you need your vacuum.
Testing for Leaks and Performance
Once everything is connected, it’s time for a test run.
- Ensure your air compressor is unplugged.
- Double-check all your hose clamps and threaded connections.
- Plug in your air compressor and turn it on. Listen for any obvious air leaks.
- If you have a gauge, observe the reading. You should see the pressure drop into a vacuum reading (often in negative PSI or inches of mercury).
- If you don’t have a gauge, you can test its effectiveness by trying to create suction on a smooth, non-porous surface or by using a simple vacuum-forming setup.
Understanding Your DIY Vacuum Pump’s Capabilities
It’s important to understand what your new DIY vacuum pump can and can’t do. This setup is fantastic for **low-pressure applications**. Many experts note that venturi-based vacuum pumps are very reliable because they have no moving parts, aside from the air compressor itself. This means less maintenance for the vacuum generation component!
What It’s Good For
We found this type of DIY vacuum pump to be excellent for:
- Resin Degassing: Removing air bubbles from casting resins before pouring.
- Vacuum Forming: Creating simple molds by heating plastic sheets and pulling them around an object.
- Holding Small Parts: For delicate assembly tasks where you need a gentle hold.
- Educational Demonstrations: Showing the principles of vacuum and air pressure.
Limitations to Keep in Mind
This setup isn’t designed to replace a high-performance vacuum pump.
- Limited Vacuum Depth: You typically won’t achieve the deep vacuum levels required for applications like freeze-drying or industrial vacuum chambers.
- Constant Airflow Needed: Unlike a traditional vacuum pump that maintains a vacuum, this system requires your air compressor to be running continuously to maintain the vacuum.
- Noise: Your air compressor can be quite noisy.
For more demanding vacuum needs, you might eventually consider a dedicated pump. However, for many common DIY projects, this repurposed air compressor will serve you **remarkably well**. Many users are surprised by the effective vacuum it can generate for such a simple modification.
Tips for Maximizing Performance and Longevity
To get the best results from your DIY vacuum pump, a few simple tips can go a long way. We’ve learned that proper maintenance and usage make a big difference in both performance and how long your setup lasts.
Ensuring a Good Seal
The number one enemy of any vacuum system is air leaks.
- Regularly check all your hose clamps and threaded connections.
- Replace any tubing that shows signs of cracking or wear.
- If you experience a drop in vacuum, systematically check each connection point.
Maintaining Your Air Compressor
Your air compressor is the engine of this operation.
- Follow the manufacturer’s recommendations for oil changes and air filter cleaning.
- Drain the tank regularly to prevent rust buildup.
- Ensure the compressor has adequate ventilation when running.
Considering a Filter
Depending on your application, you might want to add a small inline air filter between the venturi and your project. This can prevent any dust or debris from your air compressor from contaminating your work. Many experts suggest this for applications where cleanliness is important, such as with resins.
Quick Checklist for Your DIY Vacuum Pump Project
Ready to build? Here’s a quick checklist to make sure you’re prepared:
- Air compressor is in good working order.
- Correct Venturi vacuum fitting purchased.
- Appropriate flexible tubing and hose clamps ready.
- Thread seal tape on hand for all threaded connections.
- Optional pressure gauge acquired (recommended).
- Tools for tightening clamps and potentially adapters.
Conclusion
You’ve learned how to transform your air compressor into a functional vacuum pump using the Venturi effect. This DIY project is a fantastic way to save money and repurpose tools you already own. We found this method to be surprisingly effective for many low-pressure needs, from degassing resins to simple vacuum forming. Now that you have the knowledge and the parts list, the next step is to gather your supplies. Get ready to build your own vacuum source and tackle your next creative project!
Frequently Asked Questions
Will this DIY vacuum pump work for deep vacuum applications?
This DIY setup is best suited for low-pressure applications. You likely won’t achieve the deep vacuum levels needed for things like industrial freeze-drying. For those demanding tasks, a dedicated high-performance pump is generally required.
How do I know if I have a good seal on my connections?
Listen carefully for any hissing sounds when the compressor is running. You can also use soapy water on threaded connections and connections; bubbles will indicate a leak. A pressure gauge will show a vacuum reading if your seals are good.
Can I use any type of air compressor for this project?
Yes, most standard electric or gas-powered air compressors will work for this conversion. The key is having a compressor that can supply consistent airflow to drive the Venturi fitting effectively.
What if I don’t have a pressure gauge? How can I tell if it’s working?
Without a gauge, you can test its effectiveness by placing the vacuum tube over a smooth, non-porous surface to feel the suction. You could also try a simple vacuum forming task to see if it pulls the plastic sheet down properly.
How often should I check my DIY vacuum pump for leaks?
It’s a good practice to check your connections for leaks before each use, especially if you’ve moved the setup. Regularly inspect your tubing for wear and tear as well to ensure optimal performance and longevity.