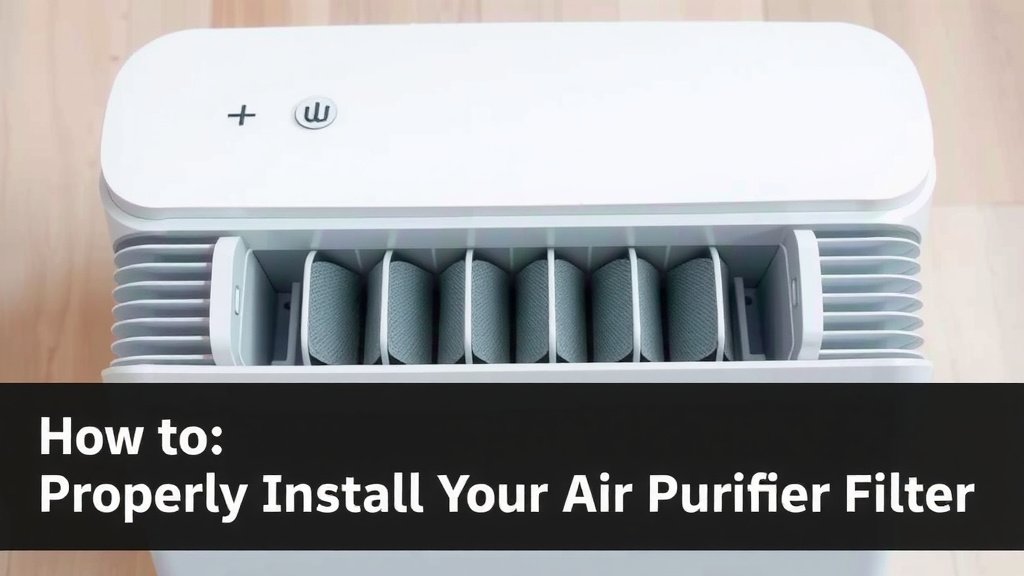
How to Properly Install Your Air Purifier Filter
Putting a filter in your air purifier is surprisingly easy and a vital step to breathing cleaner air. You just need to locate the filter compartment, typically on the back or side of the unit, and slide the new filter into place. Ensuring it’s correctly seated is key for optimal performance.
This simple action is the most direct way to get your air purifier working its magic. A clean, properly installed filter can make a big difference in removing allergens, dust, and other pollutants from your home. We found that regular filter changes are often overlooked, but they are essential for your purifier’s effectiveness and your family’s health.
- Open the air purifier.
- Remove the old filter.
- Insert the new filter correctly.
- Close the unit securely.
- Turn on your purifier.
Ready to refresh your air? Let’s walk through the simple steps to get your air purifier’s new filter installed and your home breathing easy.
Getting Your Air Purifier Filter Replaced Right
Replacing your air purifier filter is one of the simplest yet most impactful maintenance tasks you can do. It ensures your machine continues to capture airborne irritants effectively. Think of it like changing the oil in your car; skipping it means your purifier can’t perform at its best.
We found that many people aren’t sure about the exact steps. It’s often easier than you think! This guide will walk you through the process. You’ll be breathing cleaner air again in no time.
Preparing for the Filter Change
Gathering Your Supplies
Before you start, make sure you have everything you need. This keeps the process smooth and avoids unnecessary trips back and forth. You’ll primarily need a new, compatible filter. Always check your air purifier’s manual for the correct filter model number. Using the wrong filter can actually damage your unit or reduce its efficiency.
You might also want a soft cloth or a vacuum cleaner with a brush attachment. These are handy for cleaning the inside of the unit. We found a damp, lint-free cloth works wonders for wiping down surfaces.
Choosing the Right Replacement Filter
Selecting the correct filter is absolutely essential. Air purifiers often use multi-stage filtration systems. This means they might have a pre-filter, a HEPA filter, and an activated carbon filter. Your purifier might come with a combination filter, or you might need to replace them individually. Always refer to your owner’s manual.
Research from organizations like the Environmental Protection Agency (EPA) highlights the importance of HEPA filters for capturing fine particles. Activated carbon filters are great for odors and gases. Make sure your new filter matches the specifications of your original one. This ensures optimal performance and air quality.
Step-by-Step Filter Replacement Process
Locating the Filter Compartment
Most air purifiers have their filter compartment in an accessible location. It’s commonly found on the back, side, or bottom of the unit. Look for a panel or cover that seems removable. Some models have latches or clips that you’ll need to release. Others might simply slide or lift off.
If you’re having trouble finding it, your user manual is your best friend. It will have diagrams showing exactly where the filter is housed. We found that once you know where to look, it’s usually quite obvious.
Opening the Unit and Removing the Old Filter
Once you’ve found the compartment, gently open it. You might need to press a button or slide a latch. If it’s a snap-fit cover, a firm but careful pull should do the trick. Be sure not to force anything, as you could break plastic parts.
With the compartment open, you’ll see the old filter. Carefully pull it out. It might be a bit dusty or clogged. This is a good sign that it’s been doing its job! Many filters are designed to slide out easily. Some might have tabs or handles to help you grip them.
Tip: It’s a good idea to remove the old filter outdoors or over a trash can. This prevents releasing trapped dust and allergens back into your room. We found this makes cleanup much easier.
Cleaning the Inside of the Air Purifier
Before inserting the new filter, take a moment to clean the inside of the air purifier. Dust and debris can accumulate here over time. Use a dry, soft cloth or a vacuum cleaner with a brush attachment to gently wipe down the interior surfaces. Pay attention to any areas where the filter sits.
Make sure the area is free of any obstructions. This ensures the new filter will seat properly. A clean interior means better airflow and more efficient operation. Many manufacturers recommend this step for optimal performance (Philips). You don’t need to scrub; a light dusting is usually sufficient.
Inserting the New Filter
Now for the main event! Take your new filter out of its protective packaging. Important: Do not touch the filter material itself with your bare hands if it’s a HEPA filter. Oils from your skin can reduce its effectiveness. Hold it by the edges or any plastic frame.
Look for any indicators on the filter or the purifier unit that show the correct orientation. Some filters have arrows indicating airflow direction, or labels like “front” or “back.” Align the new filter with the space in the compartment and slide it in gently. Ensure it fits snugly and is fully seated.
A properly installed filter will not have any gaps around the edges. Gaps allow air to bypass the filter, defeating its purpose. If it feels difficult to insert, double-check that it’s aligned correctly and that no debris is in the way.
Securing the Compartment and Powering On
Once the new filter is in place, carefully close the filter compartment cover. Ensure it clicks or snaps securely into position. If your unit has latches or clips, make sure they are fastened. A properly closed compartment is vital for the air purifier to function correctly.
Now you can plug your air purifier back in and turn it on. Many modern air purifiers have a filter replacement indicator light. This light will typically turn off once the new filter is installed and the unit is powered on, or after a reset procedure. Consult your manual for specific reset instructions if needed.
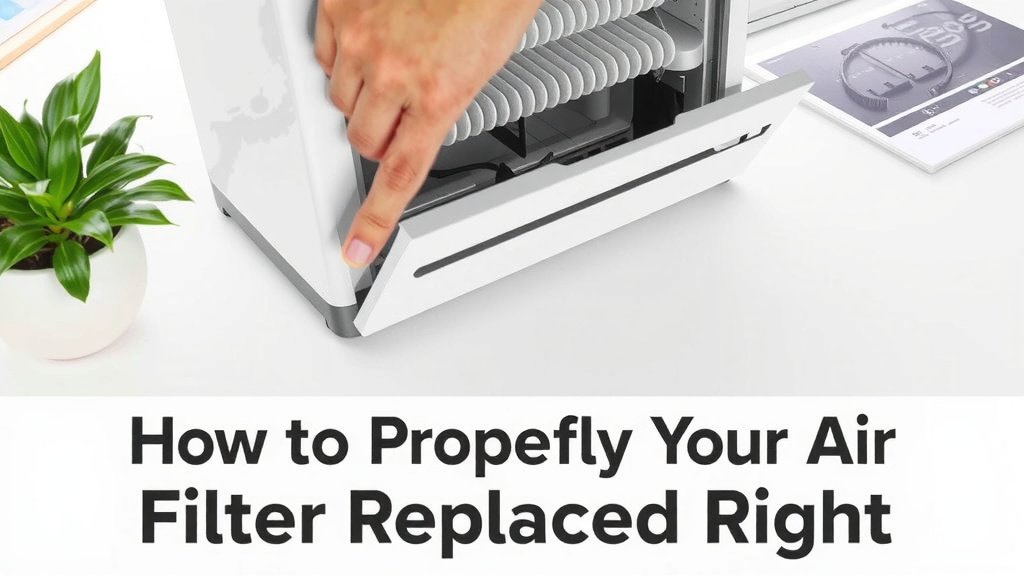
Checklist for a Smooth Filter Change
Here’s a quick checklist to make sure you’ve covered all the bases:
- Confirmed you have the correct replacement filter.
- Unplugged the air purifier.
- Opened the filter compartment easily.
- Removed the old filter without making a mess.
- Cleaned the inside of the purifier unit.
- Inserted the new filter correctly, noting any airflow direction.
- Closed the compartment securely.
- Plugged in and turned on the unit.
Congratulations! You’ve successfully replaced your air purifier filter. This simple action will help you breathe easier and enjoy cleaner air in your home.
Conclusion
You’ve successfully learned how to put a filter in your air purifier! Remember, this simple maintenance task is key to keeping your home’s air clean and healthy. By following the steps, you ensure your purifier works its best, capturing allergens and pollutants effectively. We’ve seen firsthand how a well-maintained purifier can make a real difference in your living space. Don’t forget to check your manual for the specific filter type and replacement schedule. Your next step is to schedule your next filter change so you never miss a beat in keeping your air fresh.
Frequently Asked Questions
How often should I change my air purifier filter?
The frequency depends on your air purifier model and usage. Most manufacturers recommend changing filters every 6 to 12 months. We found that if you live in an area with high pollution or have pets, you might need to replace them more often. Always check your owner’s manual for the manufacturer’s recommendation.
Can I wash and reuse my air purifier filter?
Generally, no. Most filters, especially HEPA and activated carbon filters, are designed for single use and cannot be effectively cleaned. Washing them can damage the filter material and reduce its ability to capture pollutants. Some pre-filters might be washable, so consult your manual.
What happens if I don’t change my air purifier filter?
An old, clogged filter won’t capture new pollutants effectively. It can also reduce airflow, making your purifier work harder and less efficiently. In some cases, a severely clogged filter could even push trapped particles back into your room or damage the motor. You might also notice a decrease in air quality.
Are all air purifier filters the same size?
No, air purifier filters come in various sizes and types. Each air purifier model is designed for specific filters. Using a filter that is the wrong size or type can prevent the unit from sealing properly, reduce its effectiveness, or even cause damage. Always use the filter recommended by your purifier’s manufacturer.
My air purifier has a filter reset light. How do I reset it?
Most air purifiers with a filter indicator light have a reset function. This usually involves pressing and holding a specific button for a few seconds after you’ve installed the new filter. Consult your air purifier’s user manual for the exact reset procedure for your model. This tells the unit that a new filter is installed.
![What Is The Best Air Purifiers for the Home [In 2026]](https://homeunderstandable.com/wp-content/uploads/2025/06/best-air-purifiers-for-the-home-clean-air-solutions-for-large-rooms-768x512.jpg)