How to Rebuild Your Air Compressor Pump: A Step-by-Step Guide
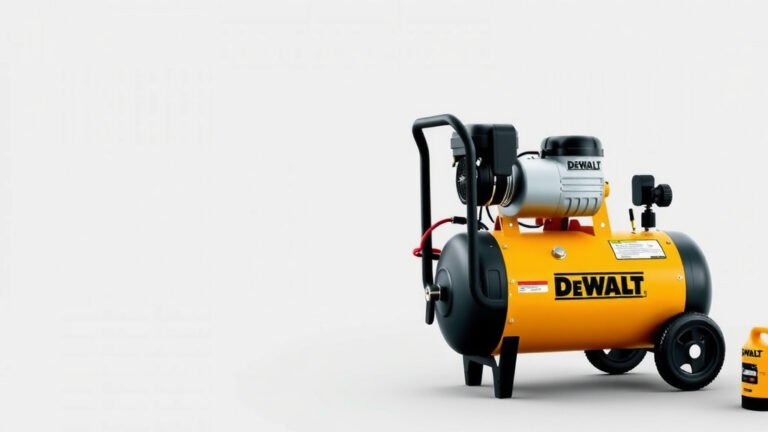
Yes, you can definitely rebuild an air compressor pump. It’s often a smart and cost-effective way to bring your old compressor back to life. Instead of buying a whole new unit, a rebuild can fix issues like low pressure or leaks. We found this is a great DIY project.
This process usually involves replacing wear-and-tear parts such as seals, gaskets, and valves. Sometimes, you might need to replace the piston rings or even the cylinder itself. Knowing what parts are failing is key to a successful rebuild.
- Rebuilding is often cheaper than buying new.
- You can fix common issues like low pressure.
- Key parts to replace include seals, gaskets, and valves.
- Check your compressor’s manual for specific parts.
- This can be a rewarding DIY project.
Let’s get your air compressor pumping like new again. We’ll walk you through the steps to get your air compressor pump back in working order.
Restoring Your Air Compressor Pump: A Step-by-Step Guide
You’ve noticed your trusty air compressor isn’t performing like it used to. Maybe it’s taking too long to build pressure, or perhaps you hear a worrying hiss that wasn’t there before. Don’t despair! Rebuilding your air compressor pump is a very achievable DIY project. It can save you a good chunk of change compared to buying a new one. We found this can be a rewarding way to bring your equipment back to life.
When to Consider a Pump Rebuild
There are a few clear signs that your air compressor pump might be ready for a rebuild. If you’re experiencing diminishing air pressure even after it runs for a while, that’s a big indicator. Another common symptom is an increase in noise or a change in the pump’s sound. Sometimes, you might notice oil leaks around the pump head. We found that these issues often stem from worn-out internal components.
Think of your air compressor pump like an engine. Over time, parts wear down. Seals get brittle, valves can get stuck, and piston rings lose their tension. These are all common culprits for a decline in performance. Addressing these issues with a rebuild can restore its original power. Many experts suggest that regular maintenance can extend the life of your pump, but even well-maintained units will eventually need some attention (National Gardening Association).
Common Problems and Their Causes
Low air pressure is the most frequent complaint. This can be caused by several things. Leaky valves are a prime suspect. They might not be sealing properly, allowing compressed air to escape back into the cylinder. Worn piston rings are another common cause. They help create a seal between the piston and the cylinder wall. If they’re worn, air can bypass them, reducing compression.
Unusual noises, like knocking or grinding, often point to more serious internal wear. This could mean damaged bearings, a bent connecting rod, or even a cracked cylinder. Oil leaks usually stem from deteriorated seals or gaskets. These rubber or fiber components keep oil where it belongs and prevent air from escaping. When they break down, you get both performance loss and a mess.
Gathering Your Tools and Parts
Before you can start rebuilding, you need the right supplies. First, you’ll need a rebuild kit specific to your air compressor model. These kits typically include new seals, gaskets, O-rings, and sometimes new valves or piston rings. Always check your compressor’s manual or the manufacturer’s website to find the exact part number for your kit. Using the wrong parts can lead to immediate failure or damage.
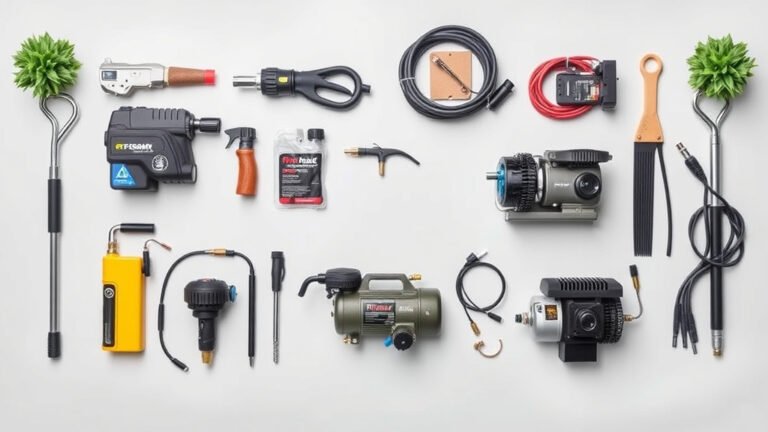
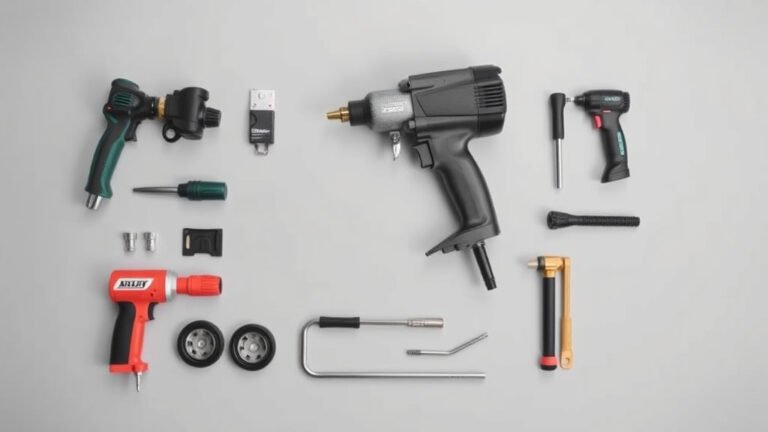
Beyond the kit, you’ll want a good set of basic tools. This generally includes:
- Socket set and wrenches
- Screwdrivers (Phillips and flathead)
- Pliers
- A torque wrench (essential for proper reassembly)
- A gasket scraper or putty knife
- Clean rags and a degreaser
- Safety glasses and gloves
It’s also wise to have a clean workspace. A workbench or a large, sturdy table works well. You want to keep track of all the small parts, so good lighting is a big help. We found that having a camera or your phone handy to take pictures during disassembly is a lifesaver for reassembly.
Identifying Your Compressor’s Pump Type
There are a few main types of air compressor pumps. Most DIY-friendly rebuilds involve single-stage or two-stage reciprocating pumps. Single-stage pumps compress air in one step. They’re common in smaller, portable compressors. Two-stage pumps compress air in two steps, achieving higher pressures. These are often found in larger workshop compressors.
Understanding your pump type helps in ordering the correct rebuild kit. Some very large industrial compressors use different technologies, but for most home or small shop use, you’re likely dealing with one of these common types. If you’re unsure, consult your compressor’s user manual or look for a model number on the pump itself.
Disassembling the Air Compressor Pump
Safety first! Ensure the compressor is unplugged and the tank has been completely drained of air. Releasing any residual pressure is non-negotiable. We found that starting with the cylinder head is usually the best approach. Remove the bolts holding the cylinder head in place. Gently tap the head with a rubber mallet if it’s stuck.
Once the head is off, you’ll typically see the valves. Carefully remove them. Note their orientation; they are often specific. Next, you’ll need to access the piston. This might involve removing the crankcase cover. Be prepared for some oil to spill out. Carefully pull the connecting rod and piston assembly out of the cylinder. Inspect the piston, rings, and cylinder wall for wear or damage.
Cleaning and Inspecting Components
This is where you really get to know your pump’s condition. Clean all the parts thoroughly with a degreaser. You want to remove all old oil, carbon deposits, and grime. A clean workspace makes this much easier. Inspect the cylinder bore for scratches or scoring. A slightly scored cylinder might be cleaned up, but deep gouges may require honing or even replacement (Bob Vila).
Check the piston and piston rings for wear. If the rings are loose or broken, they definitely need replacing. Inspect the connecting rod for any signs of bending or bearing wear. The crankshaft should also spin freely without roughness. Also, clean out the valve plate and ensure all ports are clear. Any debris here can cause issues.
What to Look For During Inspection
- Cylinder Walls: Check for scratches, scoring, or ovalization (a sign of uneven wear).
- Piston Rings: Look for cracks, excessive wear, or loss of tension.
- Valves: Ensure they are flat and free of carbon buildup that prevents sealing.
- Bearings: Feel for roughness or play in the crankshaft bearings.
- Gaskets and Seals: Any signs of cracking, hardening, or tearing mean they need replacement.
Reassembling Your Compressor Pump
Now for the satisfying part – putting it all back together! Start by installing the new piston rings onto the piston. Make sure they are seated correctly in their grooves. Lightly lubricate the rings and piston with clean compressor oil. Carefully insert the piston and connecting rod back into the cylinder. You might need to use a ring compressor tool for easier insertion, especially on larger pistons.
Reinstall the connecting rod onto the crankshaft. Tighten the connecting rod bolts to the manufacturer’s specified torque. This is where your torque wrench is crucial. Over-tightening or under-tightening can cause serious damage. We found that consulting the service manual for torque specs is essential for longevity.
Installing New Seals and Valves
Place the new gaskets and seals in their correct positions. Lubricate O-rings and seals with a bit of oil to prevent tearing during installation. Reinstall the valve plate and valves. Again, pay close attention to their orientation. Place the new cylinder head gasket and then the cylinder head. Tighten the head bolts evenly in a criss-cross pattern to the specified torque.
Double-check all connections and fasteners. Ensure everything is snug and properly torqued. It’s like solving a mechanical puzzle, and you’re doing great!
Testing Your Rebuilt Compressor
With the pump reassembled, it’s time for the moment of truth. Double-check that you haven’t forgotten any tools or parts inside the compressor. Plug it in and start the motor. Listen for any unusual noises. Let it run for a few minutes to circulate oil and seat the new parts.
Check for air leaks around the pump head or fittings. Your pressure gauge should start climbing steadily. If it reaches your usual cut-in pressure and holds steady, congratulations! You’ve successfully rebuilt your air compressor pump. If it’s still not performing optimally, you may need to re-check your work or investigate other potential issues with the motor or electrical components (Popular Mechanics). If you’re having trouble getting your compressor to build pressure after the rebuild, our guide can help you troubleshoot.
Quick Checklist for Your Rebuild
- Unplug compressor and drain all air.
- Order the correct rebuild kit.
- Disassemble carefully, taking photos.
- Clean and inspect all parts thoroughly.
- Lubricate new parts during reassembly.
- Torque all bolts to spec.
- Test run and check for leaks.
Conclusion
You’ve taken the initiative to bring your air compressor back to life, and that’s fantastic! Rebuilding your pump yourself is a proven way to save money and gain a deeper understanding of your equipment. We’ve walked through the key steps, from identifying problems to cleaning, reassembly, and that crucial final test. Remember, patience and attention to detail are your best friends during this process. If you’ve followed these steps, you’re well on your way to hearing that familiar hum of a working compressor. Go ahead and get those tools ready – your compressor is waiting!
Frequently Asked Questions
How do I know if my air compressor pump needs rebuilding?
You should consider a rebuild if you notice consistent low air pressure, an unusual increase in noise, or visible oil leaks around the pump. These symptoms often indicate worn-out internal parts like seals, gaskets, or valves.
What are the most common parts that need replacing during a rebuild?
The most frequently replaced parts are seals, gaskets, O-rings, and valves. In some cases, piston rings might also need replacing due to wear and tear from regular use.
Can I rebuild any type of air compressor pump?
This guide focuses on rebuilding common single-stage and two-stage reciprocating pumps, which are found in most portable and workshop compressors. Other pump types may require different procedures.
Is it better to buy a new pump or rebuild my old one?
Rebuilding is often significantly cheaper than buying a brand-new compressor unit. It’s a cost-effective solution, especially if the motor and tank are still in good condition.
What safety precautions should I take before starting the rebuild?
Always unplug the compressor and completely drain all air from the tank before beginning disassembly. Wear safety glasses and gloves to protect yourself from debris and oil.