How to Replace Your Air Compressor Hose Easily
Replacing your air compressor hose is a straightforward DIY task. You can usually swap out an old or damaged hose in under 30 minutes with just a few basic tools. This process will restore your compressor’s functionality and ensure safe operation.
A worn-out air compressor hose can lead to leaks, reduced air pressure, and even safety hazards. Knowing how to replace it yourself saves you time and money on professional repair. We found that many common compressor hoses use simple threaded fittings, making replacement quite manageable for most homeowners.
- Disconnect power from the compressor.
- Remove the old hose fittings.
- Install the new hose securely.
- Test for leaks and proper function.
Let’s walk through exactly how to get your air compressor back in working order with a fresh hose.
Swapping Out Your Air Compressor Hose: A Step-by-Step Guide
Replacing a worn-out air compressor hose is a task you can definitely handle yourself. It’s like giving your compressor a new lifeline. This guide will walk you through the process, ensuring you get it done safely and correctly. You’ll be back to powering your tools in no time.
Gathering Your Supplies: What You’ll Need
Before you start, let’s make sure you have everything ready. Having all your tools and parts on hand makes the job go much smoother. It’s less frustrating when you don’t have to stop and search for something.
Essential Tools
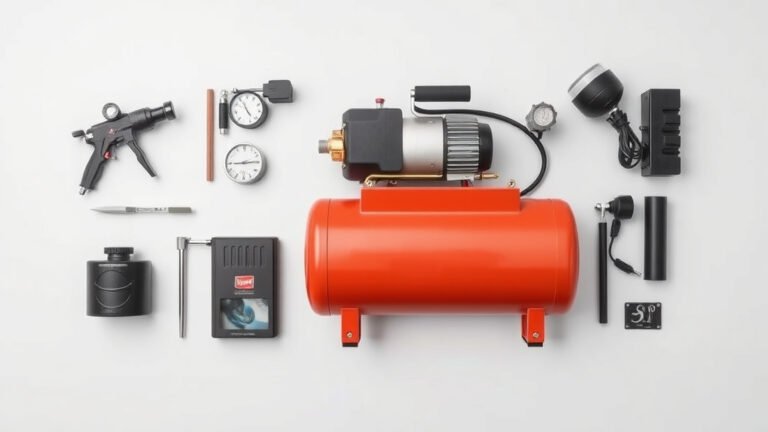
You won’t need a professional mechanic’s toolkit for this job. Most of the items are pretty common around the house. Here’s what we’ve found is typically required:
- Adjustable wrench or pliers: For gripping and turning hose fittings.
- Pipe thread sealant or Teflon tape: To ensure a leak-free seal on the new threads.
- New air compressor hose: Make sure it’s the correct length and pressure rating for your compressor.
- Safety glasses: Always protect your eyes, especially when working with pressurized equipment.
- Gloves: For a better grip and to keep your hands clean.
Choosing the Right Replacement Hose
Selecting the correct replacement hose is probably the most important step. A hose that’s too short will be a nuisance. One with a lower pressure rating could be a safety hazard. We found that checking your compressor’s manual or the old hose for specifications is key. Look for:
- Length: Does it need to reach a specific area?
- Diameter: This affects airflow.
- Pressure Rating (PSI): This must match or exceed your compressor’s output.
- Fittings: Ensure the ends match your compressor and tool connections.
Most standard compressors use common NPT (National Pipe Thread) fittings, but it’s always best to confirm. We found that many hardware stores have staff who can help you match a hose if you bring the old one or its specs.
Safely Preparing Your Air Compressor
Safety first, always! Working with compressed air requires caution. The biggest risk comes from residual pressure still in the tank or hose.
Disconnecting Power
This is non-negotiable. You absolutely must ensure there is no power going to the compressor. Unplug the unit from the wall outlet. If it’s hardwired, you’ll need to turn off the corresponding circuit breaker. We found that double-checking that the motor won’t accidentally start is crucial.
Releasing Residual Air Pressure
Even after unplugging, there might be some air trapped. You need to let this out. Open the drain valve at the bottom of the compressor tank to release any stored air. Then, you can slowly open the regulator valve or disconnect a tool to bleed off any remaining pressure in the system. You’re looking for a complete lack of air hissing when you start working on the fittings. This step prevents sudden bursts of air that can cause injury.
Removing the Old Air Compressor Hose
Now that your compressor is safe, it’s time to tackle the old hose. This part is usually pretty straightforward, but it can sometimes be a bit stubborn.
Loosening the Fittings
Locate where the hose connects to the compressor. There will be a threaded fitting. Use your adjustable wrench or pliers to grip the fitting nut. Turn it counter-clockwise to loosen. You might need to hold the compressor’s outlet fitting steady with another wrench to prevent it from turning and potentially damaging the compressor itself. We found that applying steady, firm pressure works best.
Sometimes, these fittings can be really tight from sitting under pressure. If it’s stuck, a little penetrating oil might help. Let it sit for a few minutes before trying again. Be patient; forcing it too hard could strip the threads.
Detaching the Hose
Once the fitting is loose, you should be able to unscrew the entire hose by hand. Gently pull it away from the compressor. Do the same for the other end if it connects to a manifold or another component. Inspect the threads on the compressor’s outlet port for any damage. If they look okay, you’re ready for the new hose.
Installing the New Air Compressor Hose
This is where you bring your compressor back to life. Installing the new hose correctly ensures a good seal and proper airflow.
Preparing the New Fittings
Before attaching the new hose, you need to prepare the threaded ends. Wrap Teflon tape (or apply pipe thread sealant) around the male threads of the hose fittings. We found that three to four wraps of Teflon tape, applied in a clockwise direction, usually provides a good seal. This prevents air from leaking out around the threads. Make sure not to overdo it, as excess tape can clog the fitting.
Connecting the New Hose
Align the new hose’s fitting with the compressor’s outlet port. Start threading it in by hand, turning it clockwise. It should screw in easily. If you feel resistance, stop and re-align. You don’t want to cross-thread it. Once it’s hand-tight, use your wrench to tighten it an additional half to three-quarters of a turn. Again, hold the compressor fitting steady with another wrench if needed. You want it snug but not excessively tight, which could damage the threads or fitting.
Repeat this process for any other connections. We found that getting the fittings snug ensures your air won’t escape, saving you energy and time.
Testing for Leaks and Functionality
You’re almost done! The final step is to make sure everything is working as it should and, most importantly, that there are no leaks.
Checking for Air Leaks
Once the new hose is securely installed and power is restored to the compressor, turn it on. Let it build up pressure to its cut-off point. Listen carefully for any hissing sounds around the new fittings. You can also use a spray bottle filled with soapy water. Spray the connection points where the new hose is attached. If you see small bubbles forming, that indicates an air leak. Turn the compressor off, let the pressure out, and slightly tighten the leaking fitting. Repeat the spray test.
Verifying Performance
Once you’ve confirmed there are no leaks, try connecting a tool. Ensure the air flows freely and at the expected pressure. If you had issues with low pressure or air loss before, you should notice an immediate improvement. We found that a leak-free connection allows your compressor to reach its full potential and run more efficiently.
Quick Checklist for Your Hose Replacement
Here’s a handy list to keep you on track:
- Power Off: Unplug compressor and verify no power.
- Pressure Bleed: Release all air from the tank and lines.
- Right Hose: Confirm correct size, length, and pressure rating.
- Sealant Applied: Use Teflon tape or sealant on new threads.
- Fittings Snug: Tighten securely but avoid over-tightening.
- Leak Test: Check connections with soapy water or by listening.
Conclusion
You’ve successfully learned how to replace your air compressor hose! As we’ve shown, this is a manageable DIY project that typically takes less than 30 minutes. By following these steps, you’ve ensured your compressor operates safely and efficiently, free from leaks. A secure connection means better performance and less wasted energy. Don’t let a leaky hose slow you down. If you noticed any issues during your test, don’t hesitate to re-check the fittings. Now, get back to powering your projects with confidence!
Frequently Asked Questions
How do I know if my air compressor hose needs replacing?
Look for visible signs of wear like cracks, kinks, or fraying on the hose. You might also notice a constant hissing sound indicating a leak, or that your compressor struggles to maintain pressure. These are all clear indicators that it’s time for a new hose.
Can I use any type of hose for my air compressor?
No, you must use a hose specifically rated for compressed air. Ensure the replacement hose has a pressure rating (PSI) that meets or exceeds your compressor’s output. Using the wrong type of hose can be dangerous and lead to leaks or bursts.
What if the new hose fitting is difficult to thread onto the compressor?
First, ensure you’re trying to thread it in the correct direction (clockwise). Make sure there’s no debris in the threads. If it still feels difficult, stop. You might be cross-threading it, which can damage both the hose and the compressor outlet. Double-check your thread type and alignment.
How tight should I make the new hose fittings?
You want them snug but not overtightened. Hand-tighten the fitting first until it stops, then use a wrench to give it an additional half to three-quarters of a turn. Overtightening can strip the threads or crack the fitting. A good seal should prevent leaks without excessive force.
Do I need to drain the air compressor tank completely before starting?
Yes, it’s critical to disconnect the power and release all residual air pressure from the tank and hose before you begin. This prevents sudden bursts of air that could cause injury or damage. Opening the drain valve and then the regulator valve is a good way to bleed the system.