
How to Replace Your Air Purifier Filter: A Simple Guide
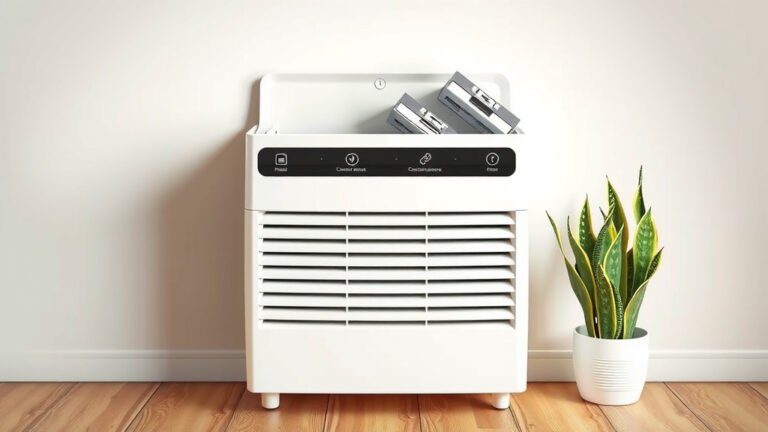
Replacing your air purifier filter is a straightforward process that keeps your air clean and your unit running well. You generally just need to unplug the unit, remove the old filter, and insert the new one. It’s usually a quick job, taking just a few minutes.
When your air purifier’s filter gets clogged, it can’t do its job effectively. Dirty filters mean less air flow and potentially poorer air quality in your home. Checking your air purifier’s manual is always a good idea to ensure you’re following the specific steps for your model.
- Unplug your air purifier first.
- Locate the filter compartment, usually at the back or bottom.
- Remove the old filter gently.
- Insert the new filter, making sure it’s oriented correctly.
- Close the compartment securely and plug the unit back in.
Let’s walk through exactly how to do it step by step, so you can get back to breathing easy with a fresh filter.
Changing Your Air Purifier Filter: A Step-by-Step Guide
Swapping out your air purifier’s filter might seem daunting, but it’s actually a super simple task. You’re essentially giving your machine a fresh start to do its job. Think of it like changing the oil in your car; it keeps everything running smoothly. We’ll guide you through each step to make sure you get it right.
When to Replace Your Air Purifier Filter
Knowing when to change your filter is key to effective air purification. Your air purifier’s manual is the best source for this information. It will tell you the recommended replacement schedule for your specific model. This can vary based on filter type and how often you use the purifier.
Understanding Filter Lifespans
Most manufacturers suggest replacing filters every 6 to 12 months. However, this is just a general guideline. Several factors can shorten this lifespan. Heavy use, poor air quality in your home, and even the presence of pets can all mean more frequent changes are needed. You might notice a decrease in airflow or an odd smell when it’s time for a change. Some purifiers have indicator lights that tell you when it’s time.
Signs Your Filter Needs Changing
Beyond the recommended schedule, you can often tell by looking and smelling. If the filter looks visibly dirty, clogged with dust, or discolored, it’s probably time. Another tell-tale sign is if your air quality doesn’t seem to improve as much as it used to. If you notice musty odors returning, that’s a pretty strong clue. Don’t wait for these signs if your manual suggests a replacement date.
Preparing for the Filter Change
Before you start, gather everything you need. This ensures the process is quick and smooth. You won’t want to be halfway through and realize you’re missing something important. Preparation is half the battle, right?
What You’ll Need
Usually, you won’t need many tools. The most important item is, of course, your new replacement filter. Make sure it’s the correct model for your air purifier. You can typically find this information on the unit itself or in the manual. A damp cloth or a vacuum cleaner with a brush attachment can be helpful for cleaning the filter compartment. Some people find gloves useful to keep their hands clean, but it’s not strictly necessary.
Safety First: Unplugging Your Unit
This is the most critical first step. Always unplug your air purifier from the wall outlet before you do anything else. This prevents any accidental power surges or the unit turning on while you’re working on it. Safety should always come first, especially when dealing with electrical appliances. Don’t skip this step, no matter how quick you think the job will be.
Locating and Accessing the Filter
Every air purifier is designed a little differently. The filter compartment can be in various places. Your owner’s manual will show you exactly where it is for your model. Don’t force anything; if it seems stuck, double-check the manual.
Common Filter Placement Areas
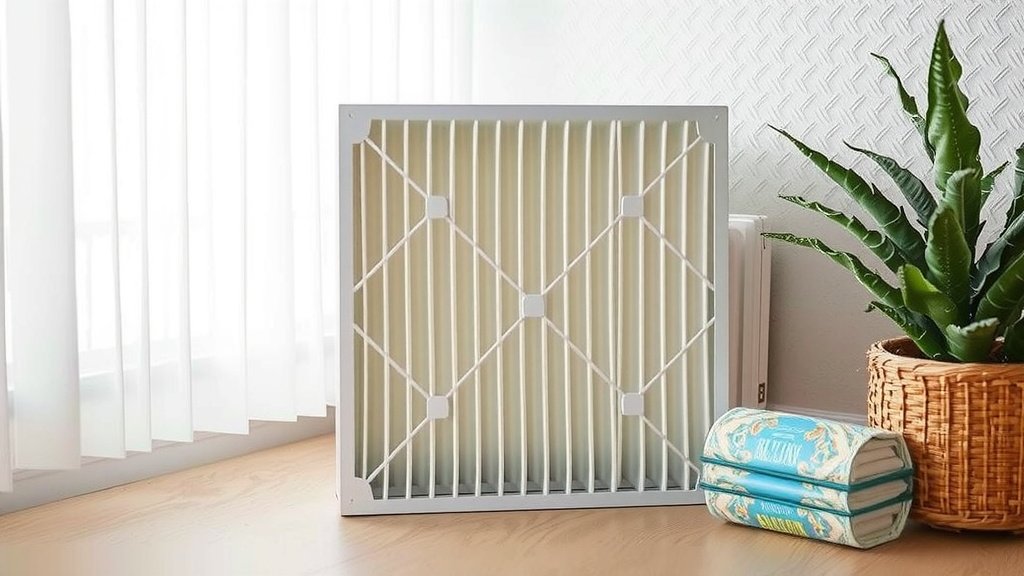
Most air purifiers hide their filters on the back or the bottom of the unit. Some might have a side panel that slides or clips off. Look for seams or panels that seem designed to open. Often, there will be a small latch or a few screws holding the cover in place. If your unit has a grille on the back, that’s a very common spot for the filter.
Opening the Filter Compartment
Once you’ve located the compartment, you’ll need to open it. This usually involves pressing a button, sliding a latch, or unscrewing a few screws. Some covers just pull away gently. If you’re unsure, consult your manual. Forcing a panel could break it, which would be a bummer. The goal is to access the filter without causing any damage to the purifier.
Removing the Old Filter
With the compartment open, you can now access the old filter. This is where you’ll really see the difference you’re making. The old filter is likely holding a lot of dust and debris.
Gentle Extraction Techniques
Most filters slide or pull out easily. Some might have tabs or handles to help you grip them. Avoid tugging too hard. If it feels resistant, check again for any hidden clips or latches. Many filters are designed to be removed without much force. You’ll likely see how much it has captured – it can be quite a lot!
Disposing of the Old Filter Responsibly
Once the old filter is out, it’s time to dispose of it. Since it’s full of trapped pollutants, it’s best to seal it up. Many people put the old filter directly into a trash bag and tie it off. This contains the dust and prevents it from spreading around your home. Check your local guidelines for any special disposal recommendations, though standard household trash is usually fine.
Installing the New Filter
Now for the exciting part – putting in the fresh filter! This is where your air purifier gets its clean air-breathing power back.
Orienting the New Filter Correctly
New filters often have specific directions for installation. Look for arrows or labels on the filter itself or on the inside of the compartment. These indicate which way the airflow should go. For example, an arrow might point towards the inside of the purifier. Installing it backward could prevent it from working correctly. If you don’t see clear indicators, your manual will definitely have this information.
Inserting the New Filter
Slide or place the new filter into the compartment. It should fit snugly but without needing excessive force. Ensure it’s seated properly in all the correct spots. If your purifier has a pre-filter, make sure that’s in place too. Sometimes, the new filter comes with protective plastic wrapping. Remember to remove this before installing the filter. That’s a common mistake people make!
Finishing Up and Resetting
You’re almost done! Just a couple of final steps to get your air purifier back in action.
Securing the Compartment and Plugging In
Once the new filter is in place, close the compartment cover securely. Make sure it clicks or latches properly. Then, you can plug your air purifier back into the wall outlet. You should be able to turn it back on and enjoy cleaner air right away.
Resetting Your Filter Indicator Light
Many modern air purifiers have a filter indicator light that tells you when it’s time to change the filter. After installing a new one, you’ll need to reset this indicator. The method for resetting varies by model. It often involves pressing and holding a specific button for a few seconds. Your manual will tell you exactly how to reset the indicator for your unit. This ensures the purifier knows it has a fresh filter and starts its timer again.
Here’s a quick checklist to help you remember the key steps:
- Unplug your air purifier before you start.
- Locate and open the filter compartment carefully.
- Remove the old filter and dispose of it properly.
- Insert the new filter, checking for correct airflow direction.
- Close the compartment securely and plug the unit back in.
- Reset the filter indicator light if your model has one.
Conclusion
You’ve now got a clear path to changing your air purifier filter! Remember, this simple task is key to ensuring your purifier keeps your home’s air clean and fresh. By following these steps, you’re not just replacing a part; you’re investing in a healthier living environment. Don’t let a dirty filter hold back your purifier’s performance. Your next step is simple: check your air purifier’s manual, grab the correct replacement filter, and schedule a time to get it done soon. You’ll breathe easier knowing you’ve taken this important step!
Frequently Asked Questions
How often should I really be changing my air purifier filter?
The best answer comes from your air purifier’s manual, as it depends on your specific model and usage. Generally, filters need replacing every 6 to 12 months. However, if you have pets, live in a high-pollution area, or run your purifier constantly, you might need to change it more often.
Can I just rinse my air purifier filter instead of replacing it?
Most air purifier filters are designed for single use and cannot be effectively cleaned by rinsing. Washing them can damage the filter media, making it less effective or even unusable. Always refer to your manual; some pre-filters might be washable, but the main HEPA filter typically needs replacement.
What happens if I don’t replace my air purifier filter soon enough?
If you skip filter changes, your air purifier’s performance will decrease significantly. Airflow will become restricted, meaning less clean air circulates in your home. It can also put a strain on the motor, potentially shortening the unit’s lifespan, and you might notice returning odors or reduced air quality.
My new filter doesn’t seem to fit perfectly, what should I do?
Double-check that you have the correct replacement filter model for your air purifier. Ensure you haven’t left any plastic packaging on the new filter. Also, confirm you’re inserting it in the correct orientation as indicated by arrows or labels. If it still doesn’t fit snugly, consult your manual or the manufacturer.
Is it okay to leave my air purifier on while changing the filter?
Absolutely not. It’s critical to unplug your air purifier from the wall outlet before attempting to change the filter. This prevents any electrical hazards and ensures the unit doesn’t accidentally turn on while you have the filter compartment open, which could damage the unit or cause injury.

![How Often Should I Use My Air Purifier [Expert Tips]](https://homeunderstandable.com/wp-content/uploads/2025/05/how-often-should-i-use-my-air-purifier-expert-tips-768x576.jpg)