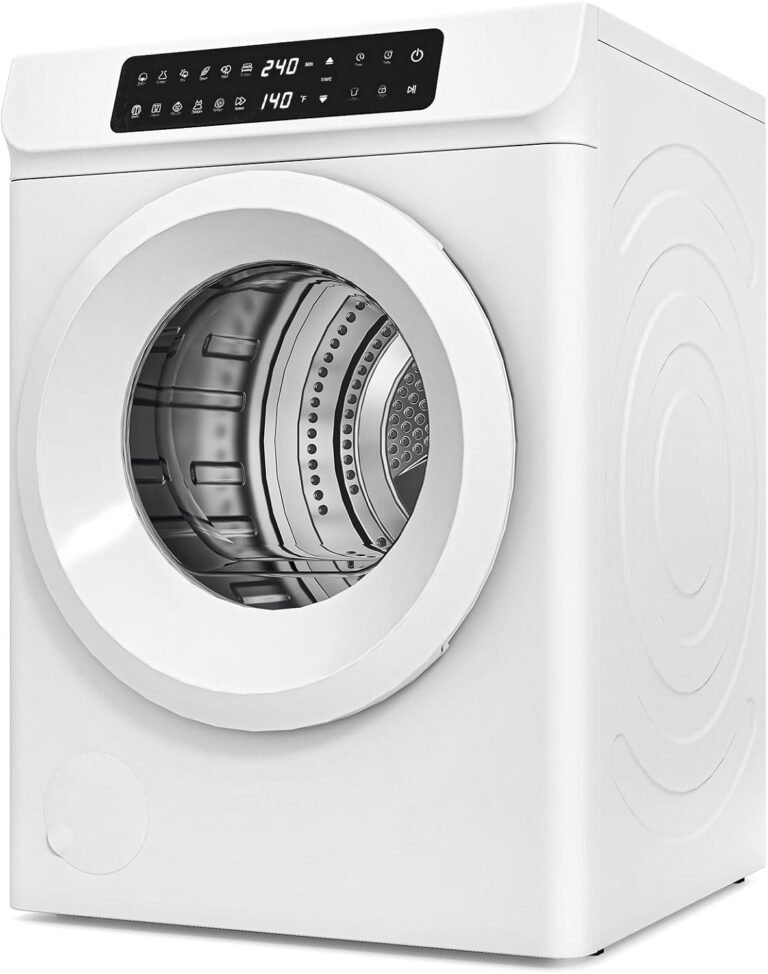
How to Set Up a Clothes Dryer: Step-by-Step Guide
To set up a clothes dryer, start by choosing the right spot near a 240-volt outlet and proper venting. You need to connect the vent hose and plug in the power cord before sliding the unit into place. The whole process takes about an hour with basic tools and a helper.
We found that most dryer setup problems come from skipped prep work, like checking the vent path or leveling the machine. Getting the basics right on day one prevents longer drying times, fire hazards, and costly repair calls later. Whether you have an electric or gas model, the setup steps are straightforward when you take it slow.
- Measure your space before buying or moving the dryer.
- Use rigid metal venting, not plastic, to reduce fire risk.
- Install the power cord or gas line first, before positioning the dryer.
- Level the dryer with the feet to stop noisy rattling and uneven wear.
- Test the vent airflow after setup to confirm everything is connected.
Below, we break down the complete dryer installation process step by step. You will learn exactly what tools to grab, how to connect the vent safely, and the quick checks that ensure your dryer runs smoothly for years.
Getting Your Dryer Ready for Installation
Setting up a dryer starts long before you pull it out of the box. We found that taking 15 minutes to prep saves you from headaches later. You need the right tools, a clear path, and a solid plan for where everything goes.
Most people overlook the simple stuff. Things like measuring doorways or checking the floor level. These small steps make the entire process smoother and safer.
Gathering the Tools You Will Need
You do not need a professional toolkit to install a dryer. We found that most setups only require a few basic items you likely already own.
- Adjustable wrench or socket set
- Screwdriver set (Phillips and flathead)
- Duct tape (metal foil type, not standard tape)
- Level tool
- Utility knife
- Gloves for gripping and protection
Grab these before you start. Running back and forth mid-installation is frustrating. Having everything in one spot keeps you focused and cuts the total time down.
Measuring Your Space First
Measure the space where the dryer will live. Write down the width, depth, and height. We found that dryers need about one inch of clearance on all sides for airflow and vibration.
Check the path from your door to the laundry area. Measure doorways, hallways, and corners. A dryer that fits in the room might not fit through a narrow hallway. Many people get stuck here, and it is a tough spot to fix.
Also, check that the floor is level. Most laundry rooms have a slight slope for drainage. That is fine, but you will adjust the dryer feet later to compensate for it.
Connecting the Venting System Safely
The vent is the most critical part of dryer setup. It removes hot, moist air and lint from your home. A bad vent connection causes longer drying times and creates a fire risk.
We found that many house fires start from poor dryer venting. The U.S. Consumer Product Safety Commission reports that thousands of dryer fires happen each year, mostly due to lint buildup. Getting this step right matters more than any other.
Choosing the Right Vent Material
You have options when it comes to vent ducting. The material you pick directly impacts safety and performance.
| Vent Type | Pros | Cons |
|---|---|---|
| Rigid metal duct | Safest, smooth interior, no lint traps | Harder to install, pricier |
| Semi-rigid metal | Flexible, safer than plastic | Can kink if bent too sharply |
| Plastic foil | Cheap, easy to find | High fire risk, traps lint |
Always choose rigid or semi-rigid metal. Plastic venting is banned in many areas because lint sticks to the ribs and blocks airflow. This blockage leads to overheating and fires. Spending a few extra dollars on metal is a smart investment for your family’s safety.
Installing the Vent Hose Step by Step
Connect the vent hose to the dryer’s exhaust outlet first. This is the metal port on the back of the machine. Slide the hose over it and secure it with a metal clamp or foil tape.
Next, run the hose toward the wall vent. Keep the path as short and straight as possible. Every bend traps some lint and slows drying. We found that each 90-degree turn reduces airflow by about 10 to 15 percent.
Secure the other end to the wall vent opening. Use the clamp that came with the hose. Make sure the connection is tight with no gaps. Loose connections push moist air into your walls, causing mold and rot.
Checking Airflow After Connection
After everything is connected, test the airflow. Go outside and check the vent cover on your home’s exterior. It should open and close freely.
Run the dryer on a fluff cycle for a few minutes. Go back outside and feel the vent. You should feel warm, moist air pushing out. If you do not feel airflow, there is a blockage or a bad connection somewhere. Fix that before moving on.
Handling Electric and Gas Power Connections
Your dryer needs power to run. The type of connection depends on whether you have an electric or gas model. This part of the setup requires care and attention.
Electric dryers need a 240-volt outlet and a specific power cord. Gas dryers still need electricity for the drum and controls, plus a gas line. Both options have clear steps, but they are different.
Wiring an Electric Dryer Cord
Electric dryers do not come with a power cord. You buy one separately, and it must match your outlet type. Most homes use either a 3-prong or 4-prong cord. Check your wall outlet before you shop.
Turn off the breaker at your panel first. This is non-negotiable. We found that people skip this step and risk serious shock. Remove the access panel on the back of the dryer to expose the terminal block.
Connect the wires according to the dryer’s manual. The white wire goes to the center, the green or bare wire goes to the ground screw, and the black and red wires go to the outer terminals. Tighten each screw firmly and replace the panel.
Connecting a Gas Dryer Safely
Gas dryers connect to a gas supply line. This is not a DIY project for everyone. Many experts say to hire a licensed plumber or technician for gas connections. Improper gas connections leak and create serious hazards.
If you do it yourself, use a new gas connector hose. Never reuse an old one. Apply pipe thread tape to the fittings and tighten everything with a wrench. Then, use a soapy water mixture to check for leaks. Bubbles indicate a leak that needs fixing.
Keep in mind that gas dryers also need a dedicated electrical outlet nearby. Plan for both connections before you slide the machine into place.
Positioning and Leveling the Dryer
Once the vent and power are connected, you can move the dryer into its final spot. This step is physical, so grab a helper. Dryers are heavy, and twisting the machine while it is connected is risky.
Slide the dryer carefully into place. Watch the vent hose as you move it. It can easily kink or pop off during this step. Keep checking the back as you push.
Leveling the Dryer for Smooth Operation
An unlevel dryer makes loud thumping noises and wears out the drum bearings faster. Place your level on top of the dryer. Check front to back and side to side.
Adjust the four feet by turning them. Use a wrench to loosen the lock nut, then spin the foot to raise or lower that corner. Tighten the lock nut when the bubble sits centered.
We found that leveling takes about five minutes and makes a huge difference. A level dryer runs quieter and does not walk across the floor during cycles.
Final Positioning Checks
Make sure the dryer is not pressed tight against the wall. Leave a few inches behind it so the vent hose does not get crushed. A crushed hose blocks airflow completely.
Check that the dryer door opens fully without hitting shelves or walls. You need room to load and unload laundry comfortably.
Running Your First Test Cycle
Now comes the exciting part. Plug the dryer in and run a test cycle. Use the air fluff or no-heat setting first. This checks that the drum spins and the motor runs without heating things up.
Listen for unusual noises. A steady hum is normal. Banging, squealing, or rattling means something is off. Stop the cycle and check your leveling and vent connections.
Then run a short cycle with heat on a low setting. Load the dryer with a few damp towels to test real performance. Monitor how long it takes to dry them. If drying takes longer than expected, recheck the vent path for bends or blockages.
Quick Safety Checklist Before You Finish
You are almost done. Take a few minutes to run through these final checks. They take less than ten minutes and give you peace of mind.
- Vent connection: Confirm both ends are clamped tight with no gaps.
- Airflow test: Feel warm air outside while the dryer runs.
- Power cord: Ensure all terminal screws are tight and the panel is secure.
- Gas leak check: Soapy water on all gas connections, if applicable.
- Level surface: Dryer sits flat with no rocking or vibration.
- Clearance: At least one inch around each side for airflow.
Run through this list one time. It takes seconds and catches small mistakes before they become big problems. We found that most homeowners who skip these checks end up calling for repairs within the first year.
Setting up your dryer the right way means years of reliable service. The extra effort today saves you money and frustration down the road. You got this, and now your laundry room is ready for action.
Conclusion
Setting up your dryer properly comes down to a few key moves. You need solid metal venting, a secure power connection, and a perfectly level machine. Skipping these basics leads to slow drying, noisy cycles, and even fire hazards down the road. We walked through each step, from measuring your space to running that first test load.
Take your time with the vent hose and always double-check your connections. These ten minutes of extra care protect your home and keep your dryer running efficiently for years. Now, grab your tools and get that laundry room sorted. You have everything you need to finish the job right and enjoy fresh, dry clothes on demand.
Frequently Asked Questions
Can I install a clothes dryer by myself?
Yes, you can install an electric dryer yourself with basic tools and a helper for lifting. The process takes about an hour when you follow the steps carefully. However, we found that gas dryer connections are best left to a licensed professional. Gas leaks are serious, and a pro ensures everything is sealed properly.
How long does it take to set up a clothes dryer?
Most dryer setups take between 45 minutes and two hours. The exact time depends on how complex your venting path is and whether you need to wire a new power cord. We found that first-timers take longer because they read instructions carefully. Gathering all your tools and measuring the space ahead of time speeds things up.
Do I need a special outlet for an electric dryer?
Yes, electric dryers require a dedicated 240-volt outlet. Standard household outlets only provide 120 volts, which is not enough to power the heating element. Check the outlet in your laundry room before buying a dryer. You may need an electrician to install the correct outlet if you do not have one.
Why does my dryer take multiple cycles to dry clothes?
Slow drying usually points to a vent problem. The vent hose may be crushed, kinked, or too long, which blocks airflow. We also found that a clogged lint trap or dirty exterior vent cover causes the same issue. Check your vent path first, then clean the lint screen before every load.
How do I know if my dryer vent is safe?
You can test the vent by running the dryer on a fluff cycle and feeling for warm air outside your home. The exterior vent flap should open freely when the dryer runs. Also, use only rigid or semi-rigid metal ducting, not plastic. Plastic traps lint and is a major fire risk we recommend avoiding.