Master Your Air Compressor Paint Sprayer: A Beginner’s Guide
Using an air compressor paint sprayer is a fantastic way to get a smooth, professional finish on your projects. You simply connect the sprayer to your air compressor, load it with paint, and adjust the settings for the perfect spray pattern. It’s a game-changer for big jobs. Mastering this tool will save you time and frustration.
Many DIYers and professionals alike have found success with air sprayers. They offer a faster application than brushes or rollers. Plus, they can help you avoid streaks and achieve a more uniform coating. Getting the air pressure and paint consistency just right is key to beautiful results.
- Connect sprayer to air compressor.
- Load paint and adjust settings.
- Test spray pattern on scrap material.
- Maintain consistent distance and speed.
- Clean thoroughly after use.
Let’s walk through exactly how to use your air compressor paint sprayer step by step. We’ll cover everything from setup to cleanup, so you can get painting with confidence.
Getting Started with Your Air Compressor Paint Sprayer
You’re ready to paint, and that air compressor paint sprayer is sitting there, full of potential. But how do you actually *use* it? It’s not as complicated as it might seem. With a few key steps, you’ll be spraying like a pro. Let’s break down the process so you can achieve that smooth, even coat you’re after.
Understanding Your Sprayer’s Components
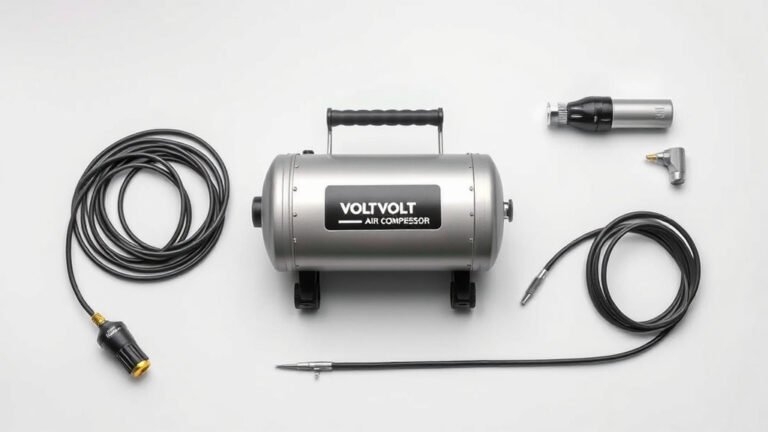
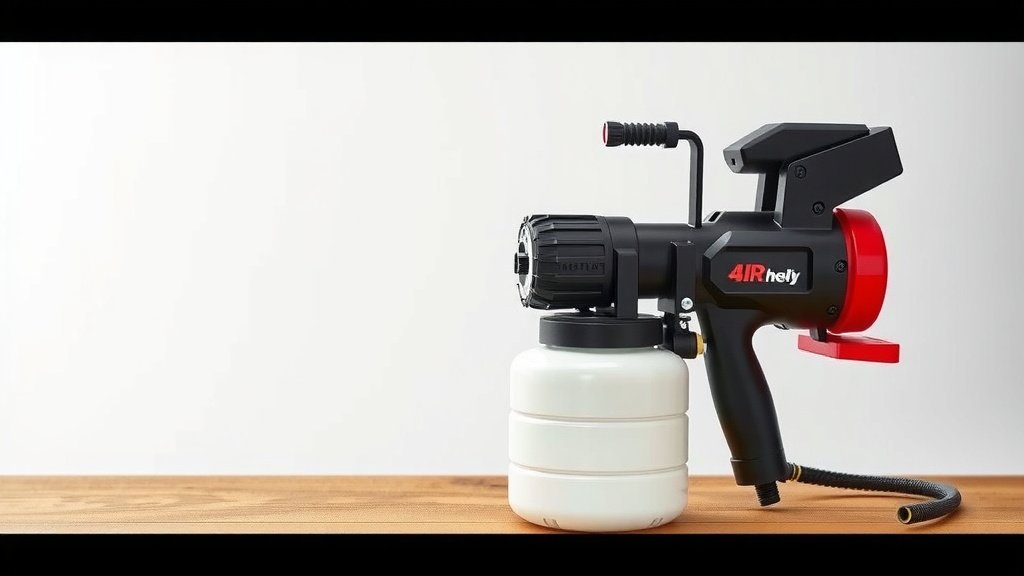
Before you squeeze that trigger, it helps to know what you’re working with. Most air sprayers have a few main parts. You’ve got your paint cup or reservoir, the spray gun itself, and the air hose. The air hose connects to your trusty air compressor, which is the engine driving the whole operation.
The spray gun has an adjustable nozzle. This is where the magic happens. You can change the fan pattern and the amount of paint that sprays out. Getting these settings right is essential for a good finish. Think of it like tuning a musical instrument for the perfect sound.
Setting Up Your Air Compressor
Your air compressor is the power behind the spray. It needs to provide the right amount of air pressure. Too little, and your paint won’t atomize properly, leading to drips and uneven coverage. Too much, and you might get overspray and wasted paint.
Most paint sprayers will recommend a specific PSI (pounds per square inch) range. You’ll find this information in your sprayer’s manual. It’s often between 30 and 50 PSI. You’ll use the regulator on your air compressor to set this. Experimentation is key here. It’s like finding the perfect water pressure for your garden hose.
Make sure your air compressor tank has enough air before you start. You don’t want it running out mid-project. A good rule of thumb is to let it fill up completely. This prevents interruptions and ensures consistent pressure. Many experts suggest allowing a few minutes for the compressor to build up pressure (Mayo Clinic).
Connecting the Air Hose
Connecting the air hose is usually straightforward. You’ll have a fitting on your air compressor and a corresponding fitting on your spray gun. Simply screw them together securely. Make sure the connection is tight to prevent air leaks. Leaks mean less power and more frustration.
We found that using quick-connect fittings can make this process even faster. They click into place and detach easily. It’s a small convenience that really speeds things up, especially if you’re moving around a lot.
Preparing Your Paint and Sprayer
Now for the fun part: getting the paint ready. This step is just as important as the spraying itself. If your paint is too thick, it won’t spray well. If it’s too thin, you’ll have drips and runs.
Choosing the Right Paint Consistency
Paint needs to be thinned for spraying. This is a common requirement for most types of paint, from latex to oil-based. You’ll need to use a thinner specific to your paint type, like water for latex or mineral spirits for oil-based. Your paint can or the sprayer’s manual will usually tell you the correct thinning ratio.
A good way to test the consistency is with a viscosity cup or even a simple kitchen strainer. Dip the cup into the thinned paint, let it fill up, and then time how long it takes to drain through the small hole at the bottom. Most manufacturers recommend a drain time of around 15-25 seconds (Sherwin-Williams research). If it drains too fast, it’s too thin. If it’s too slow, add a little more thinner.
Loading the Paint into the Sprayer
Once your paint is thinned, you’ll load it into the paint cup. Make sure the cup is clean and dry before you start. Carefully pour the thinned paint into the cup, being careful not to overfill it. Most cups have a fill line. If yours doesn’t, leave a little room at the top.
Then, securely attach the cup to the spray gun. You’ll often hear a click or feel it seal. This ensures that paint doesn’t leak out when you start spraying. A good seal is critical for preventing messes.
Mastering the Spraying Technique
You’re all set up and ready to go! The actual spraying is where you’ll see your project transform. But it’s not just about pointing and shooting. A bit of technique goes a long way.
Adjusting the Spray Pattern
Before you spray your main project, always do a test spray. Find a piece of scrap cardboard or wood. This is your practice canvas. You’ll want to adjust the nozzle and air cap to get the right pattern. You’re looking for a nice, even oval shape.
Many spray guns have a control for the fan width and another for the paint flow. Play with these until you get a clean spray. If the pattern looks like a bullseye (hot spot in the middle), you might have too much air pressure or the nozzle is too close. If it looks like two separate streams, it might be too thin or the pressure is too low.
The “Onion” or “Fan” Pattern
Ideally, you want an “onion” or “fan” shape. This means the spray is wider in the middle and tapers off evenly at the edges. When you spray, you’ll overlap your passes. This even pattern helps ensure complete coverage without heavy overlap marks.
Maintaining Proper Distance and Speed
Holding the sprayer at a consistent distance from the surface is vital. Aim for about 8 to 12 inches away. Too close, and you’ll get drips. Too far, and the paint will dry before it hits the surface, causing a rough finish.
Your movement should be smooth and consistent. Start your pass before you trigger the spray gun, and release the trigger after you finish your pass. Move your arm in a steady, sweeping motion. Think of it like painting with a giant marker. Keep your wrist straight and move your whole arm.
Consistent Overlap for Uniformity
When you spray a large area, you need to overlap your passes. Each new pass should overlap the previous one by about 50%. This ensures you don’t miss any spots and that the paint thickness is uniform across the entire surface. This is how you get that professional, streak-free finish.
Spraying Checklist:
- Test your spray pattern on scrap material first.
- Maintain a consistent 8-12 inch distance from the surface.
- Move your arm in a steady, sweeping motion.
- Overlap each spray pass by 50%.
- Start and stop your spray passes away from the project.
- Keep your air compressor pressure steady.
Cleaning and Maintenance After Painting
Don’t even think about skipping this part! Cleaning your air sprayer immediately after use is non-negotiable. Dried paint is incredibly difficult to remove. It can clog your sprayer and ruin its performance.
Initial Rinse and Flush
First, empty any remaining paint from the cup. Then, pour a small amount of your thinner (water or solvent) into the cup. Reattach the cup and spray the thinner through the gun onto your scrap material. Do this until only clear thinner comes out. This removes the bulk of the paint.
You may need to rinse the cup itself as well. Wipe down any paint residue on the outside of the gun. Proper cleaning prevents paint from hardening in the internal passages. Many professional painters say this is the most important step for longevity.
Disassembling for a Deep Clean
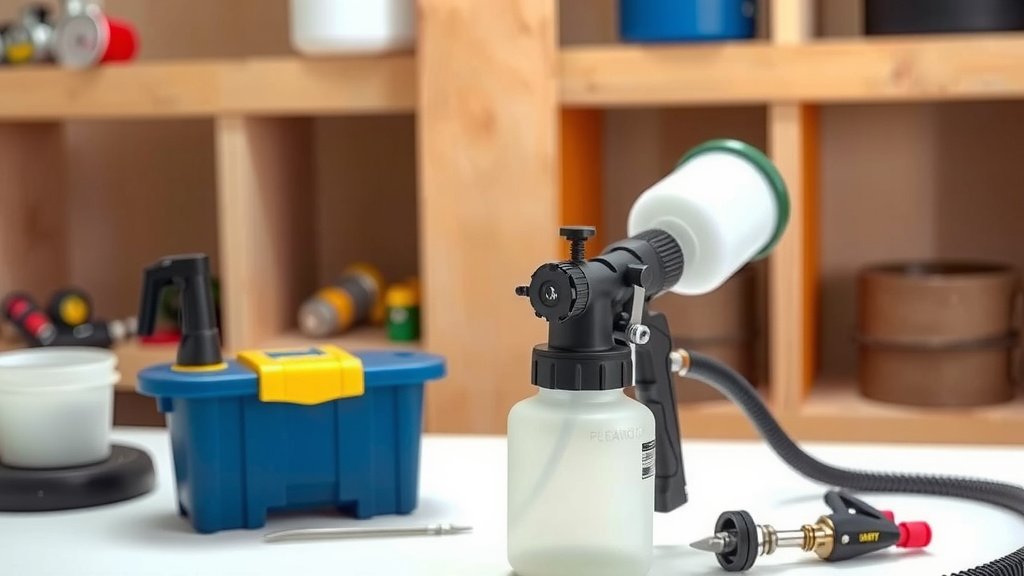
For a thorough cleaning, you might need to partially disassemble the spray gun. Consult your manual. This usually involves removing the needle, nozzle, and air cap. Clean these parts carefully with your thinner and a soft brush or lint-free cloth. Make sure all paint residue is gone.
Once clean, reassemble the sprayer. Apply a light coat of lubricating oil to moving parts if your manual suggests it. This keeps everything working smoothly for your next painting project. Storing your sprayer clean means it’s ready to go, saving you time and hassle later.
Conclusion
You’ve learned how to master your air compressor paint sprayer, from initial setup to sparkling clean. Remember, the secret to a professional finish lies in preparation and technique. Getting your air pressure right, thinning your paint correctly, and maintaining a consistent spraying motion are key. Don’t forget that thorough cleaning afterward is essential for longevity.
Now you’re equipped with the knowledge to tackle your next painting project with confidence. Grab your sprayer, take a deep breath, and get ready to create something beautiful!
Frequently Asked Questions
How do I know if my paint is thinned correctly for spraying?
We found that testing paint consistency with a viscosity cup is a reliable method. Aim for a drain time of about 15-25 seconds. If it drains too quickly, it’s too thin; too slowly, and it’s too thick. Your paint can might also suggest a specific thinning ratio.
What’s the best way to avoid drips when using an air sprayer?
Drips often happen when you’re too close to the surface or the paint is too thick. We recommend maintaining a consistent 8-12 inch distance and ensuring your paint is properly thinned. Overlapping your passes by 50% also helps prevent uneven paint buildup.
Can I use any type of paint with an air compressor sprayer?
Generally, yes, but most paints will need thinning. Latex, oil-based, and lacquers can all be sprayed. Always check your sprayer’s manual and the paint manufacturer’s recommendations for appropriate thinners and ratios. Some very thick paints might require special consideration.
How often should I clean my air sprayer?
It’s best to clean your air sprayer immediately after each use. Dried paint is very difficult to remove and can clog the delicate parts of the sprayer. A quick flush with thinner while the paint is still wet will save you a lot of trouble later.
What does it mean if my spray pattern looks like a bullseye?
A bullseye pattern, with a hot spot in the center and thin edges, often indicates the air pressure is too high or the nozzle is too close to the surface. We suggest adjusting your air regulator down slightly or increasing your distance from the project. You might also need to adjust the paint flow control.