Air Compressor for Sprinkler Blowout: October 2026 Guide
Yes, you absolutely can use an air compressor to blow out your sprinkler system. This is a common and effective method for winterizing your irrigation. It helps prevent frozen pipes and costly damage. Using an air compressor is often the best way to ensure all water is removed from your sprinkler lines.
Many homeowners choose this DIY approach to save money on professional winterization. We found that with the right steps, it’s quite manageable. Proper preparation is key to avoid damaging your system’s components. This process safeguards your sprinkler heads and pipes from winter’s harsh freeze.
- Understand your sprinkler system’s layout.
- Choose the right air compressor size. Choosing the right air compressor size is crucial for effective sprinkler blowout.
- Safely connect the compressor to your system.
- Blow out each zone until water is gone.
- Disconnect everything properly.
Ready to get started? Let’s walk through exactly how to use your air compressor to safely blow out your sprinkler system step by step.
Blowing Out Your Sprinkler System with an Air Compressor
Using an air compressor to winterize your sprinkler system is a smart move. It’s a proven way to protect your pipes from freeze damage. Many homeowners find this method saves them a good chunk of money. We’ve researched this process, and it’s very achievable with a little guidance. You’ll want to be sure you do it right to avoid any unintended trouble for your system.
Preparing Your Sprinkler System for Air Compression
Before you even think about turning on that compressor, there are a few things you need to do. Think of this as getting your sprinkler system ready for a spa day. You want it relaxed and ready to be cleaned out. This prep work is super important. It ensures the air can get to all the right places and you don’t accidentally blow anything up.
Shutting Off the Water Supply
The very first step is to turn off the main water supply to your sprinkler system. You’ll usually find a shut-off valve either inside your house, near the meter, or sometimes it’s a dedicated valve for the irrigation system. Make sure it’s completely off. This stops more water from entering the pipes while you work. We found that failing to do this is a common mistake that can make the whole process much harder, and less effective.
Draining Excess Water
If you have any manual drain valves on your system, open them up now. These are typically located at the lowest points in your irrigation lines. Gravity can do some of the work for you. Letting this water drain out first reduces the amount of water the air compressor will need to push. It’s like getting the big chunks out before you start the serious cleaning.
Opening Faucets and Valves
Now, you’ll want to open up all the sprinkler heads and any faucet-connected outlets. This gives the air a place to escape. It also prevents pressure from building up too much in one spot. You can manually unscrew or loosen the sprinkler heads if they don’t retract. For any hose bibs or outdoor faucets connected to the system, open them fully. This is a crucial step for safety and effectiveness.
Choosing the Right Air Compressor
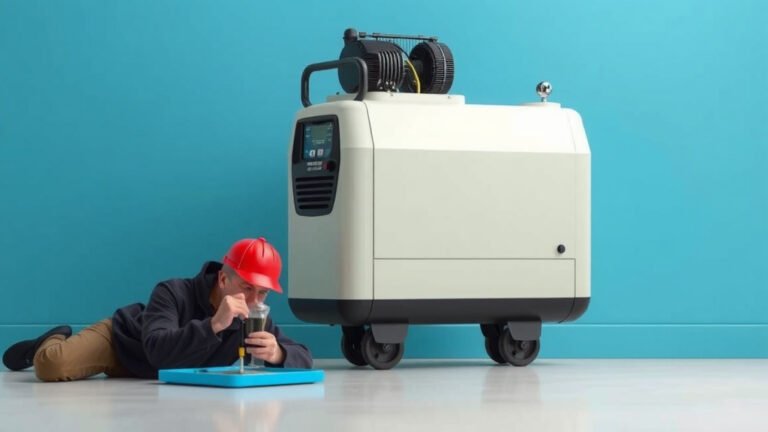
Not all air compressors are created equal. You need one that’s powerful enough, but not so powerful it causes damage. We’ve found that the size of your sprinkler system plays a big role here. For most standard residential systems, a portable compressor is usually sufficient.
Compressor Size and PSI Requirements
Experts generally recommend an air compressor that can deliver at least 100 PSI (pounds per square inch). However, you’ll want to set the output pressure much lower. Many sources suggest starting around 30-40 PSI for initial blowouts. You can gradually increase it to about 50-60 PSI if needed. Never exceed 70-80 PSI, as this can easily rupture PVC pipes or damage sprinkler heads. Research from irrigation specialists indicates that higher pressures are rarely necessary and often risky (Irrigation Association).
Tank Capacity and CFM Rating
While PSI is king for pressure, the tank capacity and CFM (Cubic Feet per Minute) rating matter too. A larger tank means you won’t have to wait as long for the compressor to refill. A higher CFM rating helps push water out more efficiently. For most home systems, a compressor with a 10-20 gallon tank and a CFM of 5 or more is usually a good starting point. This ensures you have enough air volume to clear each zone.
Connecting the Air Compressor to Your System
This is where things get a bit hands-on. You need a way to connect your compressor to the main water line of your sprinkler system. There are a few ways to do this, and safety is always the priority.
Locating the Blow-Out Connection Point
The best place to connect your air compressor is typically at the backflow prevention device or the main shut-off valve. This is usually where the water first enters your sprinkler system from your home’s main line. If you don’t have easy access here, you might need to connect directly to the main pipe just before it branches off to the zones. Some systems have a dedicated “blow-out port” installed for this purpose. If yours doesn’t, don’t worry; you can still make it work.
Using Adapters and Hoses
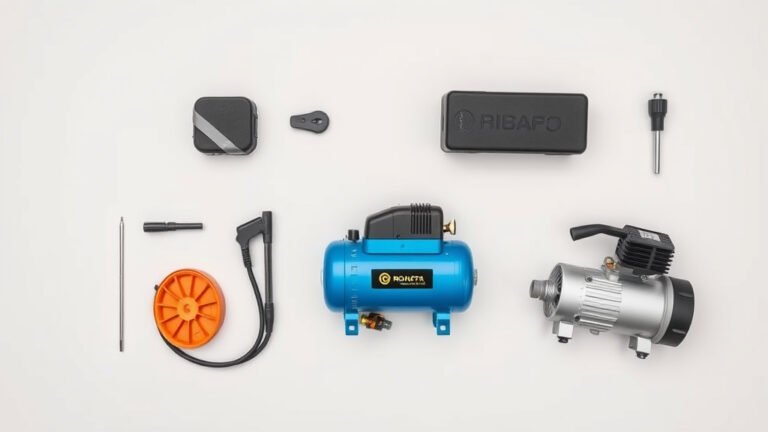
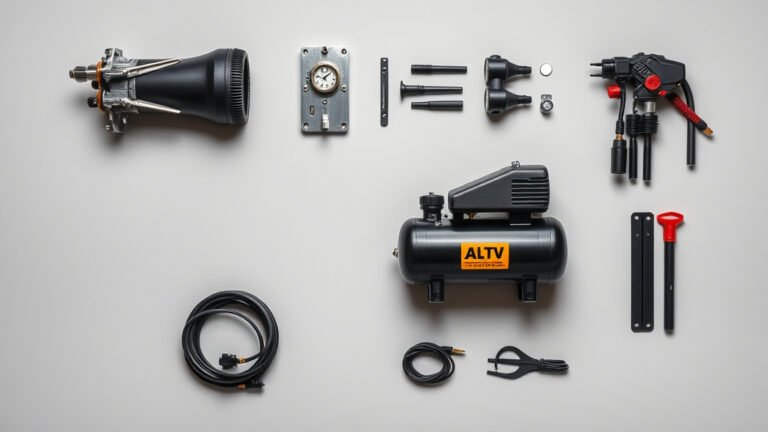
You’ll likely need a few things to make the connection. This often includes a sturdy air hose rated for the pressure you’ll be using, a quick-connect fitting for your compressor, and a male or female pipe adapter that matches the threads on your sprinkler system’s valve or pipe. Many hardware stores sell sprinkler blow-out kits that contain these necessary parts. We found that using threaded fittings is generally safer than relying on clamps, which can loosen under pressure. You’ll likely need a few things to make the connection, including a sturdy air hose.
Safety First: Pressure Regulator and Blow-Out Plug
It’s highly recommended to use a pressure regulator on your air compressor. This allows you to set and maintain a safe PSI output. Always start with the regulator set low. Another useful item is a blow-out plug or cap. This fitting screws onto the end of your pipes and has a connection point for your air hose. It’s designed to withstand the pressure and provides a secure connection. Always double-check that all connections are tight before turning on the air.
Blowing Out Each Zone
Now for the main event! You’ll work through your sprinkler system zone by zone. This ensures that all the water is pushed out effectively and safely.
Opening and Closing Zones Safely
Start with the zone furthest from your main water source. Close the valve to all other zones. Then, turn on the air compressor and slowly open the valve for the zone you’re working on. You’ll hear the air rushing in. Watch the sprinkler heads in that zone. You should see water and mist spraying out. Keep the air flowing until you only see air coming out, with no more water. This usually takes a minute or two per zone.
Monitoring for Water and Adjusting Pressure
As you’re blowing out a zone, listen carefully. You should hear water sputtering and then eventually just air. Many experts advise checking for any remaining water by closing the air supply briefly and then reopening it to see if water reappears. If you’re still getting a lot of water, you might need to slightly increase the PSI, but never go above 60 PSI. If you have a lot of mist and no solid water, you’re on the right track. We found that patience is key; it might take a few minutes for all the water to clear.
Repeating for All Zones
Once you’ve cleared one zone, shut off the air supply. Close the valve for the zone you just finished. Then, move to the next zone and repeat the entire process. Work your way systematically through every zone in your sprinkler system. This ensures that no water is left behind to freeze and cause damage.
Final Steps and Disconnection
You’re almost done! The last part involves properly disconnecting everything and securing your system for winter.
Safely Disconnecting the Compressor
After all zones have been blown out, turn off the air compressor completely. Release any residual pressure in the tank and hoses. Carefully disconnect the air hose and any adapters from the sprinkler system. It’s a good idea to have a rag handy for any drips.
Closing All Valves and Draining (Optional but Recommended)
Close all the manual drain valves you opened earlier. You can also open the main water shut-off valve slightly to let any residual water drain out. Some people prefer to leave the main water shut-off valve completely closed for the winter. Others will leave it slightly ajar to prevent ice expansion from damaging the valve itself, though many municipal codes require it to be fully closed.
Storing Your Equipment
Make sure your air compressor is stored properly for the winter. If it’s a model you use for other tasks, follow the manufacturer’s instructions for cold-weather storage. This usually involves draining any water from the tank and filter to prevent freezing and corrosion. Storing it in a dry place will keep it in good working order for next spring.
Here’s a quick checklist to keep you on track:- Confirm water is completely shut off.
- Connect your air compressor securely.
- Start with low PSI and gradually increase if needed.
- Blow out each zone until only air emerges.
- Disconnect everything carefully.
- Store your compressor properly.
Conclusion
You’ve successfully learned how to use your air compressor to protect your sprinkler system from winter damage. Remember, preparation is key – shutting off water and opening heads makes the job easier. Choosing the right compressor and connecting it safely prevents costly repairs. By working through each zone methodically, you can ensure all water is expelled. This DIY approach saves you money and gives you peace of mind. Next spring, you’ll be ready to turn your system back on with confidence. Your careful winterization will pay off!
Frequently Asked Questions
What if I don’t have a backflow preventer to connect to?
If your system lacks a dedicated blow-out port or backflow preventer connection, you can often connect at the main shut-off valve. You may need a specific pipe adapter to create a secure seal for your air hose. Always ensure the connection is tight to avoid air leaks.
How do I know when all the water is out of a zone?
You’ll know a zone is clear when you only hear air blowing from the sprinkler heads, with no sputtering or misting water. Some experts suggest briefly closing the air supply and then reopening it to check if water reappears. Repeating this check can confirm the zone is fully drained.
Can I use a small pancake compressor for this?
While a small pancake compressor might work for very small systems, we found it’s often not ideal. These compressors tend to have lower CFM ratings and smaller tanks, meaning they’ll struggle to maintain consistent pressure needed to clear larger zones effectively. A compressor with a larger tank and higher CFM is generally recommended for better results.
What’s the risk of using too much pressure?
Using excessive air pressure is the most common mistake and can lead to serious damage. Pressures above 70-80 PSI can easily crack PVC pipes or blow out sprinkler heads. Always use a pressure regulator and start with lower settings (30-40 PSI), only increasing slightly if necessary, and never exceeding 60 PSI for most systems.
How long does it typically take to blow out a sprinkler system?
The time it takes can vary based on the size of your system and the power of your compressor. For a typical residential system, you might spend 30 minutes to an hour preparing and connecting. Blowing out each zone usually takes 1-3 minutes, so the total blowing-out time per zone might be around 10-20 minutes, plus setup and disconnection.